2.2.7. Configure the Point-of-Sale App#
The point-of-sale app settings are available after signing in. Use them to change the app language, choose the screen shown for new orders, inspect the currently connected Merchant Portal account, or switch to another account.
The first sign-in flow is covered separately in Sign in to the Point-of-Sale App.
2.2.7.1. Open Settings#
Open the navigation menu and select Settings.
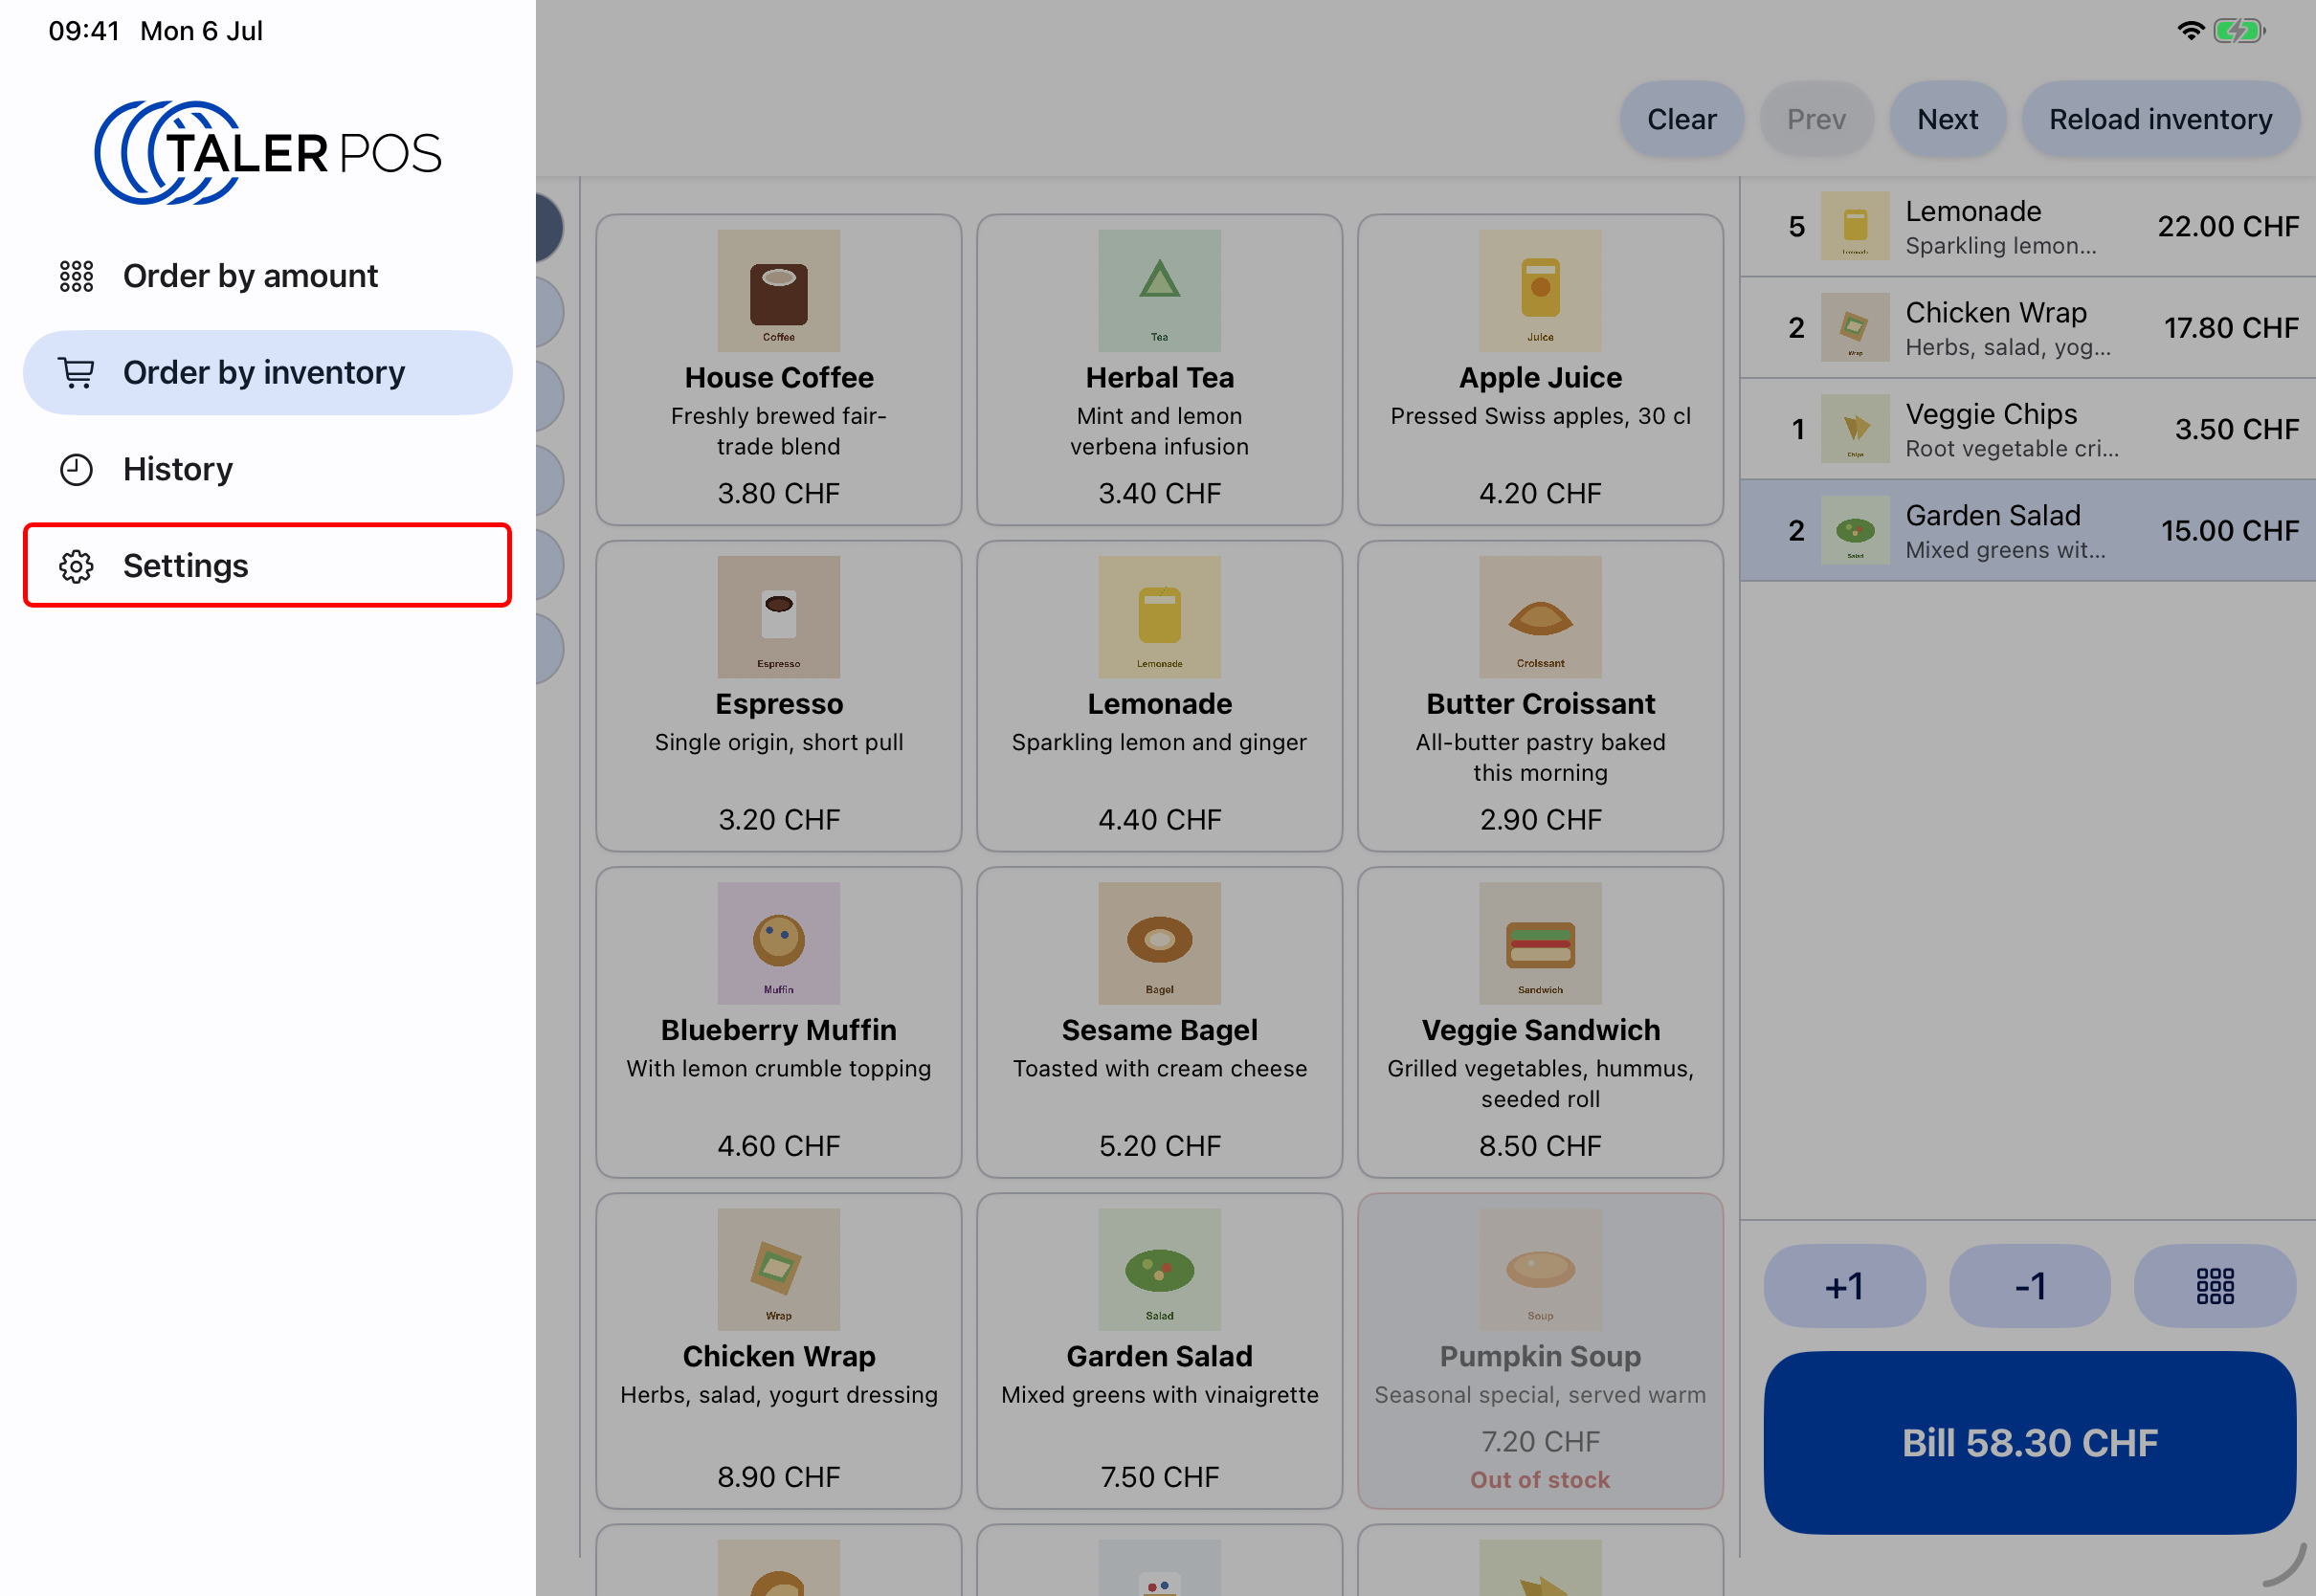
Selecting the settings screen.#
The settings page is divided into app settings, login settings, and information about the currently connected Merchant Portal account.
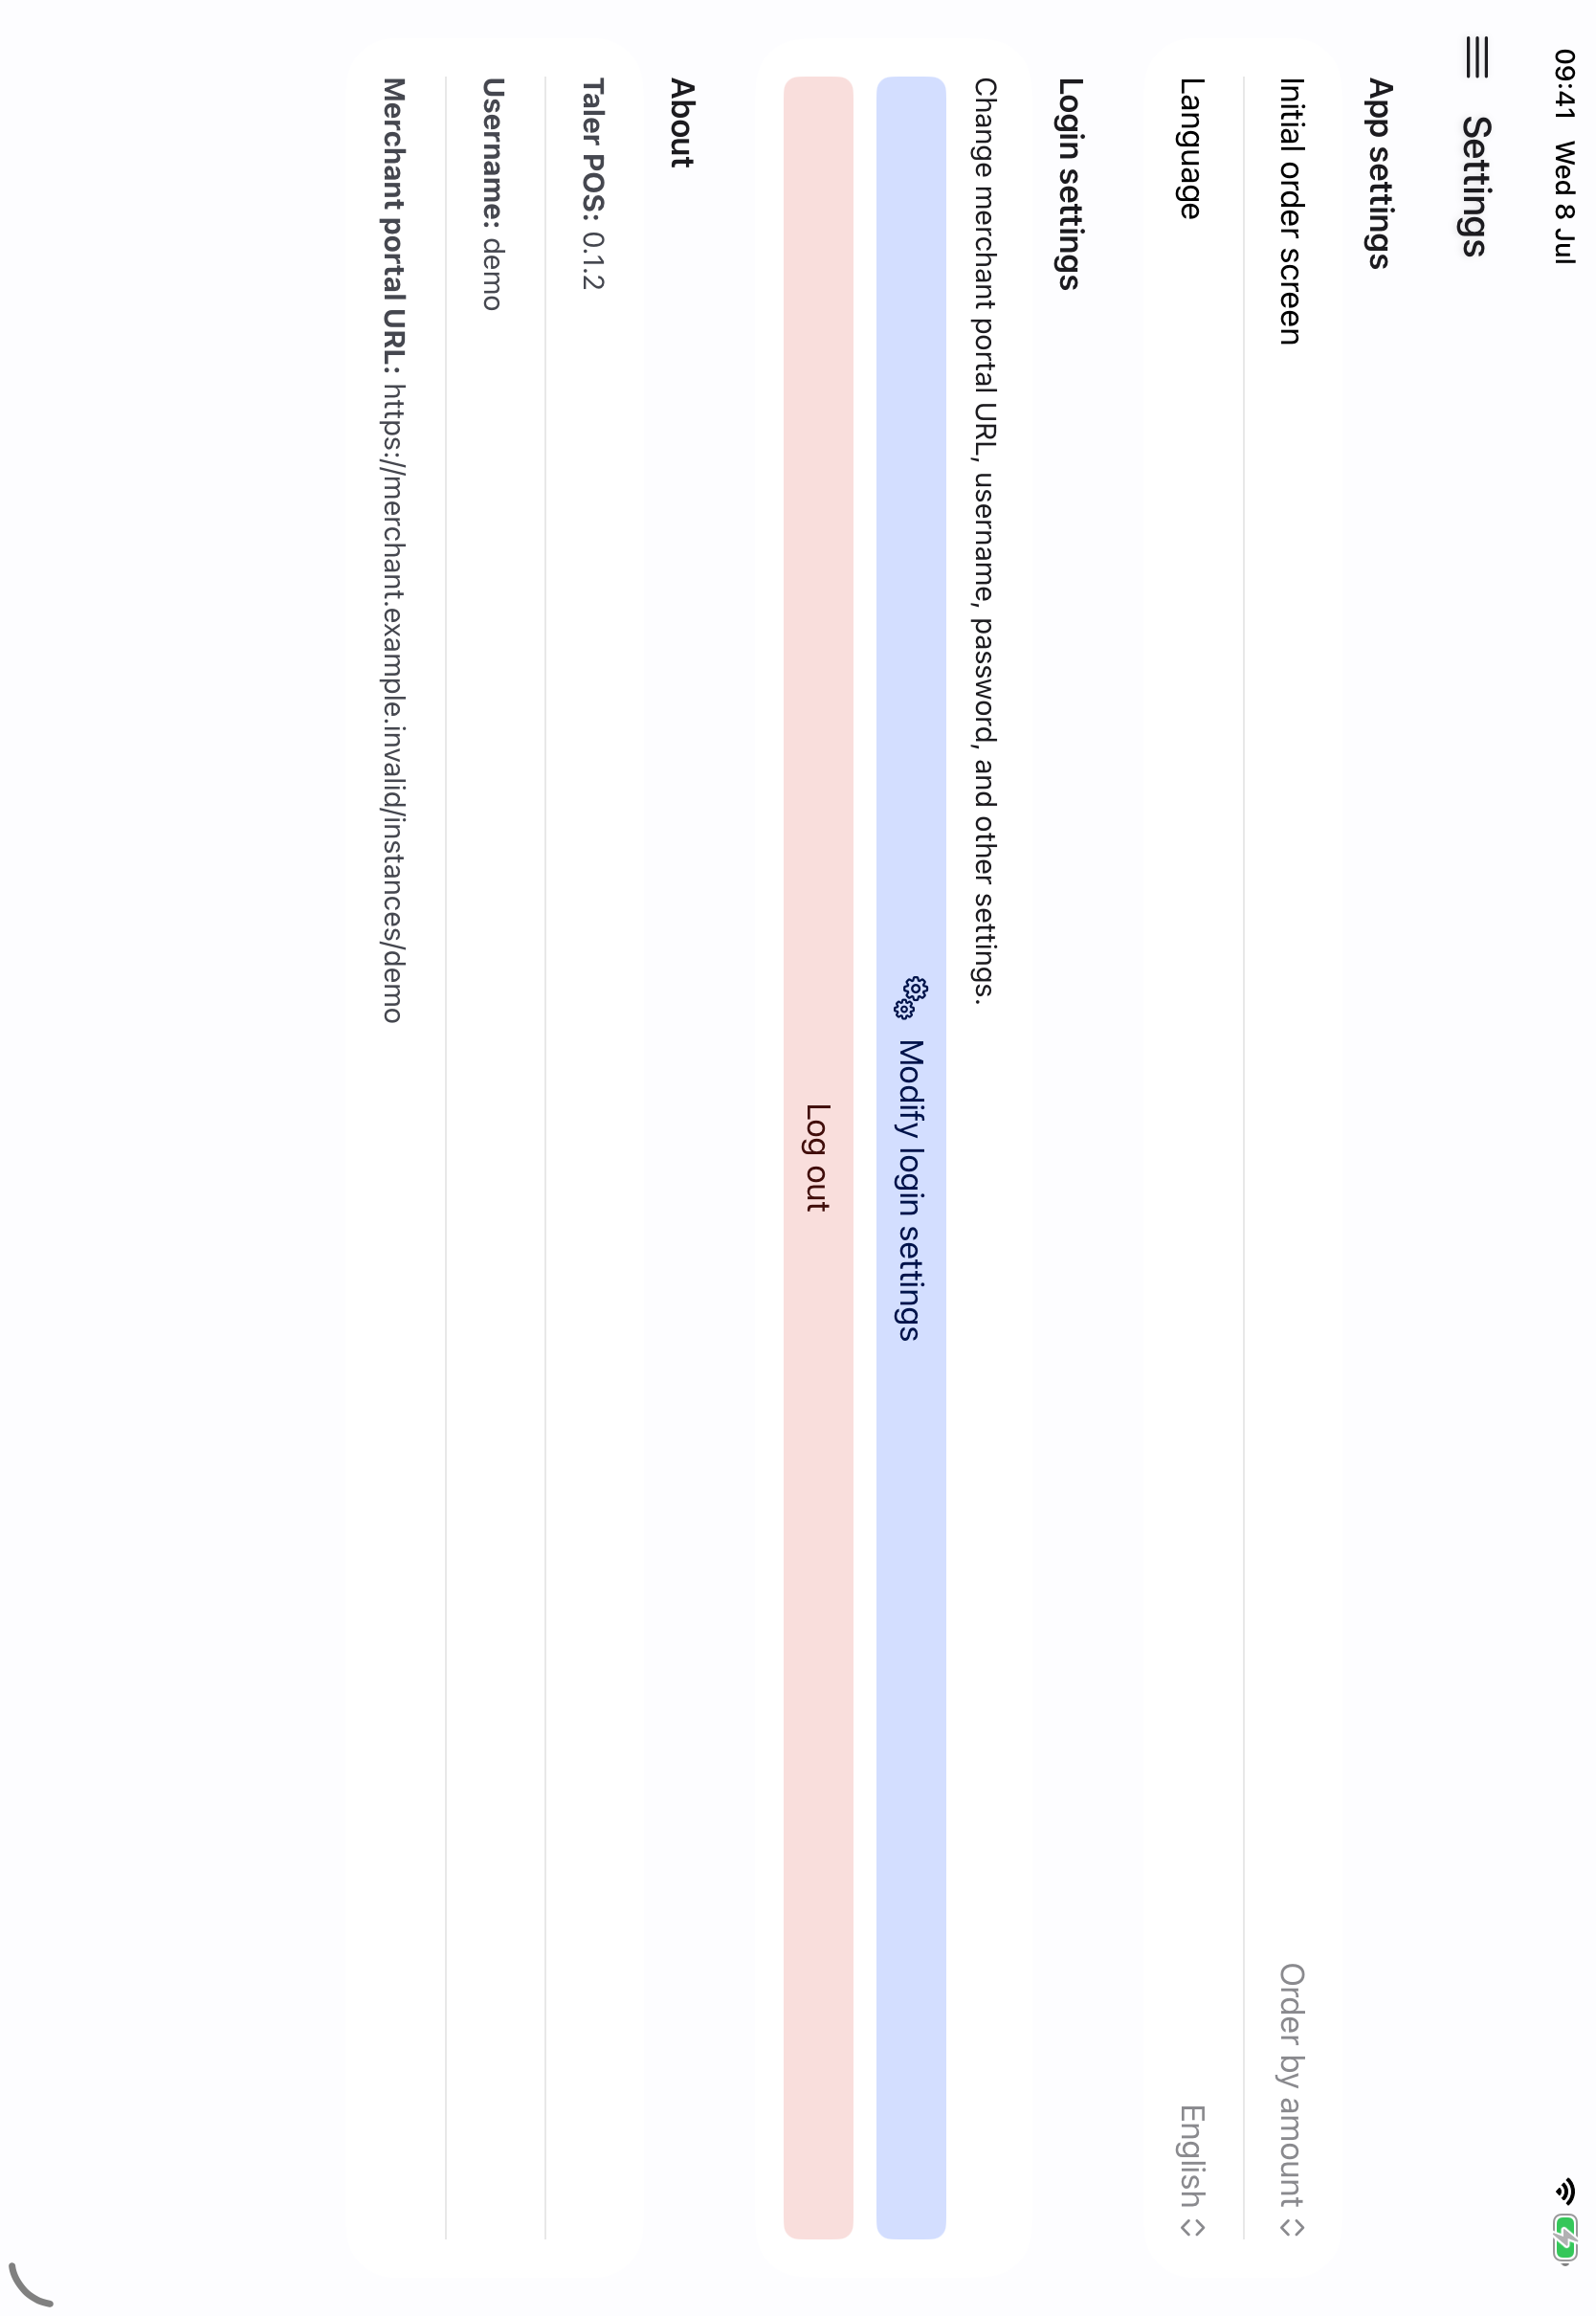
Settings page for the point-of-sale app.#
2.2.7.2. App Settings#
Use Initial order screen to choose which order-entry view opens when the app starts.
The available choices are:
Order by amount: start with the quick amount-entry screen.
Order by inventory: start with the product-based order screen.
Use Language to choose the app interface language. The default option follows the system language. Selecting another language applies the change immediately.
2.2.7.3. Login Settings#
The login settings section is used when the app should connect to another Merchant Portal account or when the saved credentials must be changed.
Select Modify login settings to change the Merchant Portal URL, username, password.
Select Log out to remove the current session and return to the sign-in flow. After logging out, sign in again as described in Sign in to the Point-of-Sale App.
2.2.7.4. About#
The about section shows information about the currently configured app and Merchant Portal account, including:
The app version.
The active merchant username, if available.
The Merchant Portal URL and version, if available.