

2.1.3.1. Obtain an Instance on my.taler-ops.ch#
Merchants can use my.taler-ops.ch to provision a hosted GNU Taler Merchant backend instance. The provisioned account gives access to the merchant portal, where orders, inventory, bank accounts, and instance settings can be managed.
This tutorial shows the self-provisioning flow. The exact compliance and activation requirements may depend on the operating environment and the merchant account.
2.1.3.1.1. Create the account#
Open my.taler-ops.ch. If you do not yet have an account, select Create new account below the login form.
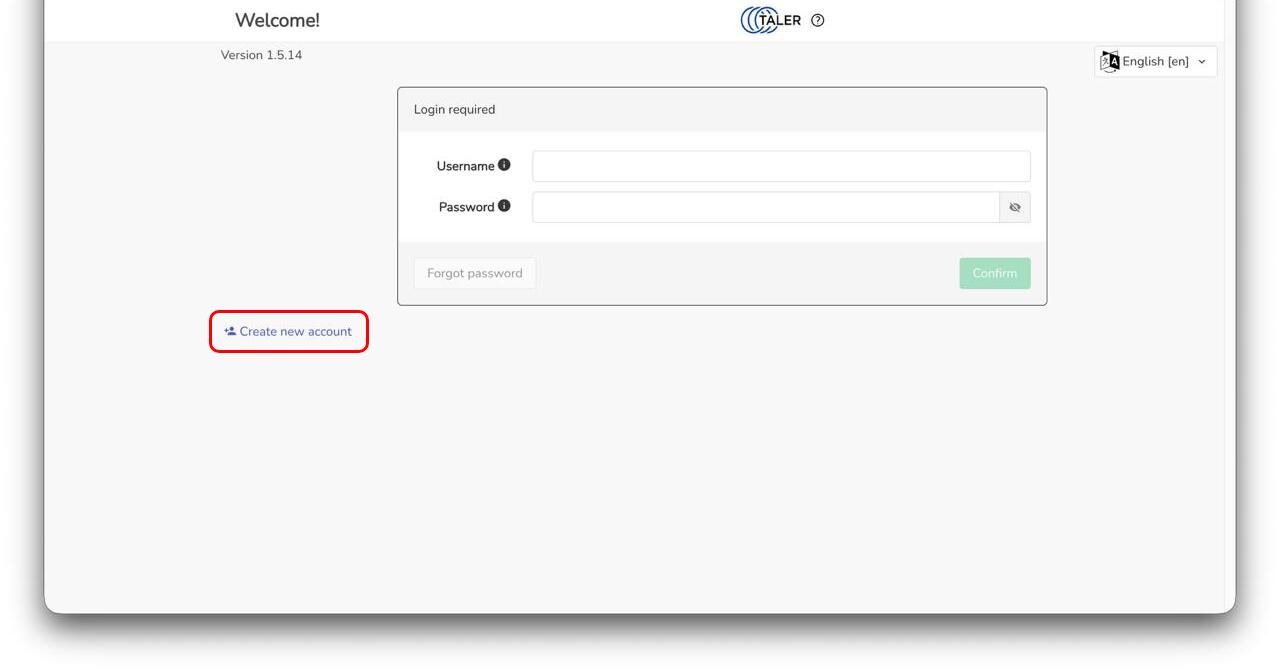
Login screen before creating a new account.#
The self-provisioning form asks for the merchant login name, business name, password, e-mail address, and phone number. Read and accept the terms of service before creating the account.
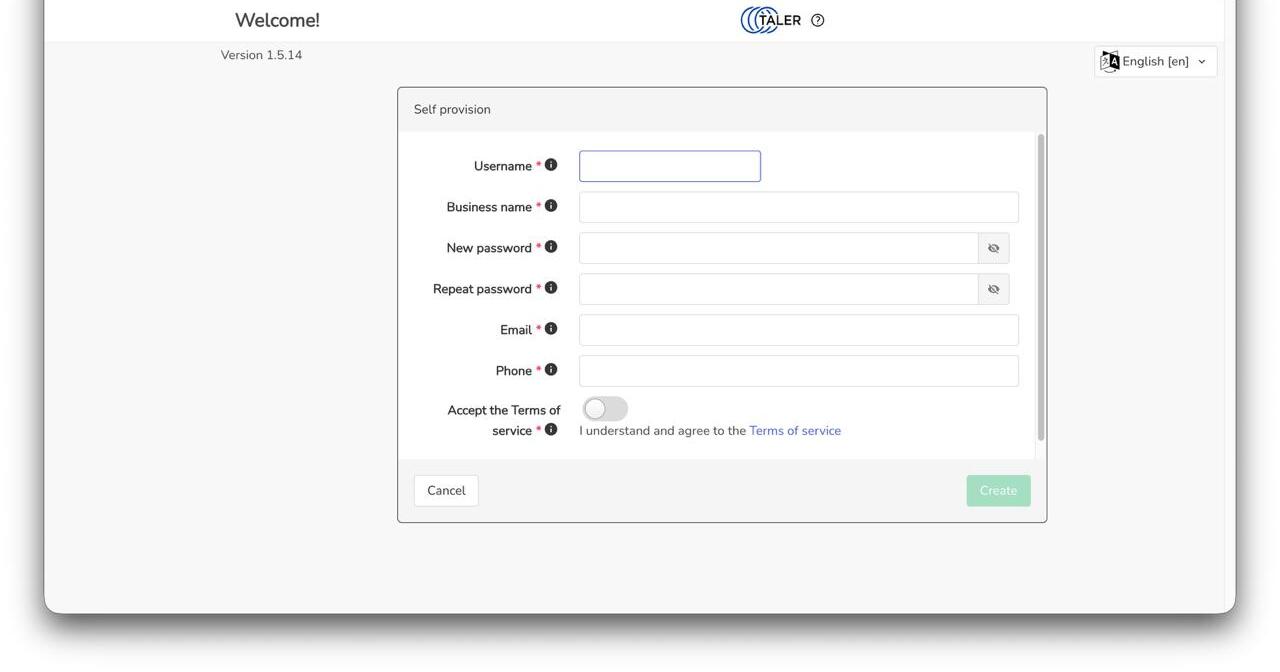
Empty self-provisioning form.#
Fill in the form with the merchant’s own account details. The screenshot below uses example values only.
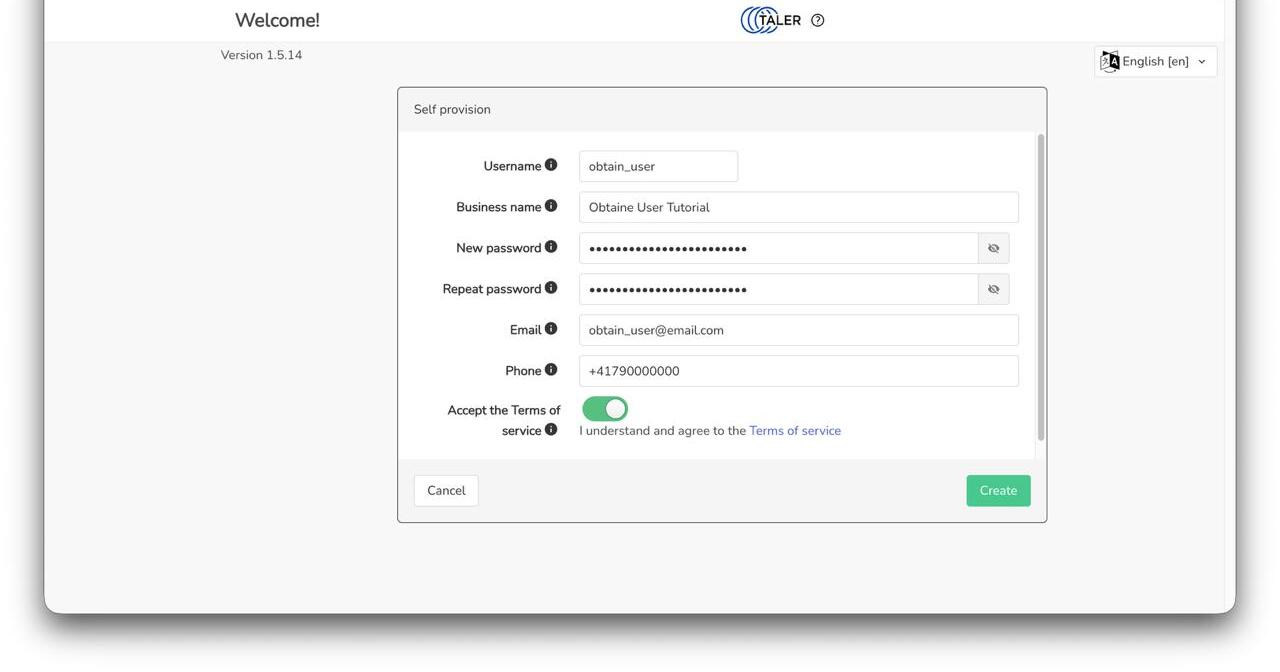
Filled self-provisioning form before account creation.#
After submitting the form, the portal sends a verification code to the e-mail address from the registration form. Enter the code and confirm the verification.
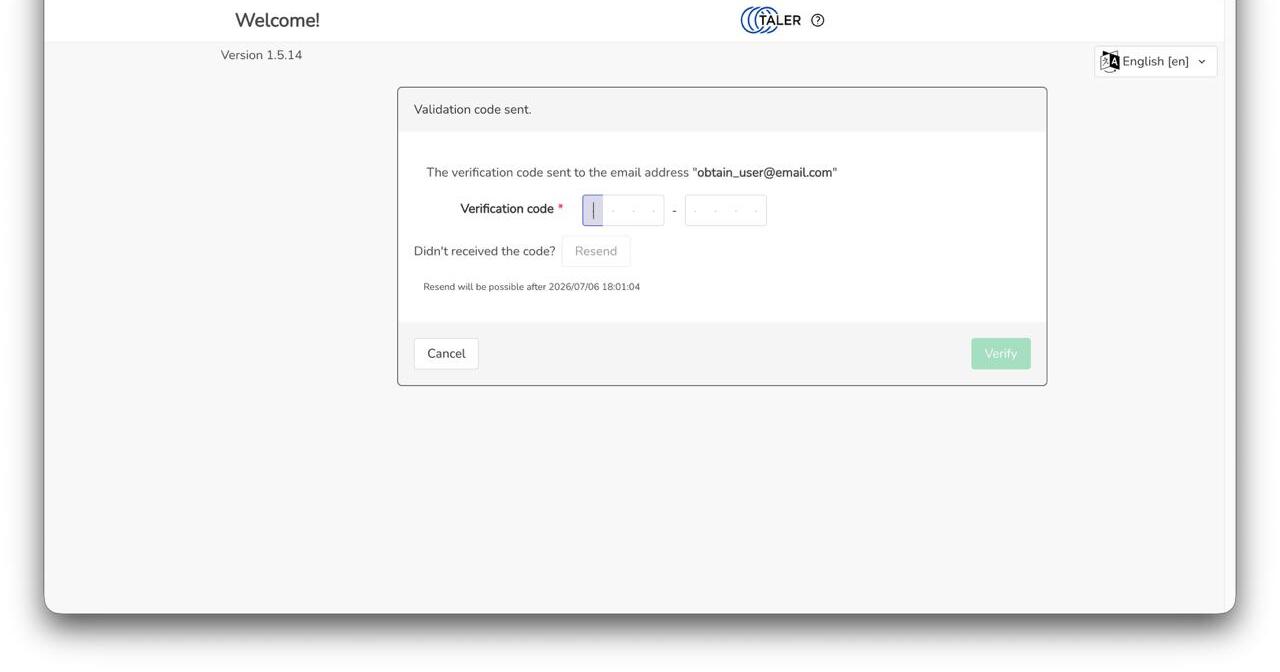
E-mail verification code form.#
2.1.3.1.2. Associate a bank account#
After the account is created, the portal opens the merchant backend interface. Before the merchant can create orders, a bank account must be associated with the instance.
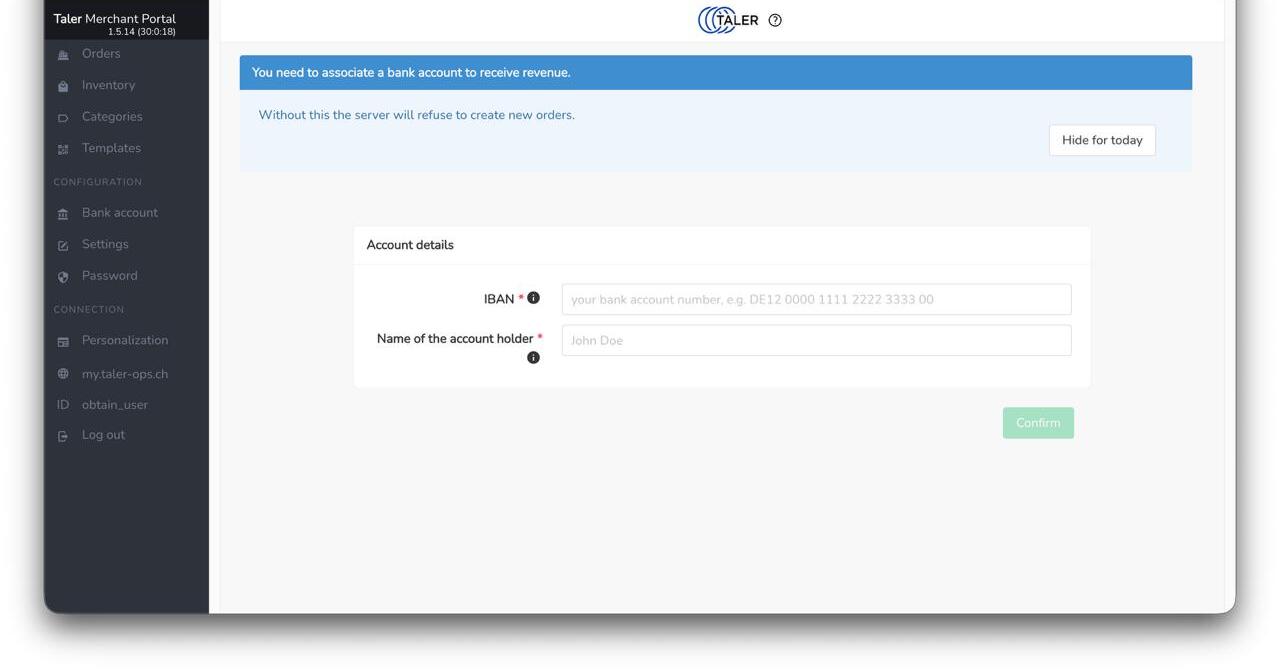
Bank account association form.#
Enter the IBAN and the legal name of the account holder. These values must belong to the merchant bank account that will receive the revenue.
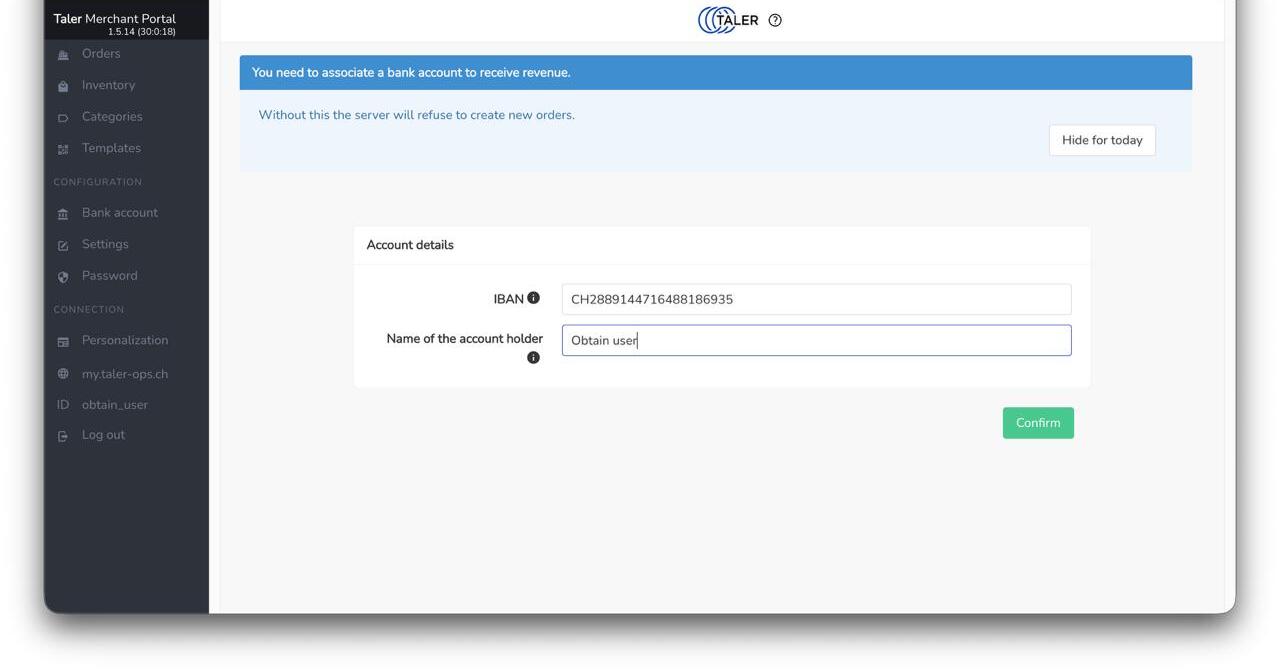
Filled bank account form before confirmation.#
2.1.3.1.3. Verify the bank account#
After the bank account is saved, open KYC Status in the left navigation. The portal shows the exchange, the configured account, and the current verification status.
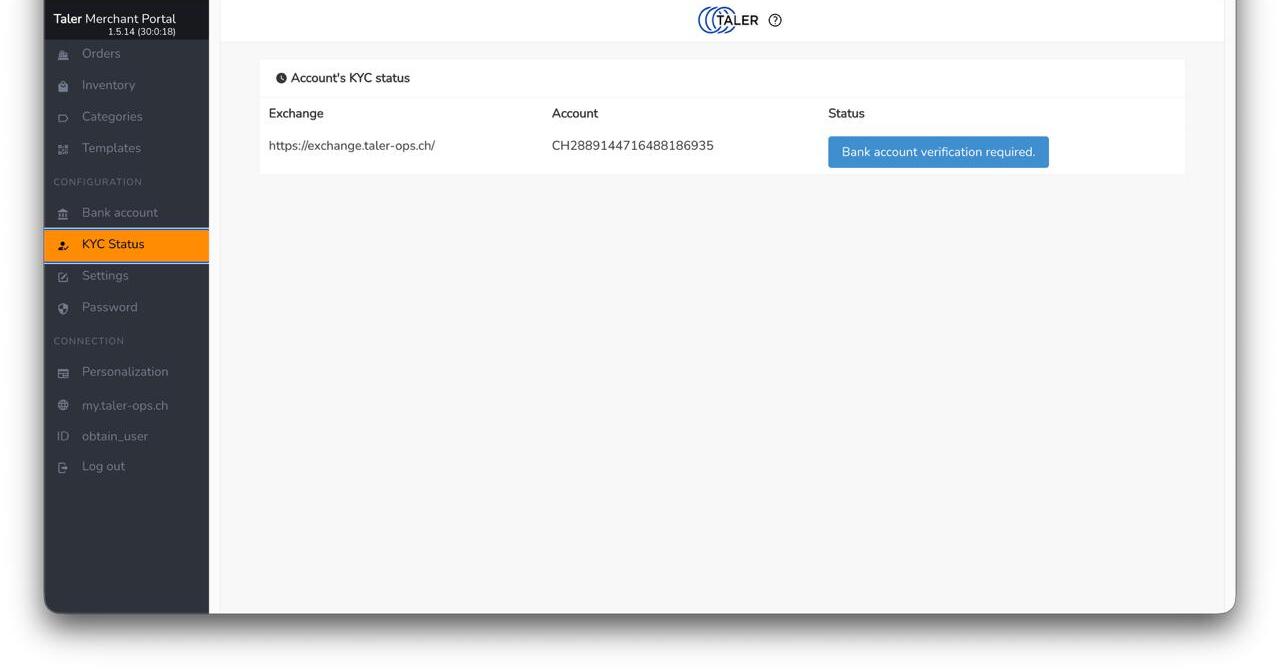
KYC status page after adding the bank account.#
Select Bank account verification required to open the verification instructions. The portal displays the target IBAN, beneficiary, QR code, and payment subject that must be used for the verification transfer.
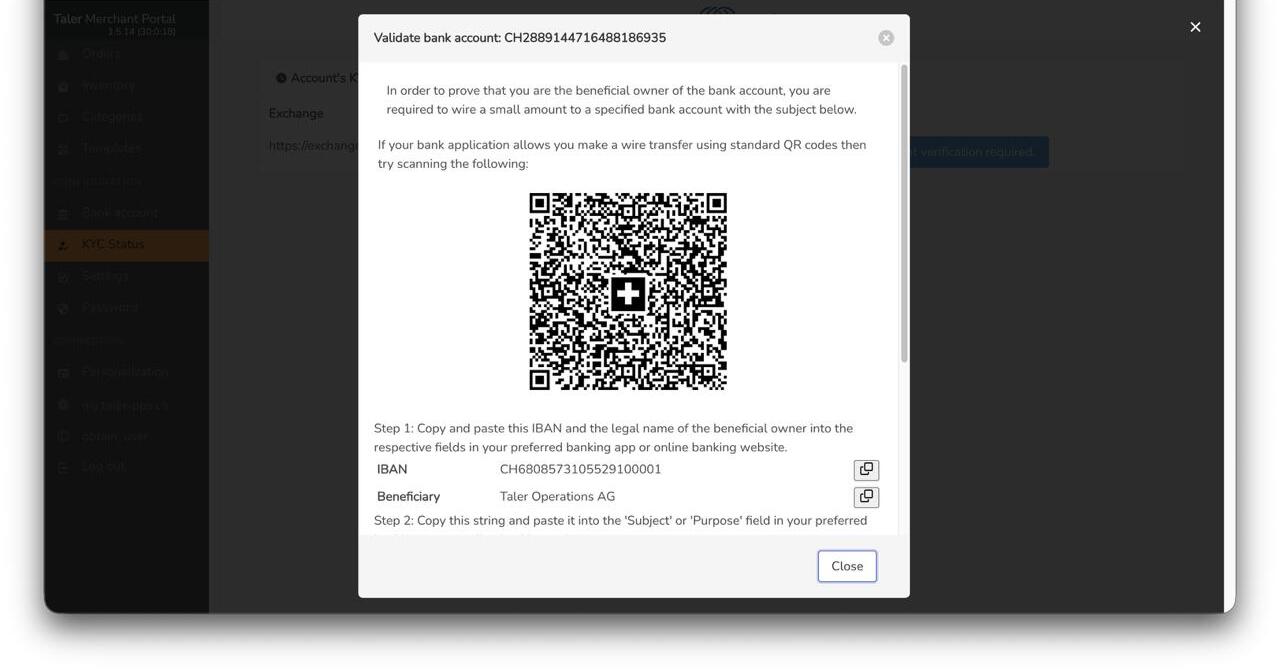
Bank account verification transfer instructions.#
Importante
Use the bank-transfer details generated by the portal for your account. Do not reuse the example values shown in screenshots.
The verification transfer must be sent from the same bank account that was entered in the previous bank-account form. In particular, the IBAN of the account sending the transfer must match the IBAN registered in the merchant portal. If the transfer comes from another account, the bank-account verification will not succeed.
After the verification transfer has been processed, the account status is updated by the service.