Effettuare una donazione e ottenere una ricevuta fiscale
Contenuti
1.6. Effettuare una donazione e ottenere una ricevuta fiscale#
Il portafoglio GNU Taler ti consente di effettuare donazioni private e sicure a organizzazioni e progetti che supportano il sistema di pagamento Taler. Se la tua autorità fiscale e l’ente di beneficenza lo supportano entrambi, il tuo portafoglio può anche generare una ricevuta che tutela la privacy del totale delle tue donazioni annuali, semplificando la dichiarazione dei redditi.
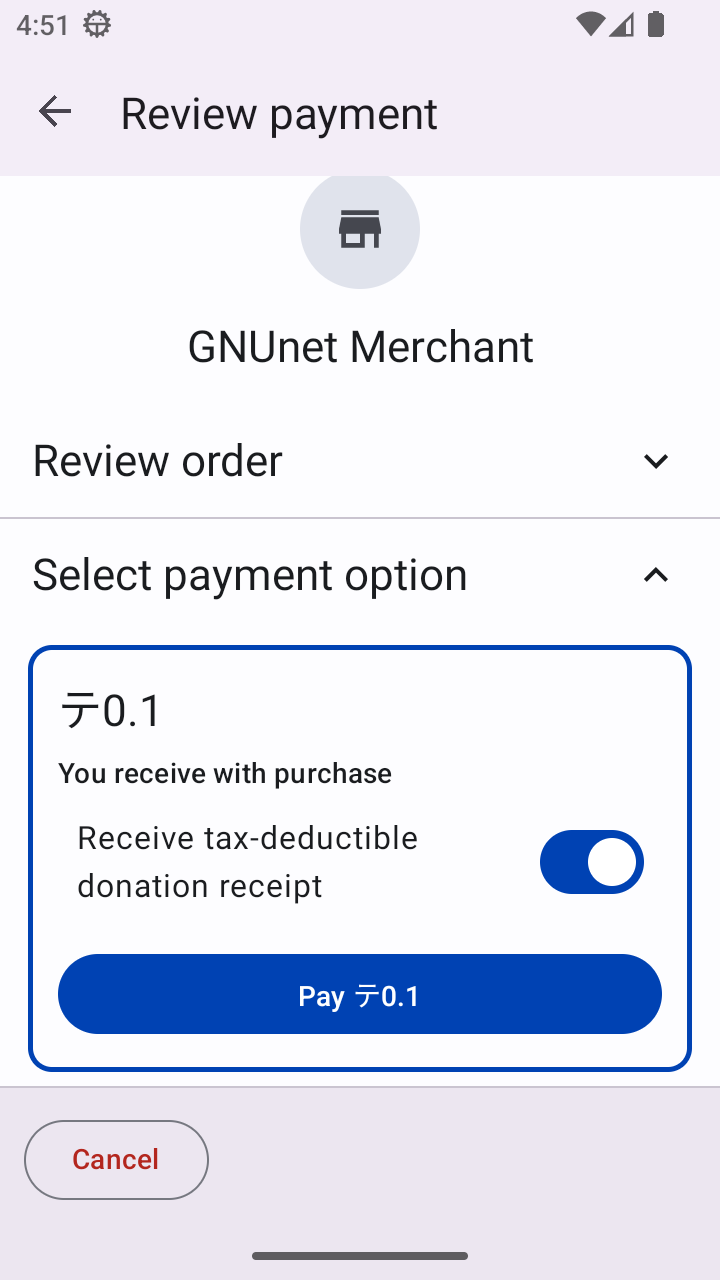
Dopo aver scansionato il codice QR, il portafoglio apre la schermata Review payment.
Revisione di una donazione prima del pagamento nel portafoglio Taler.#
Questa schermata riassume l’ordine di donazione ricevuto dal venditore.
Mostra:
Merchant name – l’organizzazione che riceve la donazione (ad esempio, GNUnet Merchant).
Donation amount – l’importo totale da pagare.
Tax receipt option – un interruttore che consente di richiedere una ricevuta di donazione deducibile dalle tasse.
Pay button – conferma il pagamento e completa la donazione.
Per richiedere una ricevuta fiscale, attiva l’interruttore “Receive tax-deductible donation receipt” prima di premere il pulsante Pay.
Se non hai bisogno di una ricevuta fiscale, lascia semplicemente disattivato l’interruttore e continua.
Nota
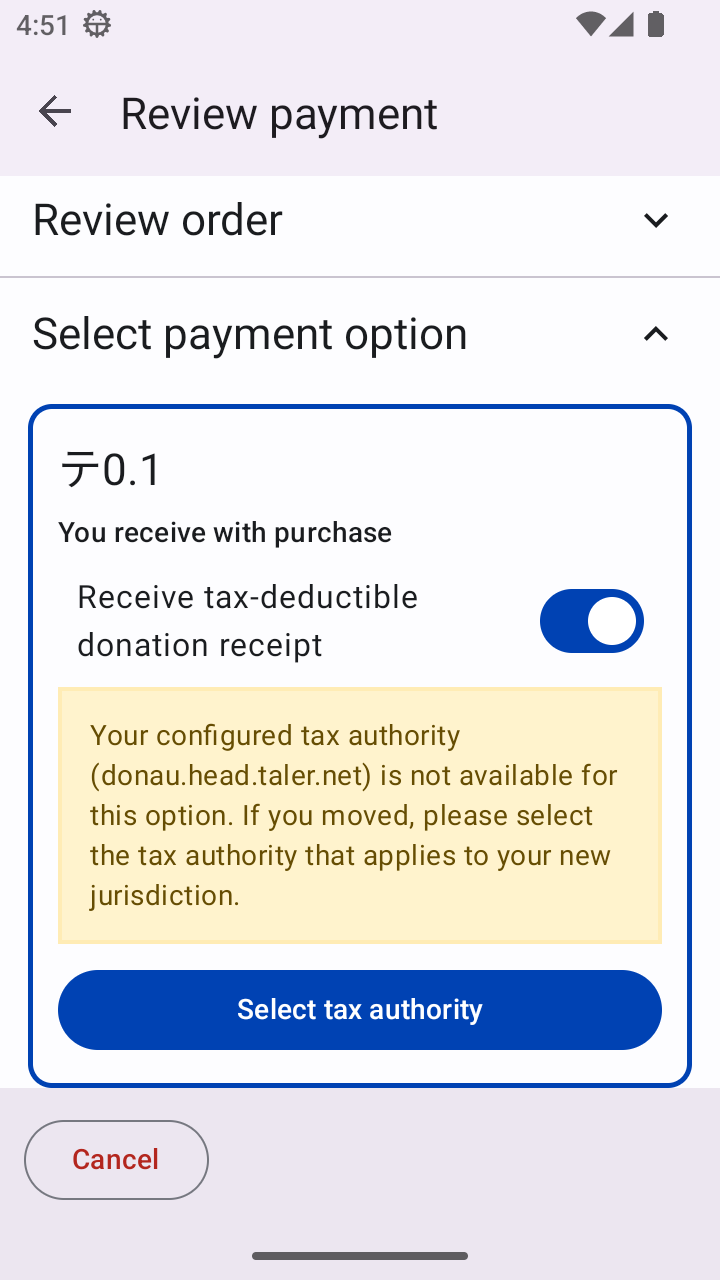
Se nel tuo portafoglio non è configurata alcuna autorità per le donazioni, o se l’autorità configurata non supporta questo tipo di pagamento, attivando l’interruttore “Receive tax-deductible donation receipt” comparirà un’opzione per Select tax authority.
In questo caso, hai due opzioni:
Proceed without a tax receipt – lascia disattivato l’interruttore e premi Pay per completare la donazione. La tua donazione verrà elaborata normalmente, ma non verrà emessa alcuna ricevuta fiscale.
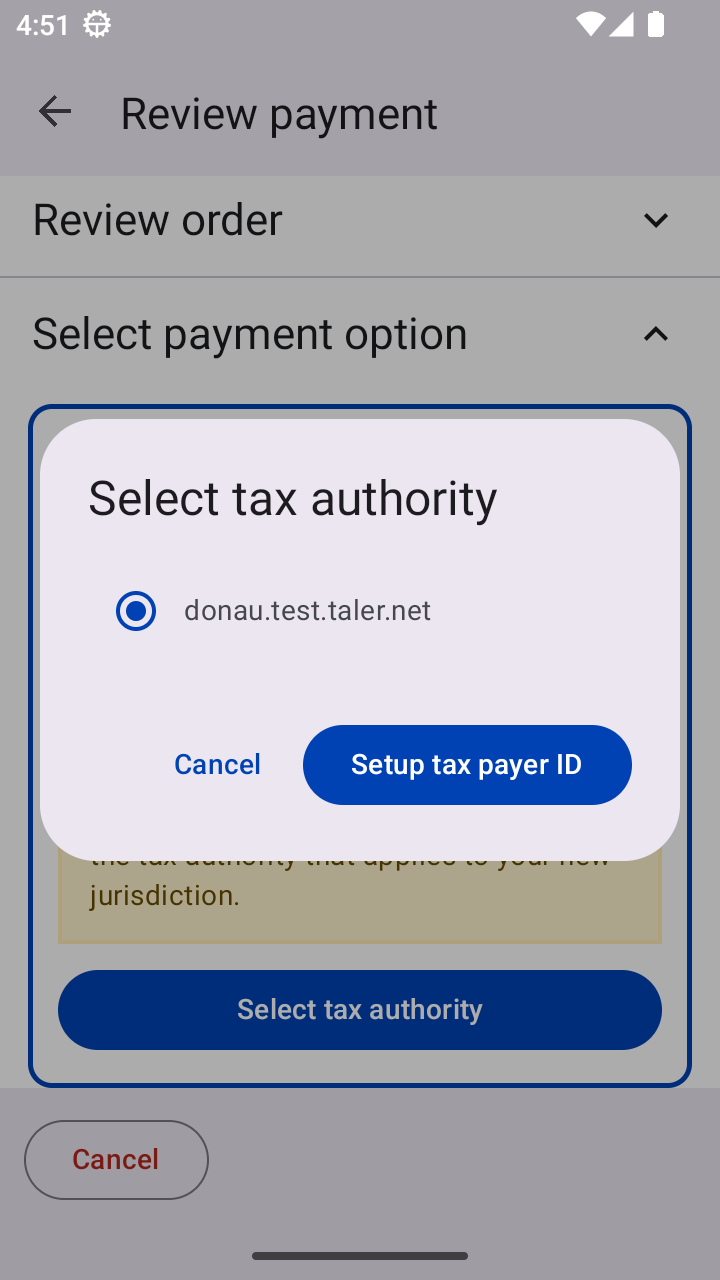
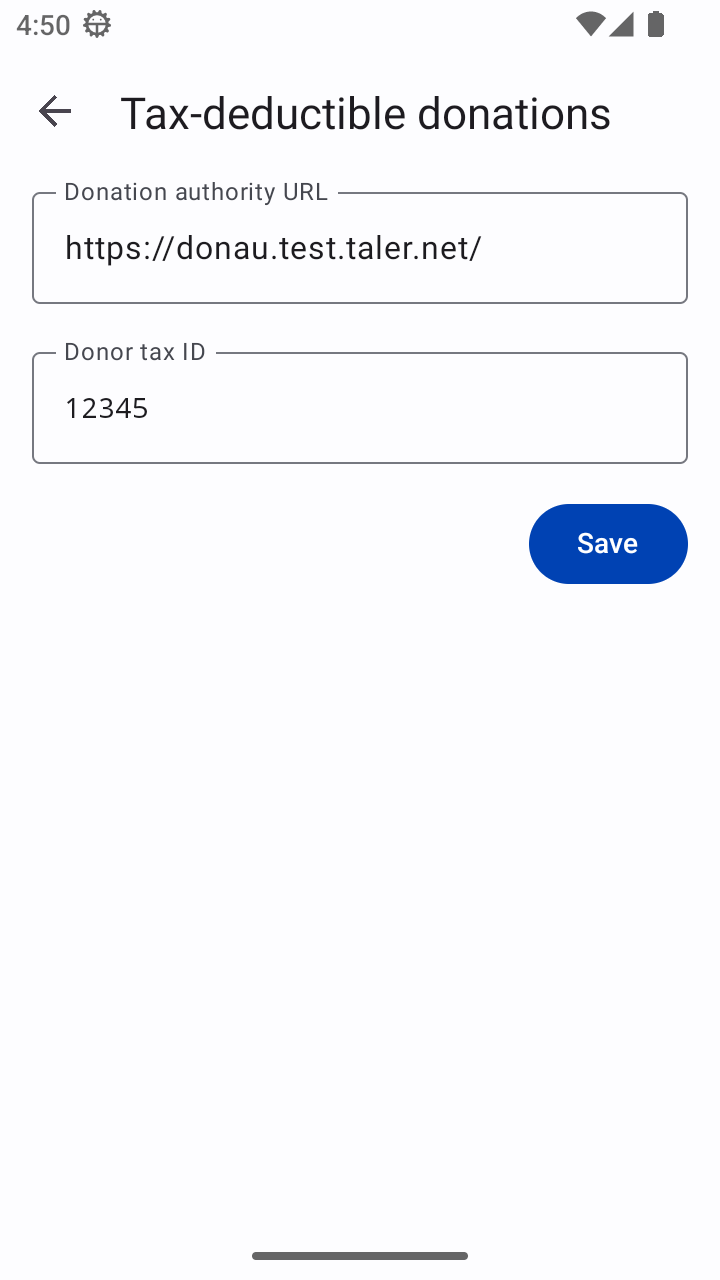
Configure a donation authority che supporti questo pagamento – premi il pulsante Select tax authority per configurarla e inserire il tax payer ID.
Schermata di configurazione dell’autorità fiscale nel portafoglio Taler.#
Questo garantisce che vengano utilizzate solo autorità fiscali valide per generare ricevute fiscali ufficiali, in base alle giurisdizioni supportate dal venditore.
Una volta che tutto è corretto, tocca il pulsante Pay per completare la donazione. Puoi anche selezionare Cancel in fondo alla schermata per interrompere il processo.
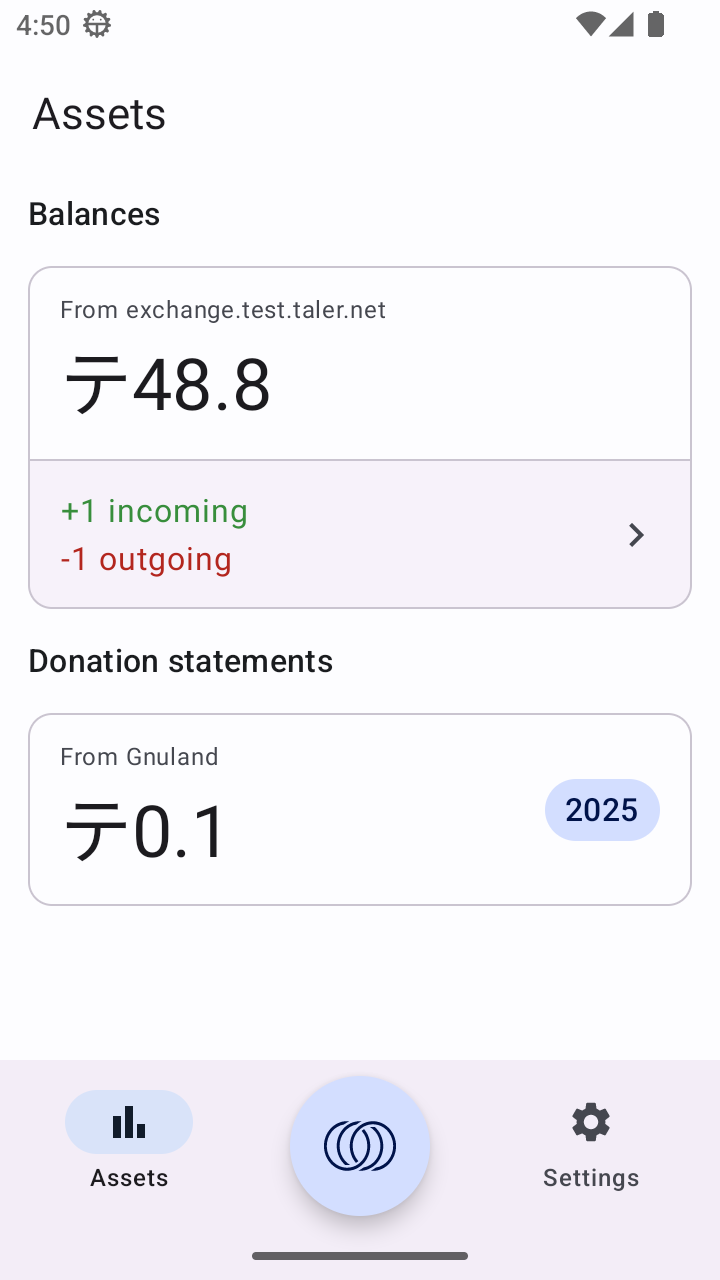
Dopo un pagamento riuscito, il portafoglio mostrerà la sezione Donation statements nella pagina Assets.
Alla fine dell’anno, quando devi presentare la dichiarazione dei redditi, apri questa sezione e clicca sulla voce relativa alla tua autorità fiscale.
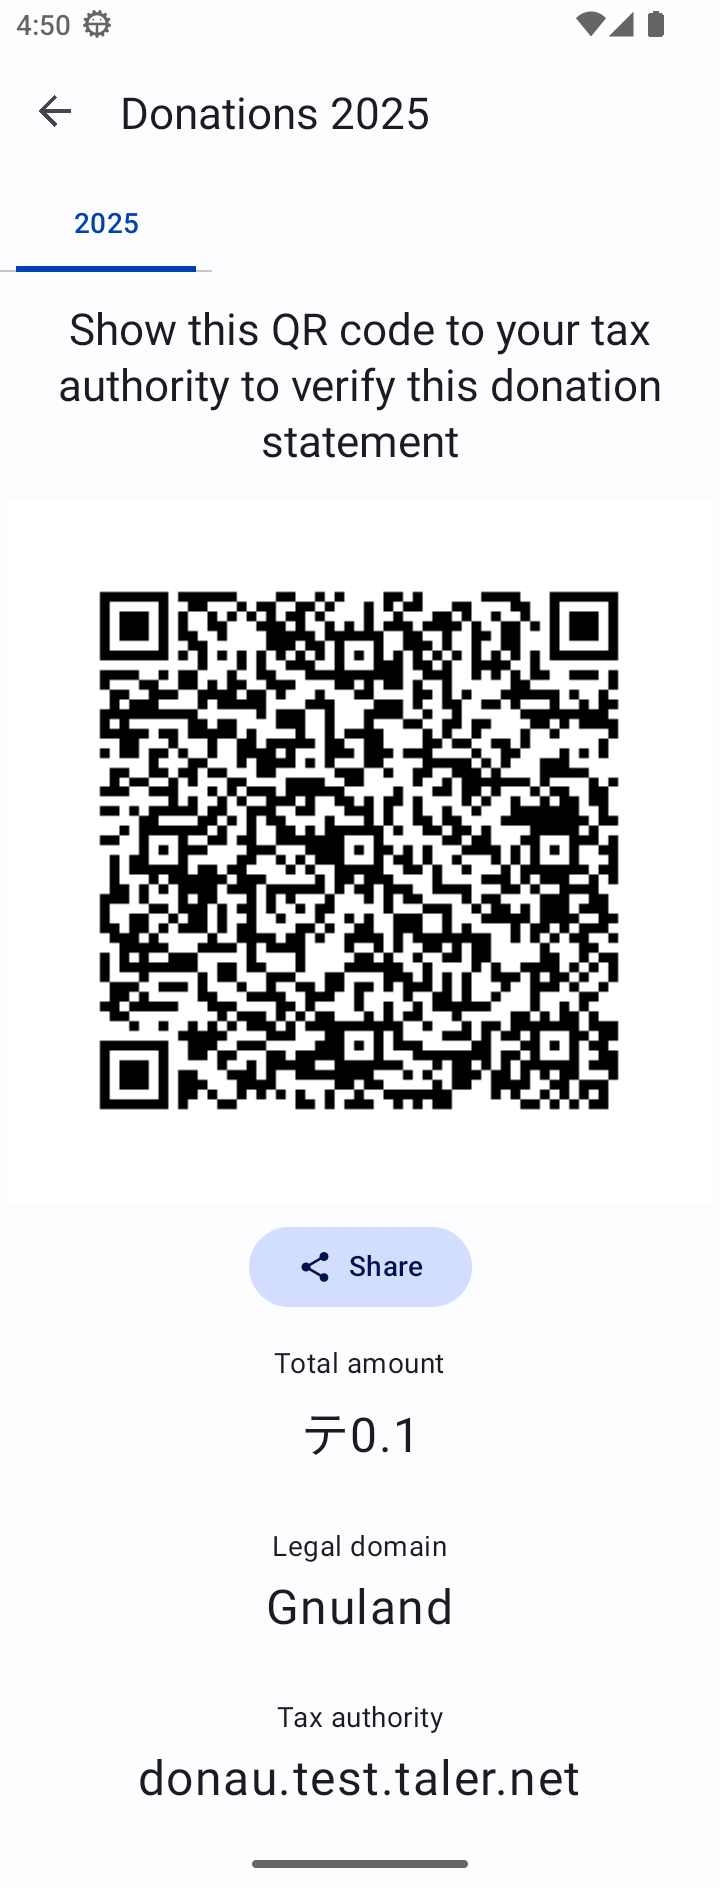
Puoi fornire questo codice QR alla tua autorità fiscale per richiedere la detrazione fiscale.
La tua autorità fiscale può verificare l’autenticità di questa dichiarazione utilizzando il proprio sistema di verifica ufficiale.
Nota
Alla fine dell’anno, ricevi un”unica dichiarazione di donazione combinata che copre tutte le donazioni effettuate tramite Taler durante quel periodo fiscale. Questo semplifica le tue pratiche burocratiche e tutela la tua privacy: l’autorità fiscale conosce solo l’importo totale deducibile, non i singoli enti di beneficenza che hai sostenuto.