

2.2.7. Connect a Taler Payment Device#
Connect a Taler Payment Device so customers can scan the payment QR code or tap their phone to pay by NFC. You can connect it by Bluetooth or USB.
Open Settings → Manage payment options → GNU Taler. The Manage displays section lists your connected devices.
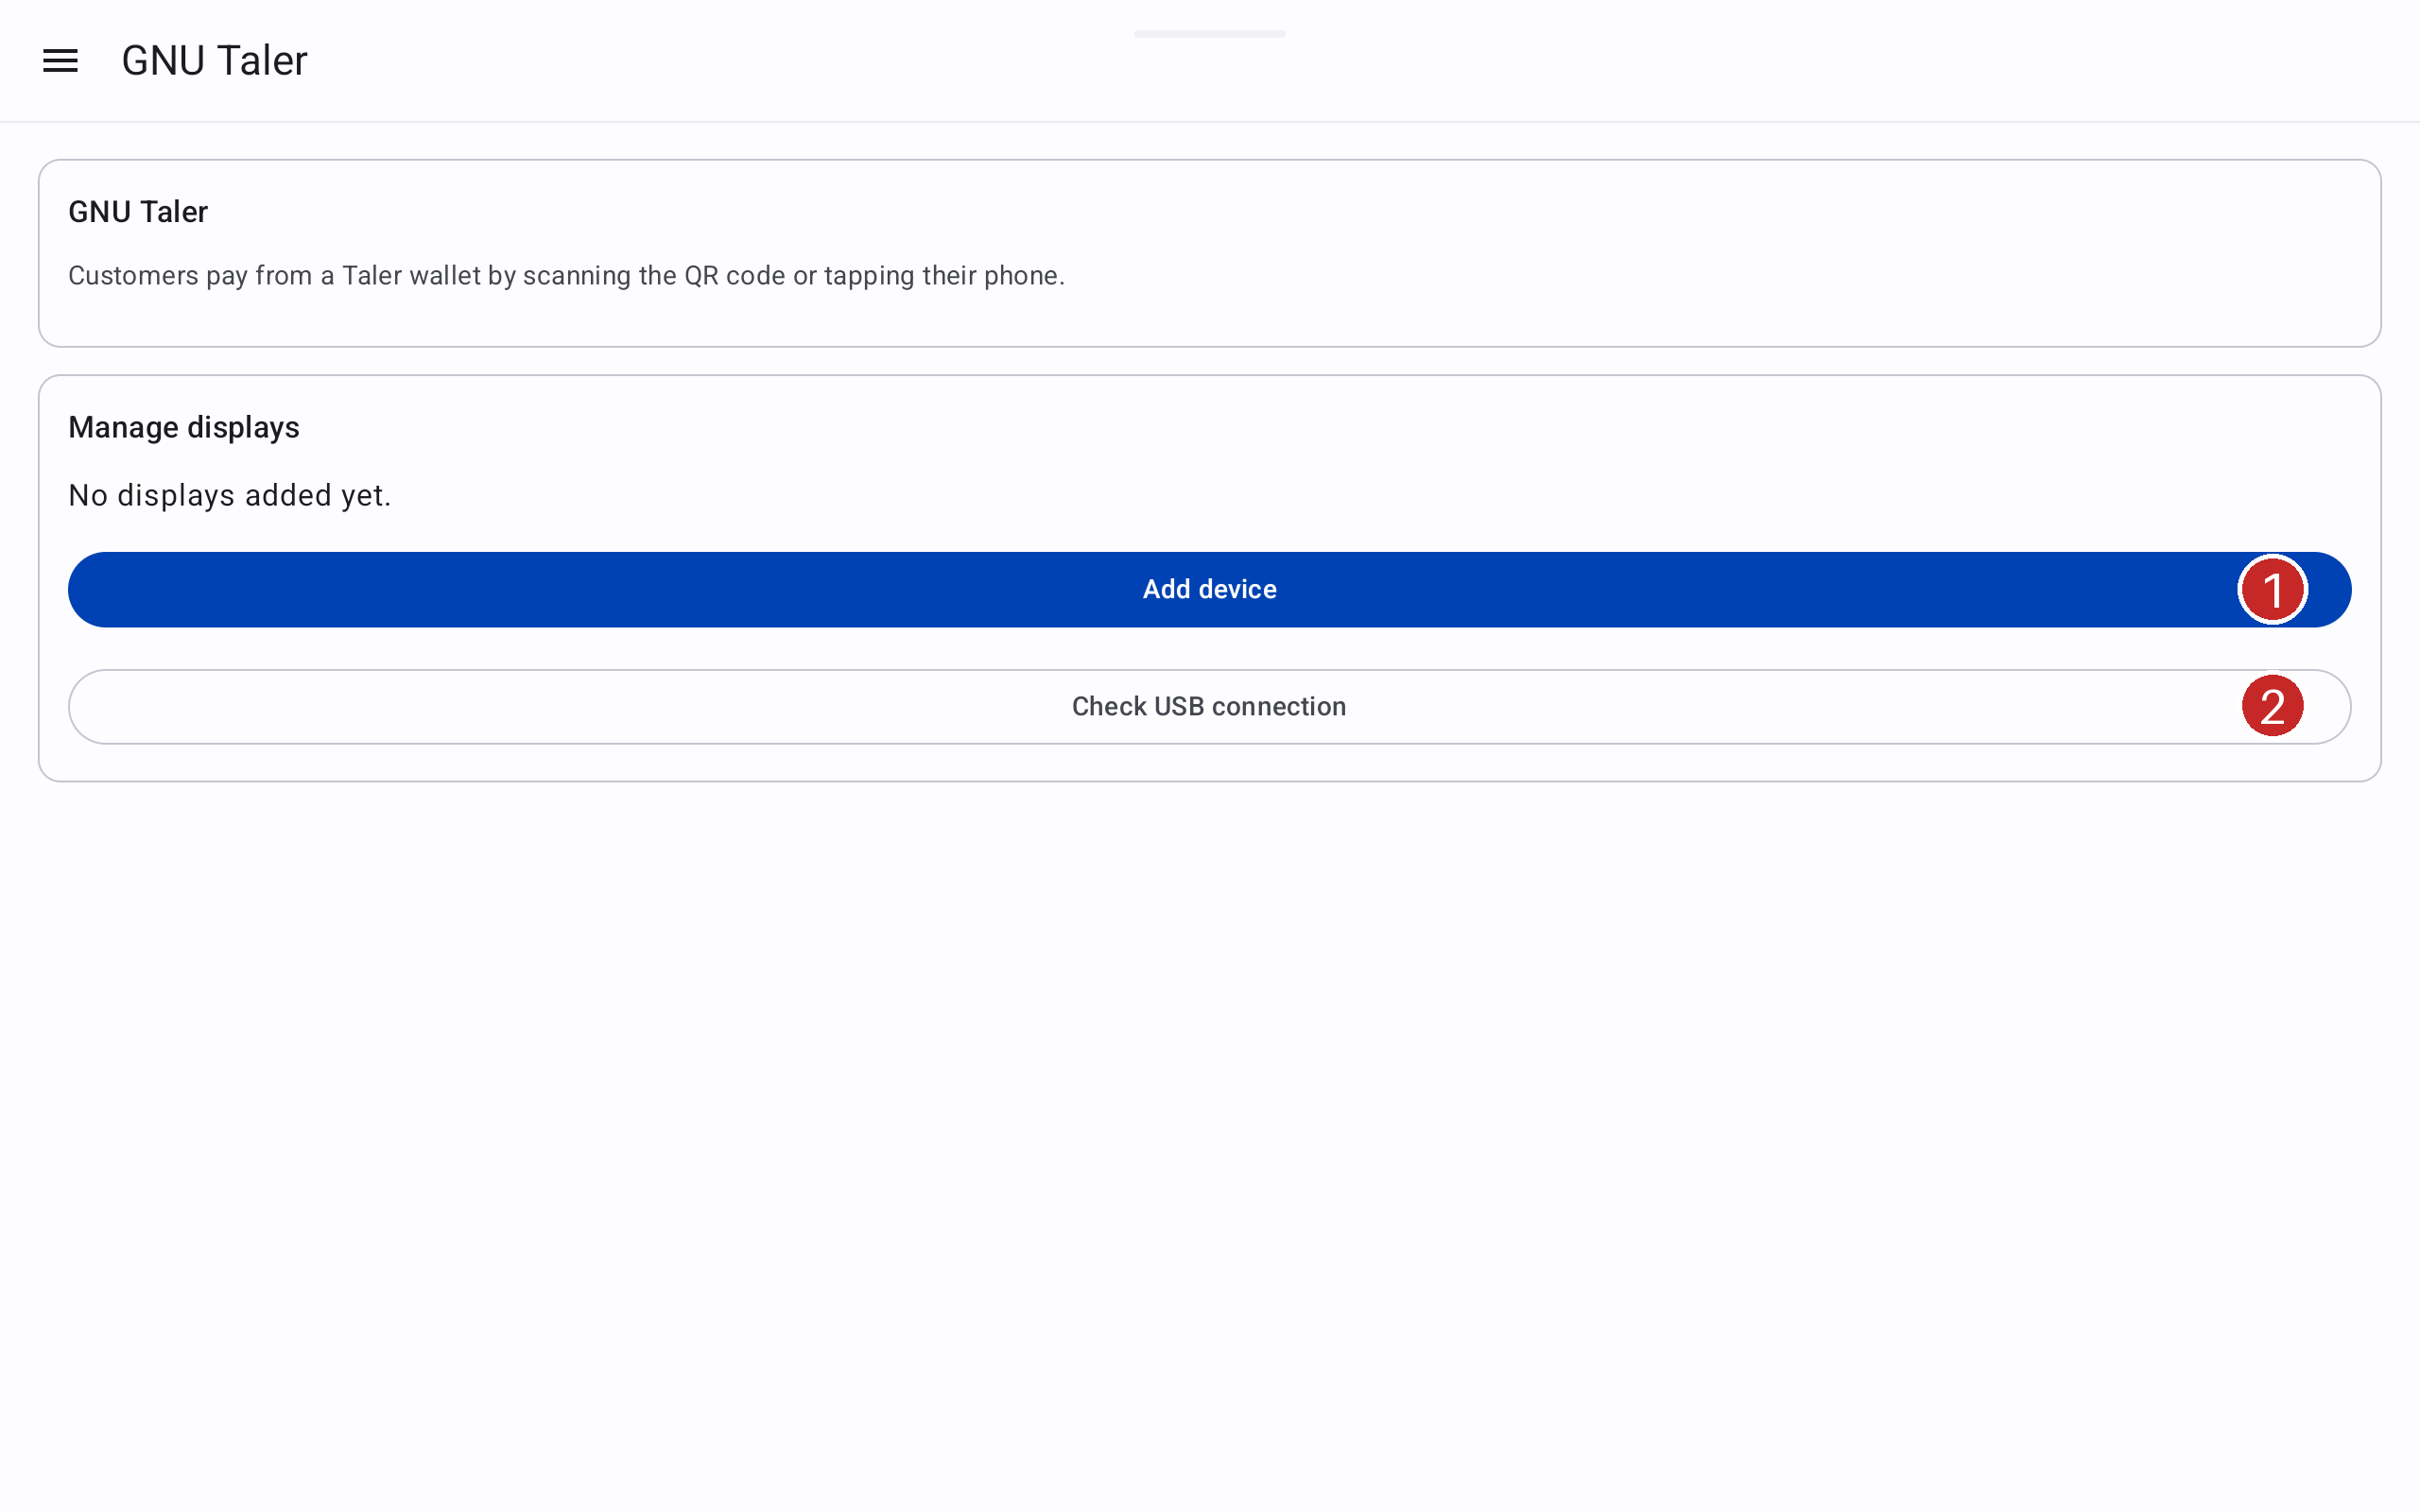
Manage your Taler Payment Devices in GNU Taler settings.#
2.2.7.1. Pairing over Bluetooth#
Keep the Taler Payment Device powered on and near the POS.
Press Add device (1), then choose Bluetooth display.
If requested, allow nearby-device access and turn on Bluetooth. Older Android versions may also require location to be enabled for discovery.
When the POS asks you to open the device settings, swipe left on its screen and tap its settings icon. Press Next on the POS.
On the device, open Bluetooth → Pair a POS. Press Next on the POS.
Select the matching Taler ... device (1) from the search results. If it is missing, keep the device in pairing mode and press Search again.
In Android's pairing prompt, enter the code shown on the device. Complete this while the device's pairing window is open.
Wait for Display connected, then press Done.
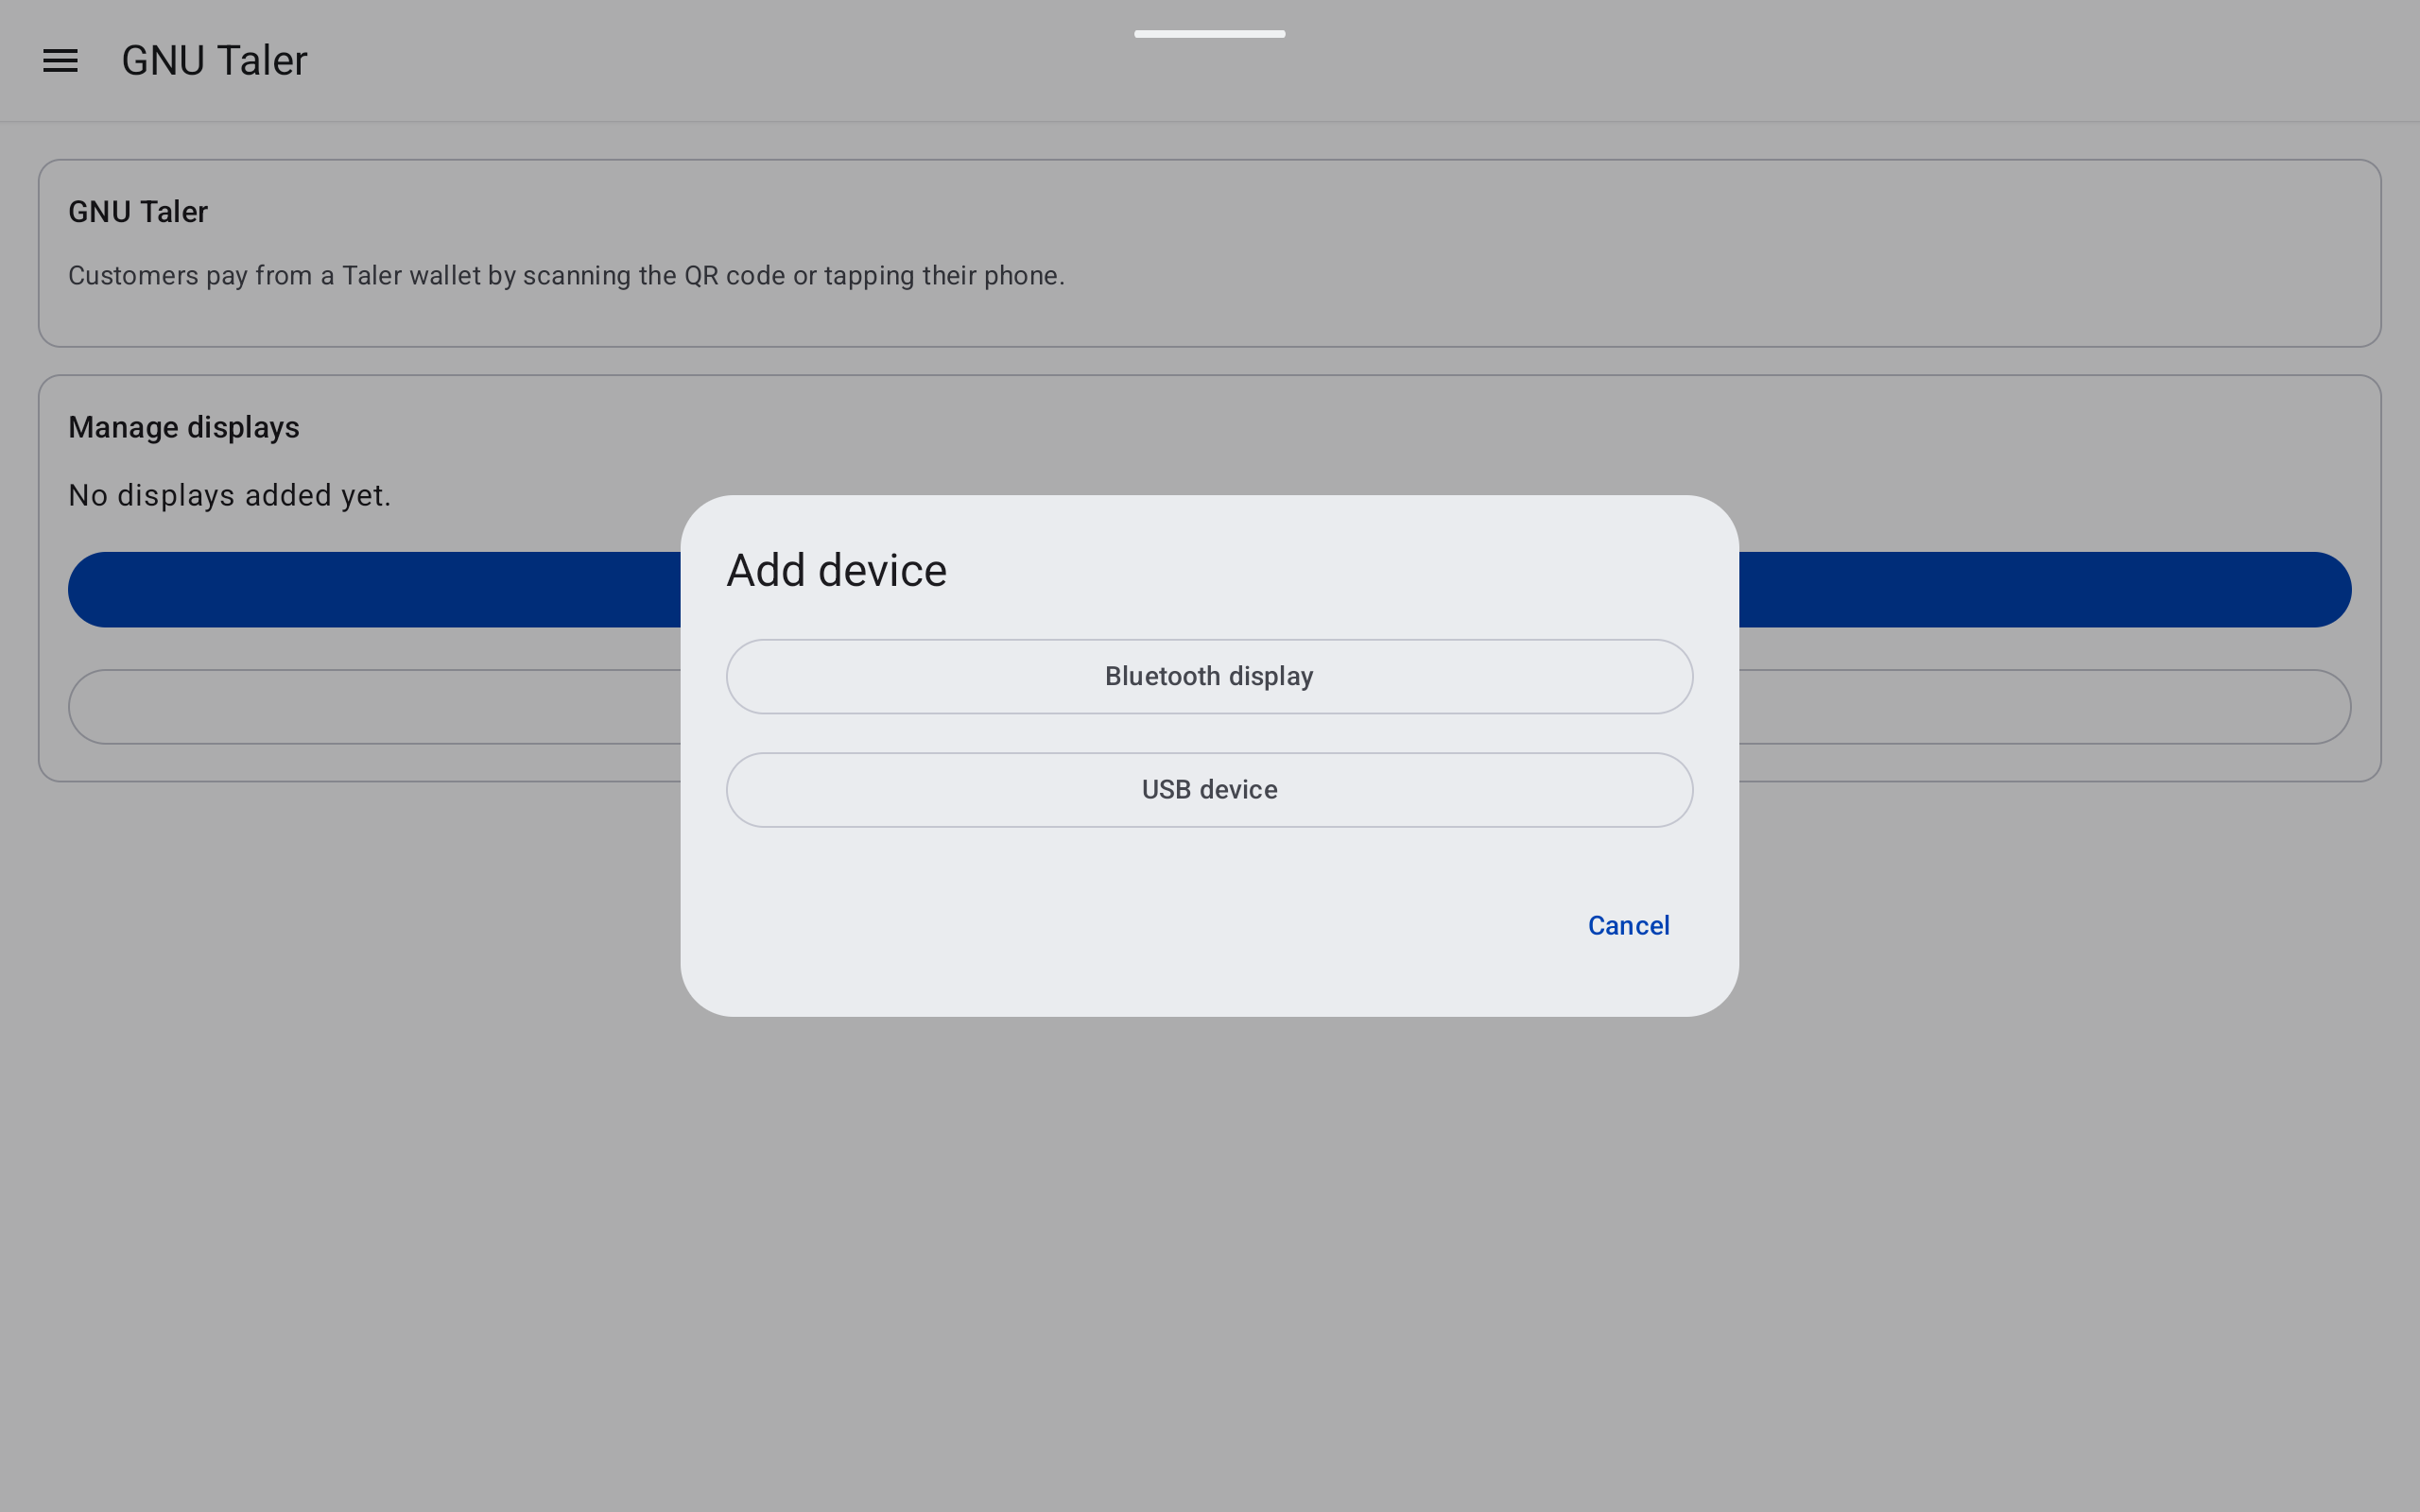
Select the connection type.#
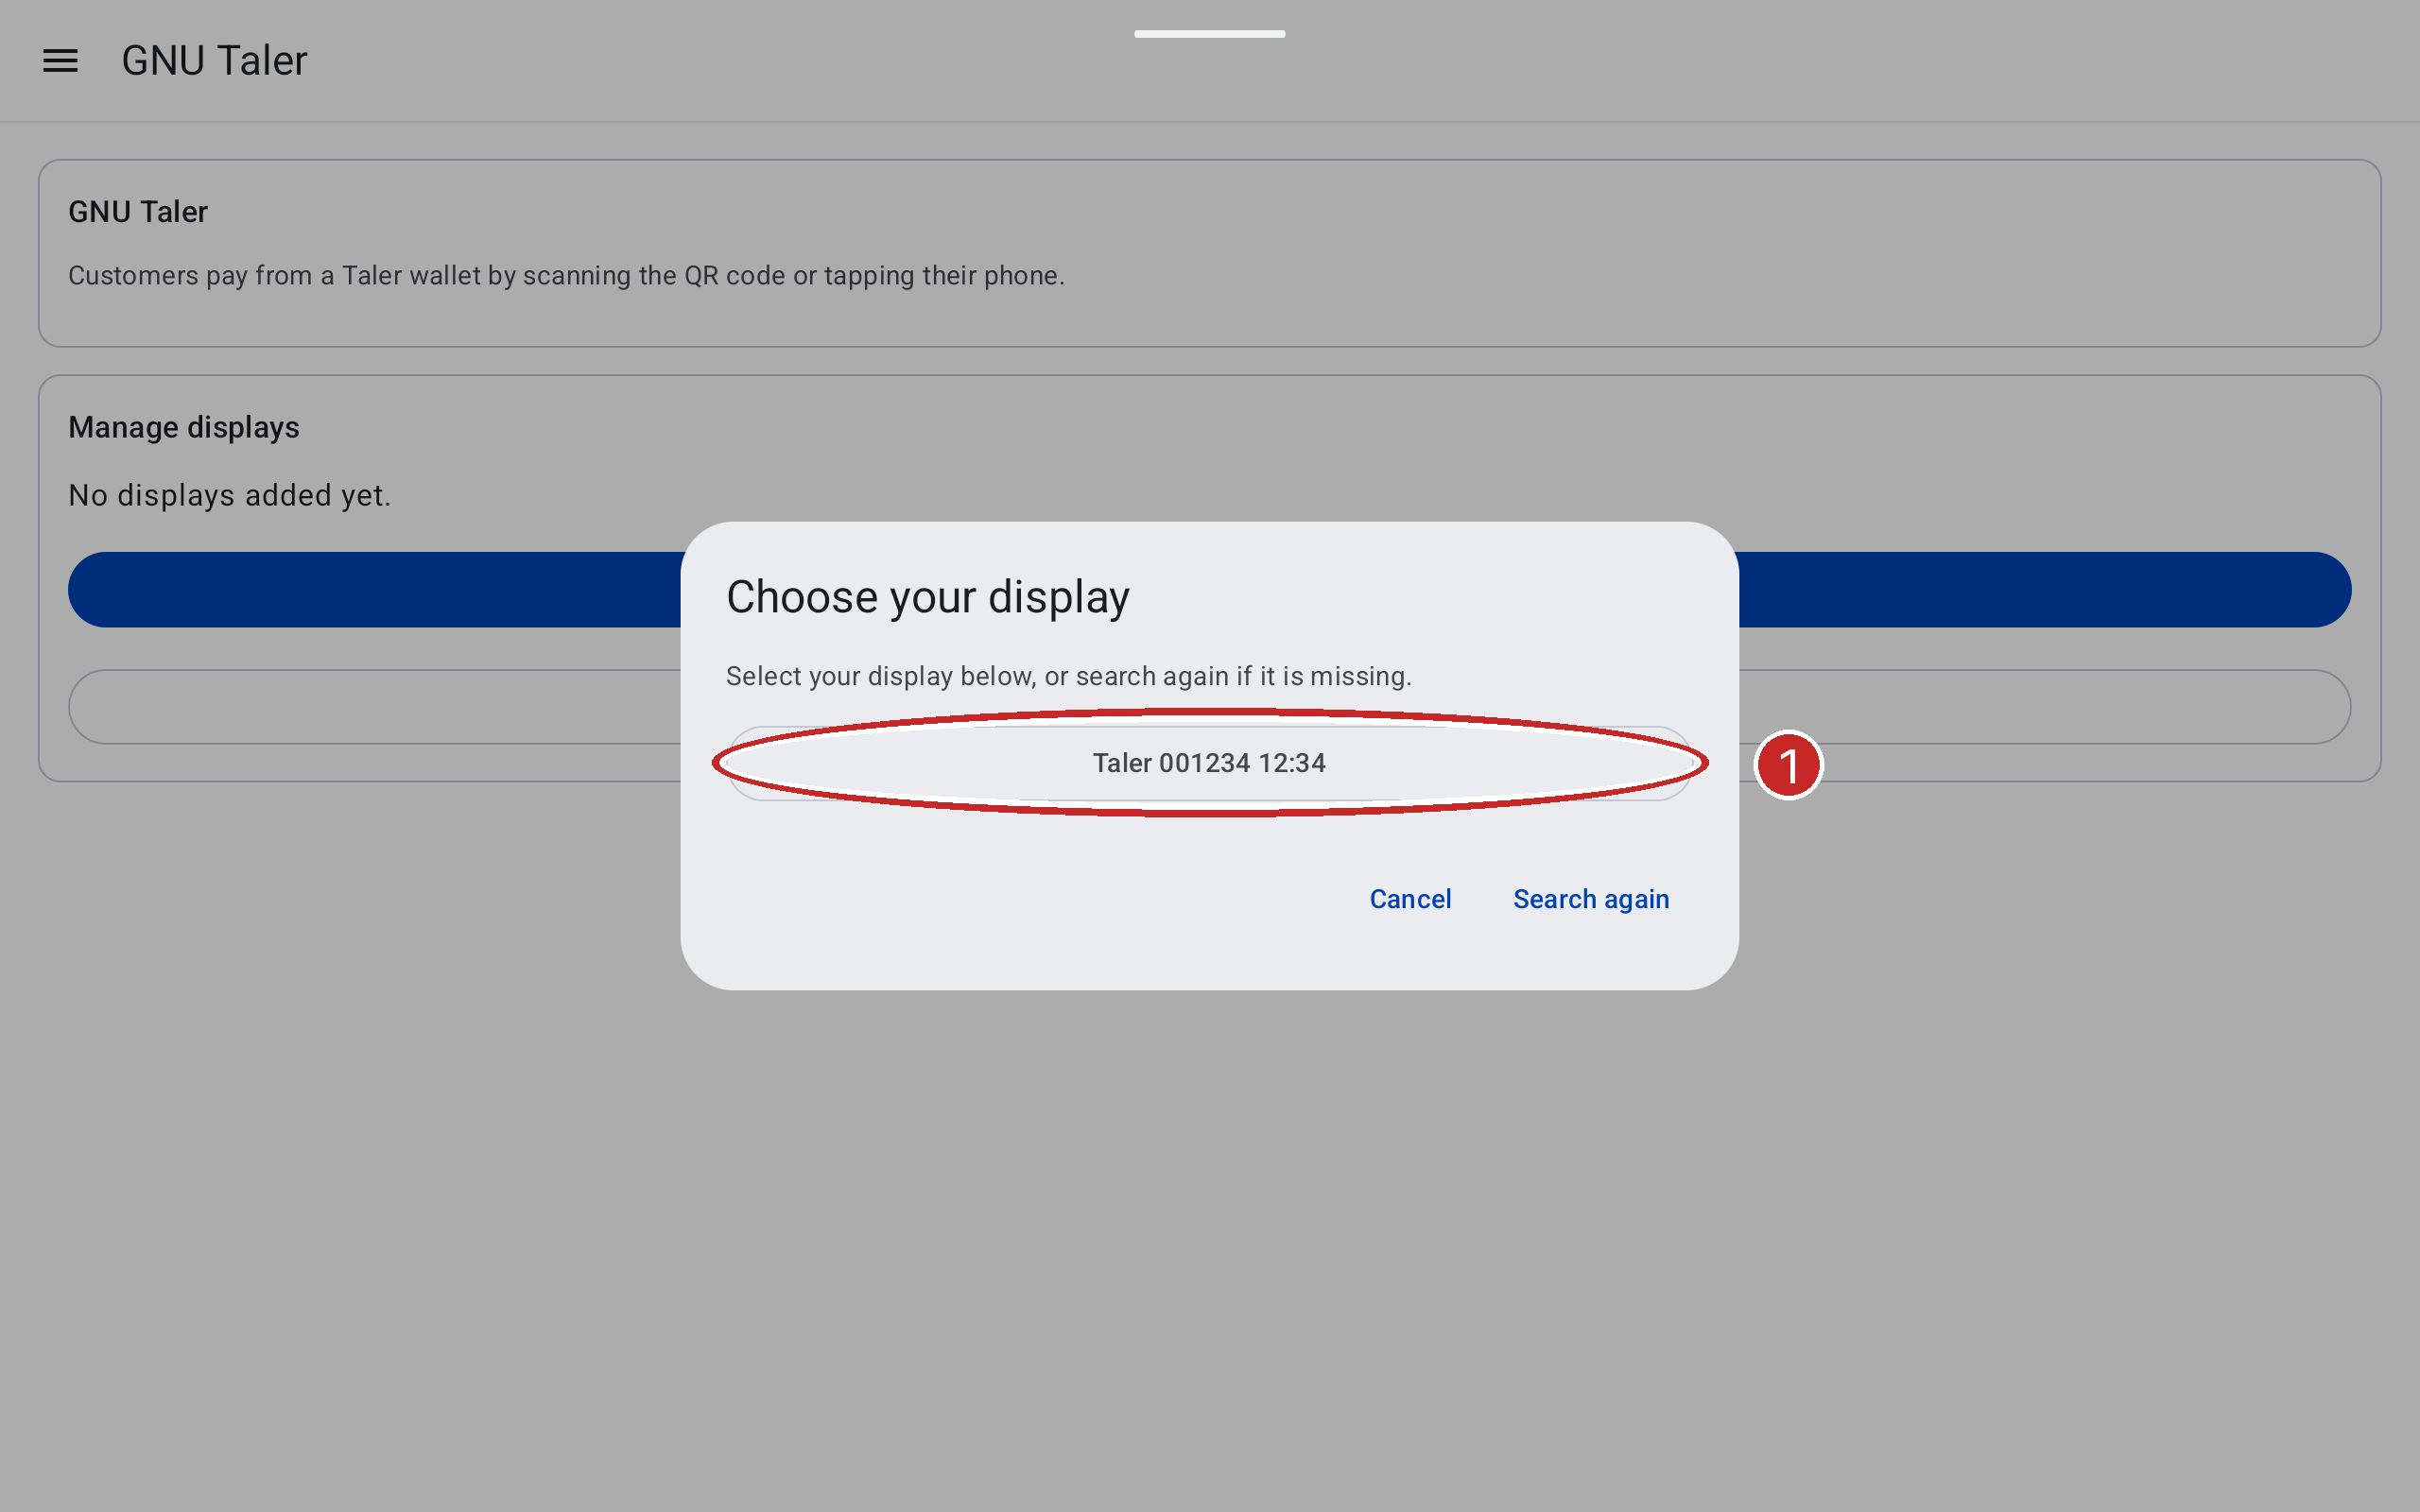
Select the name shown on your Taler Payment Device.#
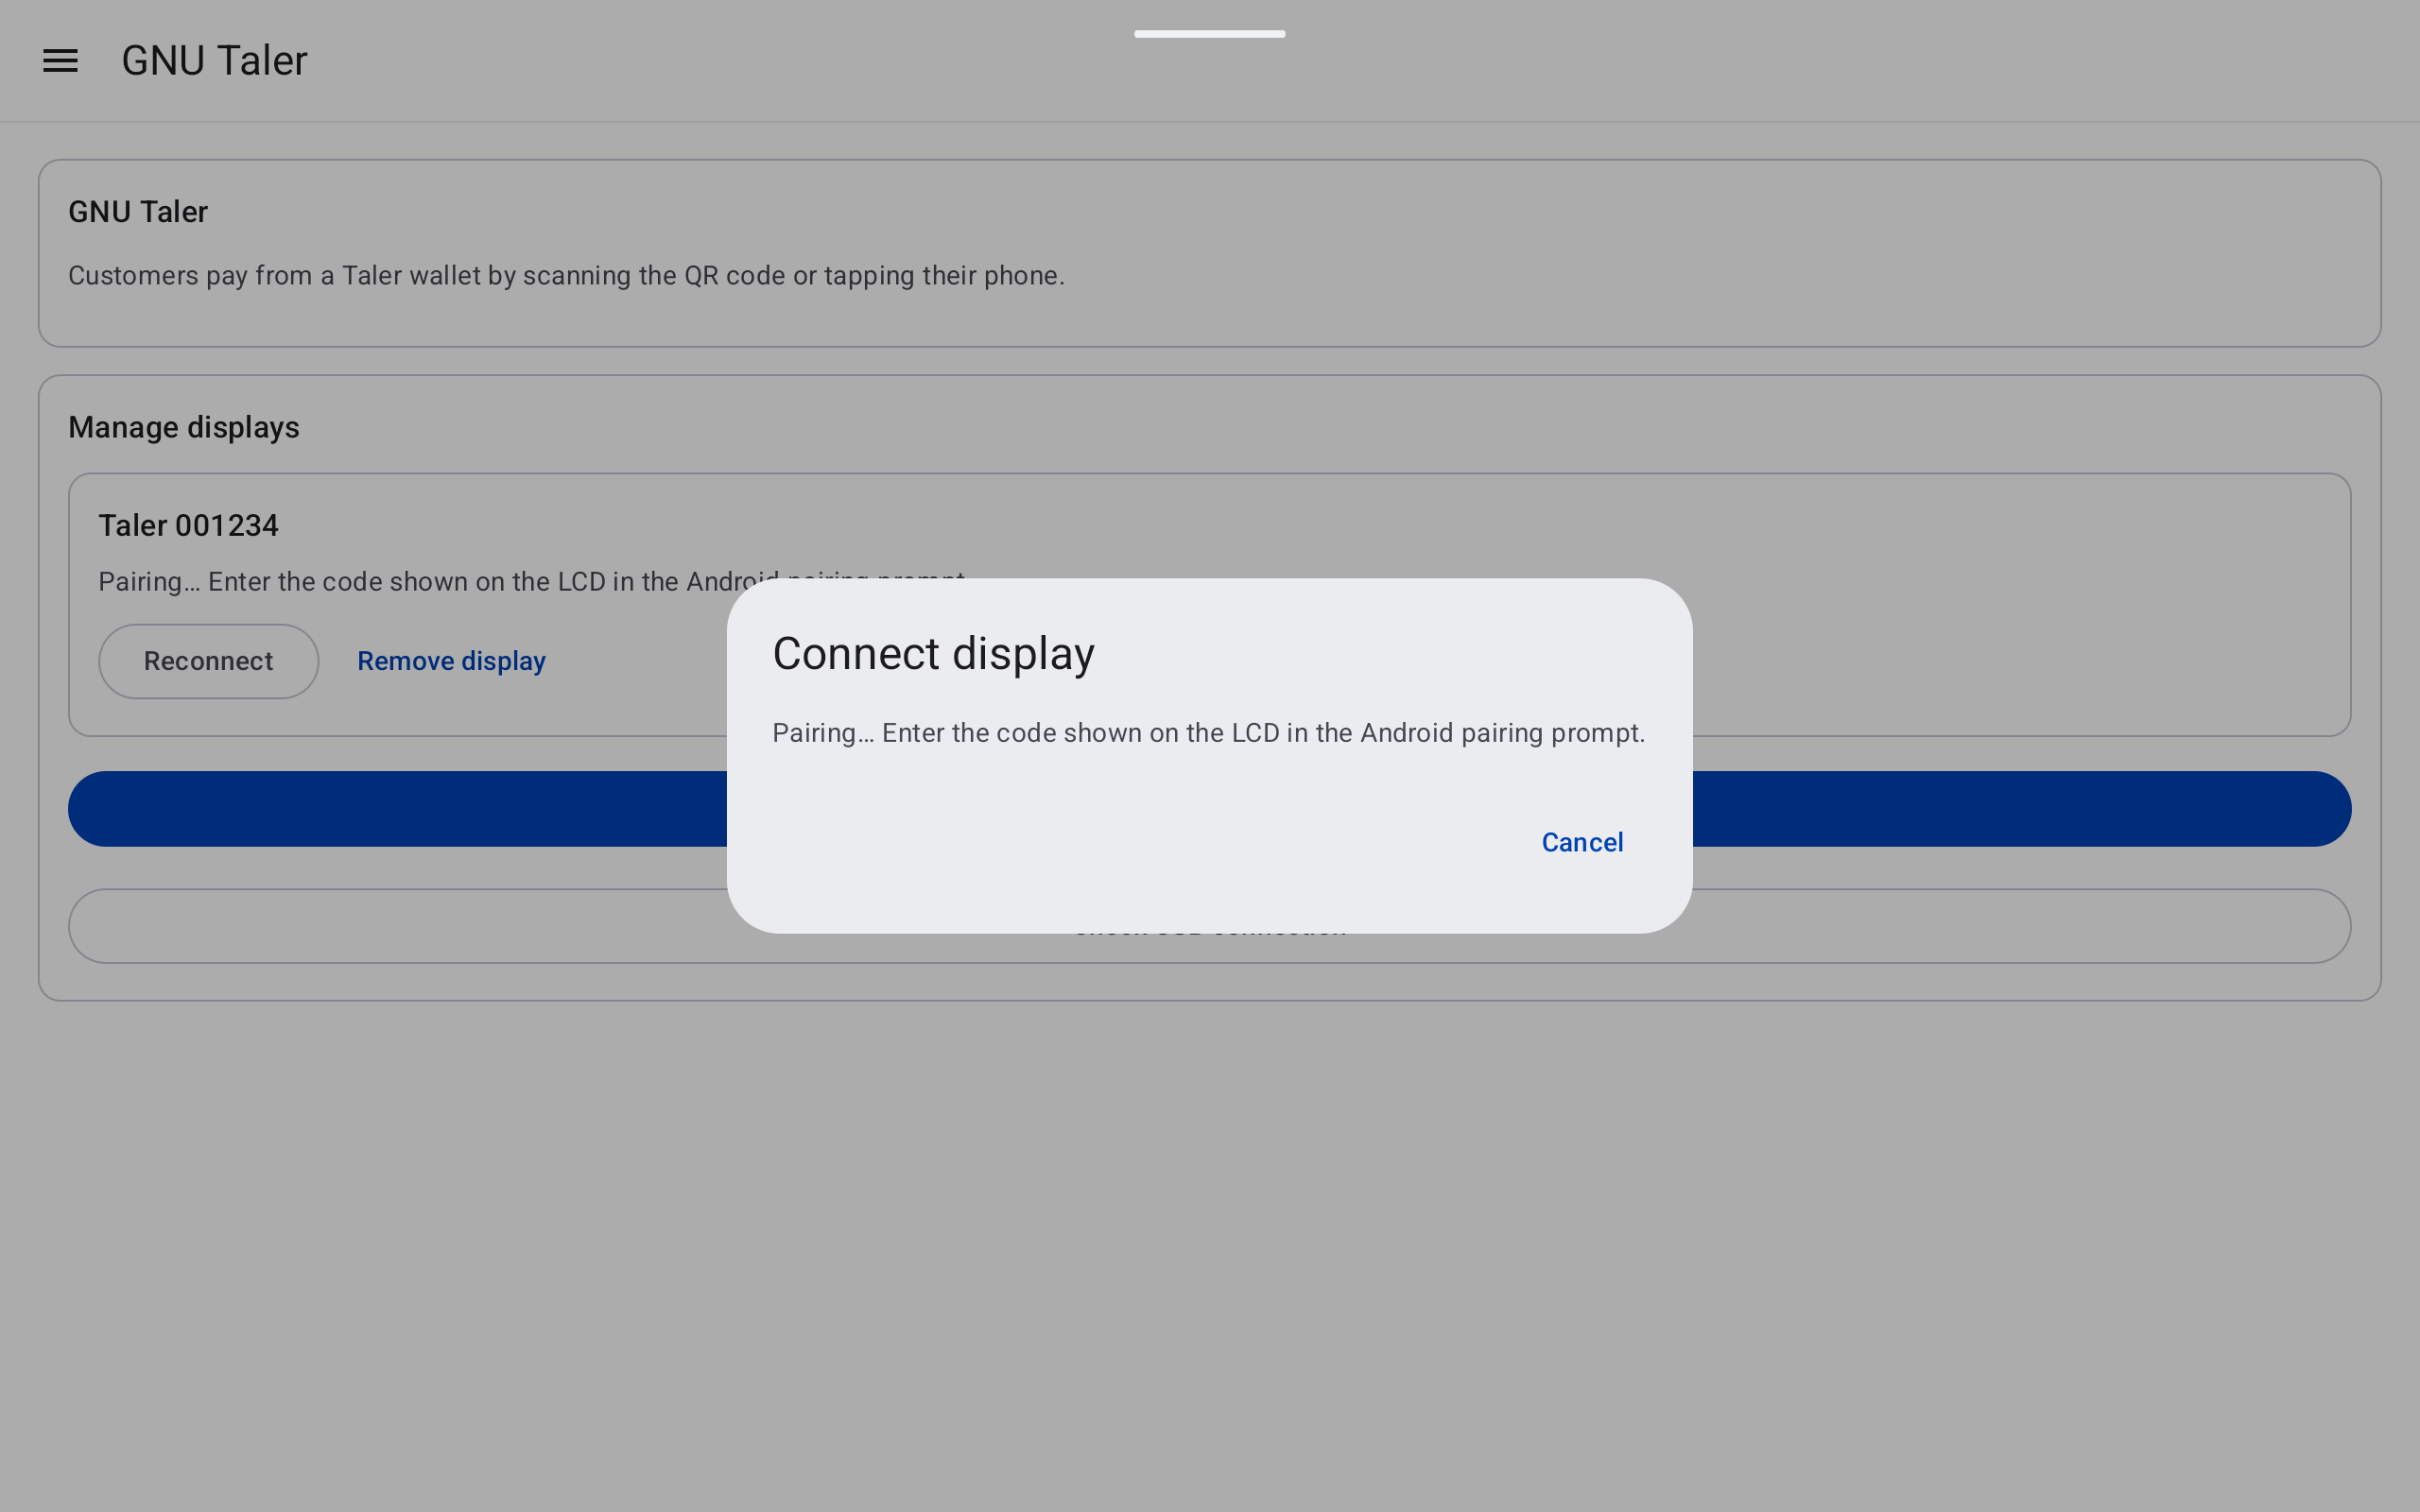
Follow the instructions to pair the device.#
You can connect one Taler Payment Device at a time over Bluetooth. If you add another, the POS asks you to replace the current one. Once paired, the device reconnects without a new code.
2.2.7.2. Testing and reconnecting#
On the connected device's card, press Test display (1).
Check that the device shows a test QR code and clears it after about five seconds. The test does not create a payment.
Create a payment when you are ready for a sale and check that the device shows that payment's QR code. The POS's own QR code remains available.
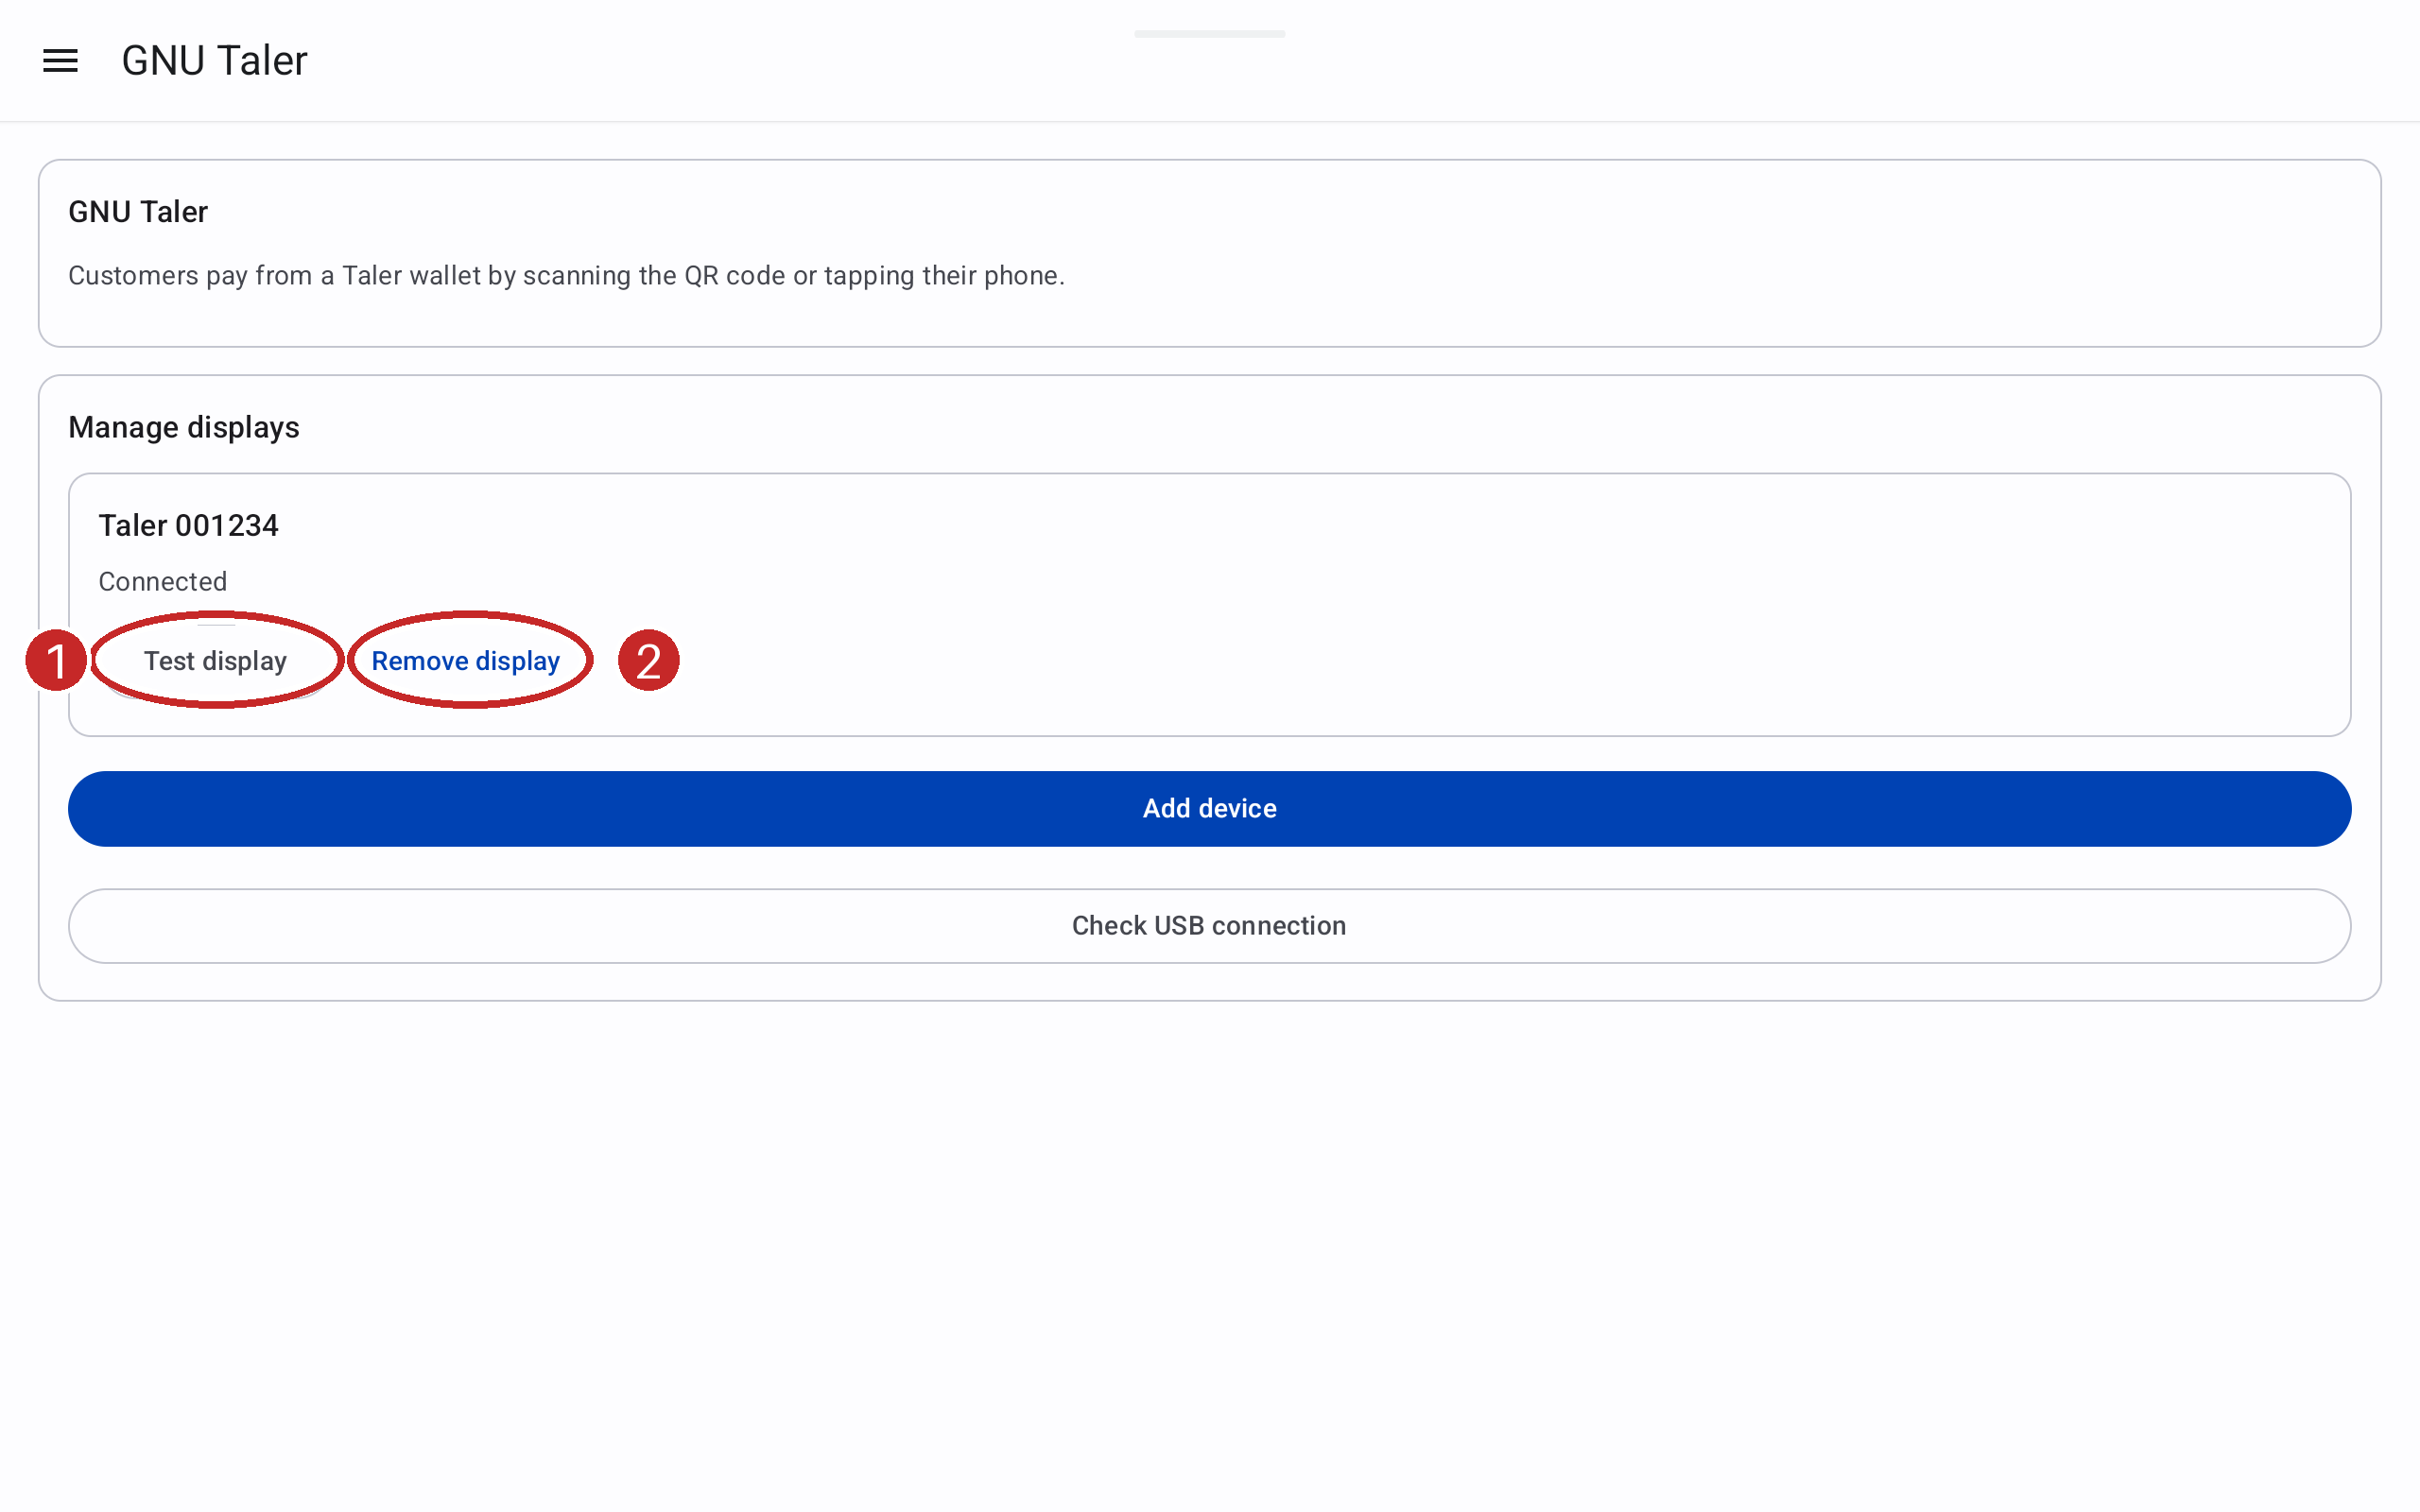
Test the screen before using it with a customer.#
If the device disconnects, power it on and bring it nearby, then use Reconnect on its card. If the POS reports that a link is too long or could not be sent, use the QR code on the POS for that payment.
2.2.7.3. Removing or pairing the device again#
To stop using a Taler Payment Device on this POS, press Remove display (2) and confirm. The device remains paired in Android's Bluetooth settings.
If pairing no longer works, follow Pair again:
Forget the device in Android's Bluetooth settings, then return to the POS.
On the device, open Bluetooth and choose Forget this POS for the old POS if it is listed.
On the device, choose Pair a POS again.
Follow the POS pairing steps and enter the new code when prompted.
Follow these steps too when moving the device to another POS.
2.2.7.4. Connecting over USB#
Connect a Taler Payment Device to the Android POS using a USB cable.
Open GNU Taler → Manage displays and press Check USB connection (2), or use Add device → USB device.
Grant Android's USB access permission if requested.
Check the displayed connection status. If necessary, reconnect the cable and press Check connection.
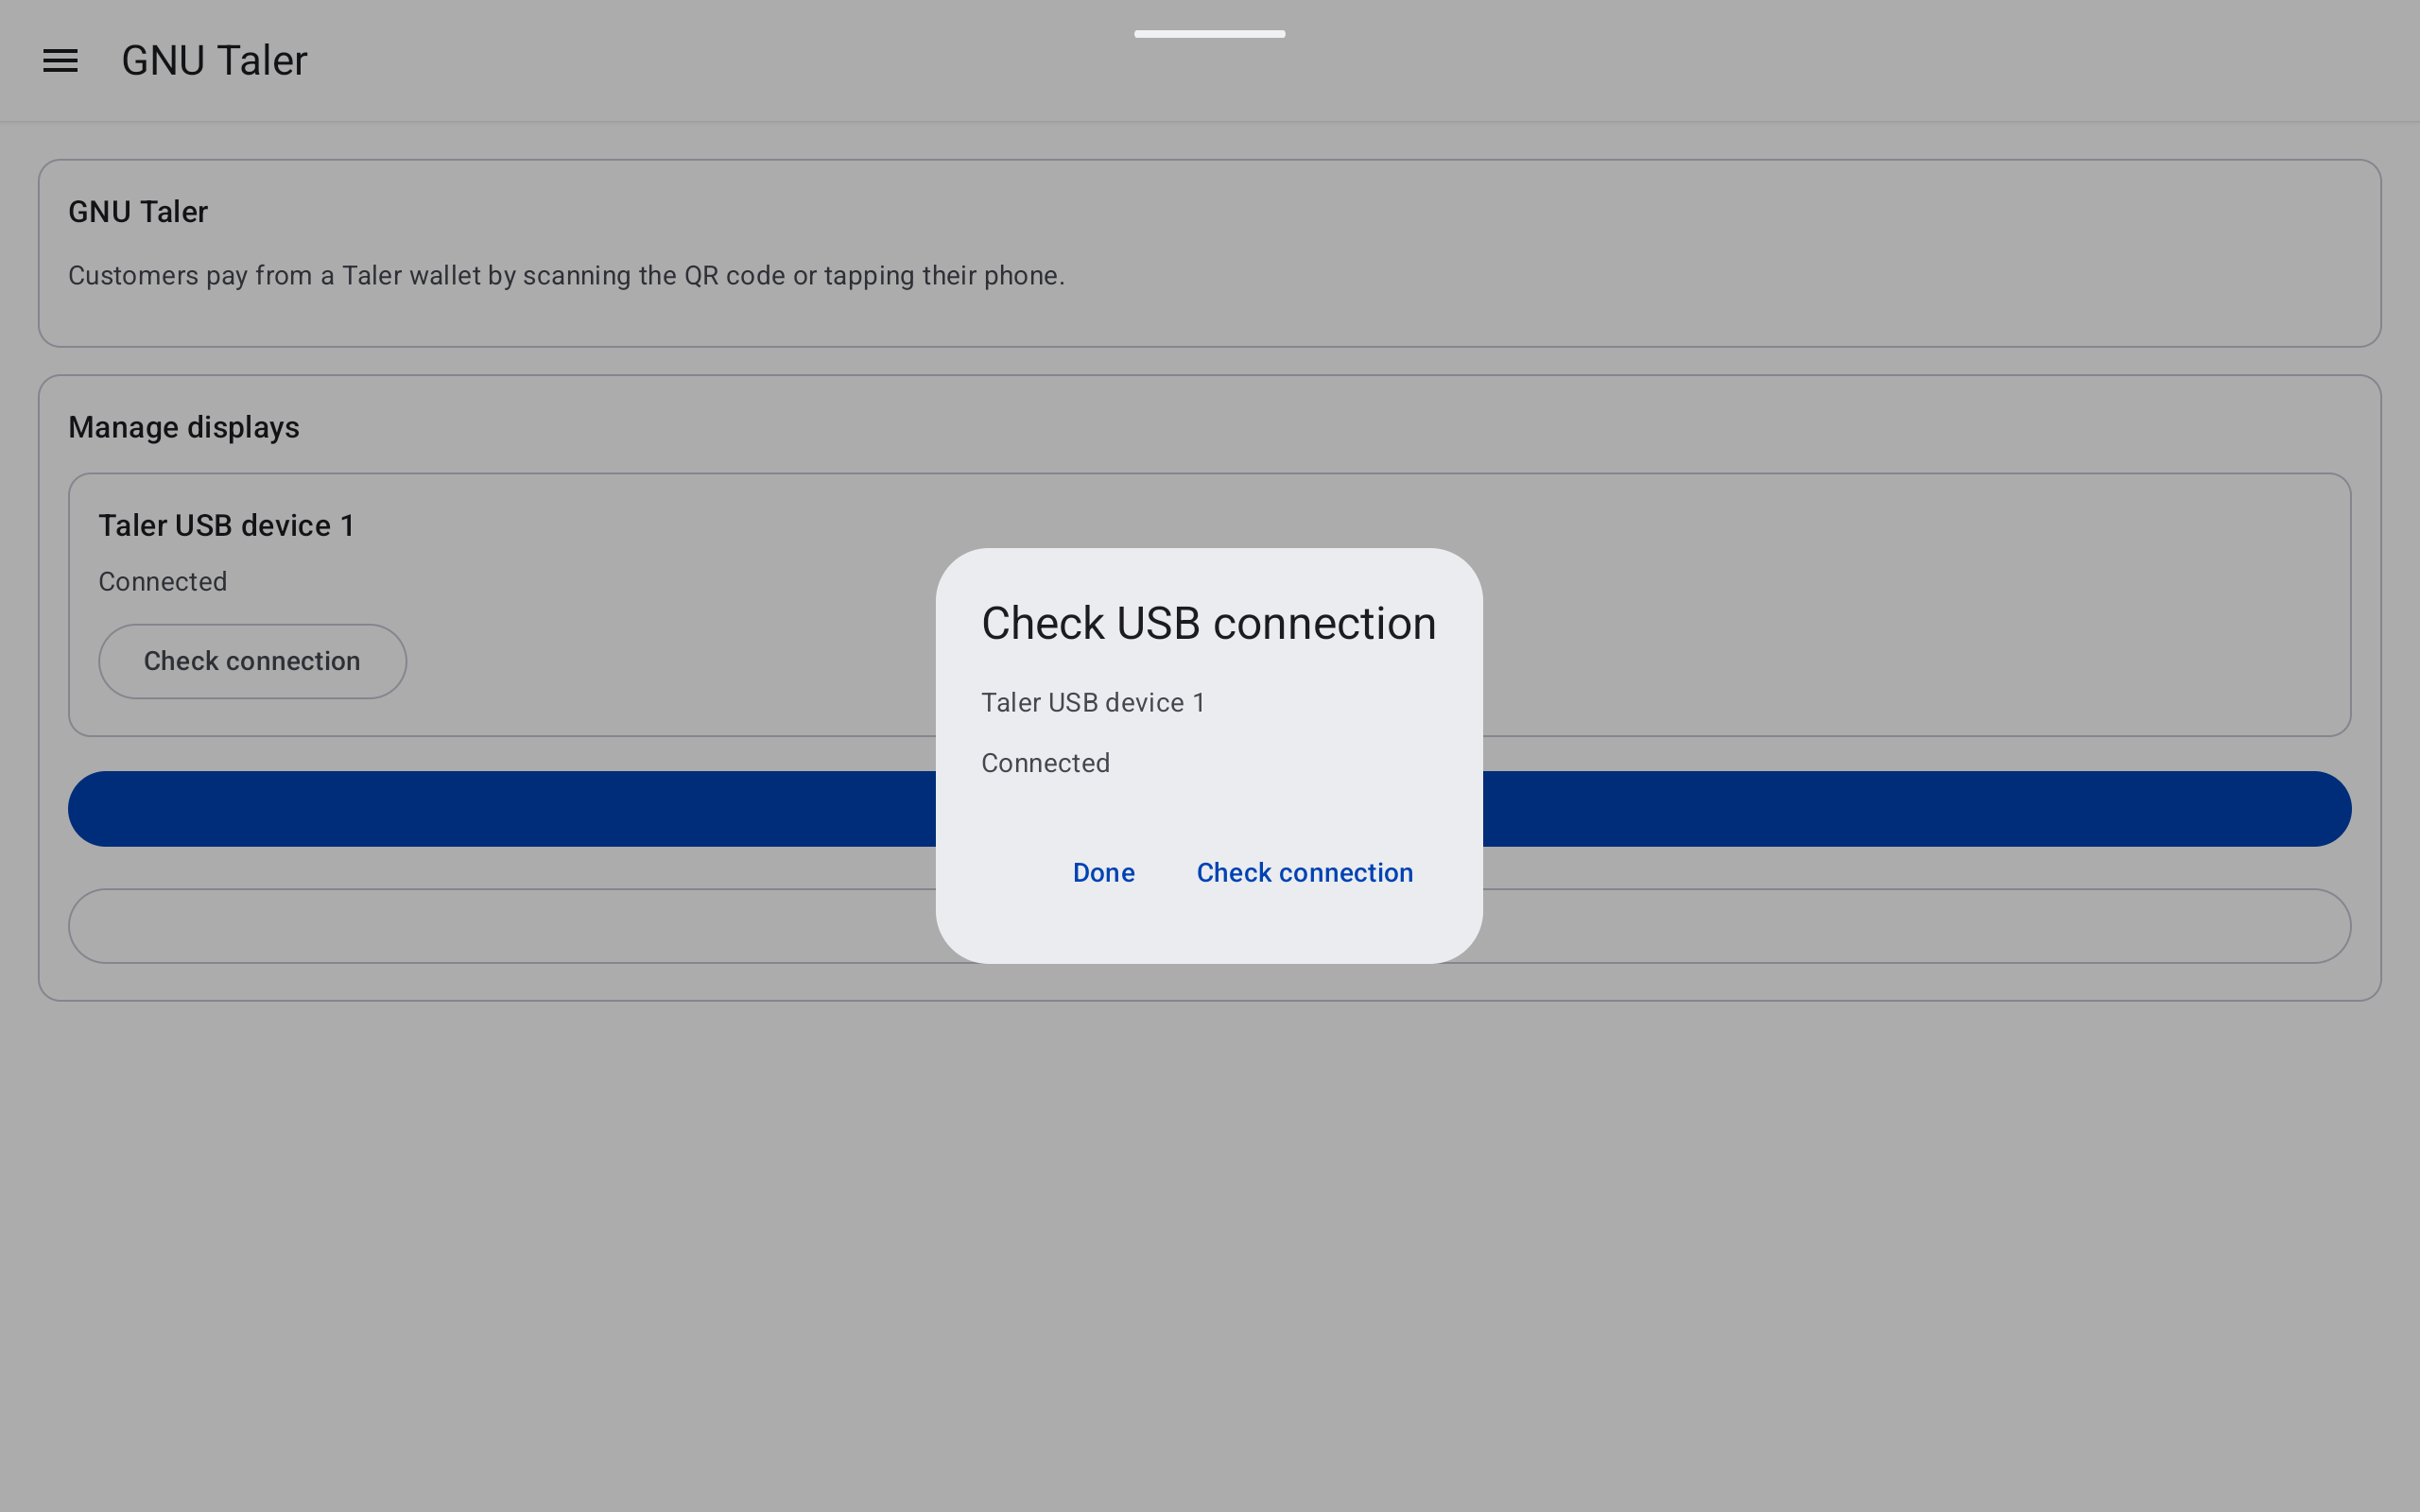
Verify USB access and connection before showing a payment.#
Check that the device clears the QR code and NFC link when you leave a payment or refund.