2.3.2. Installatie van TalerBarr#
Voordat u TalerBarr installeert, zorgt u ervoor dat u al over een werkende Dolibarr-instantie beschikt. TalerBarr is een Dolibarr-module en vervangt het ERP zelf niet.
U hebt ook toegang nodig tot een GNU Taler-verkoperbackend. De module kan verbinding maken met uw eigen verkoperbackend of met een gehoste multi-tenant-implementatie. Als u de backend-kant nog moet voorbereiden, zie Installatie op Debian en Een instantie verkrijgen. Voor algemene Dolibarr-installatie-instructies, zie Dolibarr-installatiedocumentatie. Als u daarentegen ontwikkelaarservaring hebt, zie Dolibarr en Talerbarr installeren via de opdrachtregel. Die tutorial toont alleen hoe wij, als TalerBarr-ontwikkelaars, Dolibarr installeren voor deze tutorial-showcase.
2.3.2.1. Vereisten#
Eenvoudig gezegd hebt u nodig:
Dolibarr v22+
Een Taler-verkopersinstantie
In de meeste gevallen is dit voldoende.
Meer specifiek moet u eerst de volgende onderdelen voorbereiden:
PHP 8.0 of nieuwer
Beheerderstoegang in Dolibarr om externe modules te installeren en in te schakelen
Het wordt ook aanbevolen om de standaard Dolibarr-modules in te schakelen waarmee TalerBarr werkt:
producten
Voorraad
Categorieën of labels
Bank en kas
Facturen
Geplande taken
2.3.2.2. Installatiemethoden#
TalerBarr kan op twee gebruikelijke manieren worden geïnstalleerd:
Vanuit een verpakte release, bijvoorbeeld via DoliStore of een release-zip
Vanuit de broncoderepository, wat nuttig is voor ontwikkeling of testen
2.3.2.3. Installeren vanuit een releasepakket#
2.3.2.3.1. Het project-.zip-bestand verkrijgen#
Dit is de eenvoudigste optie voor een reguliere Dolibarr-implementatie. In dit geval is de release gewoon een .zip-bestand. Het is op 3 plaatsen beschikbaar:
-
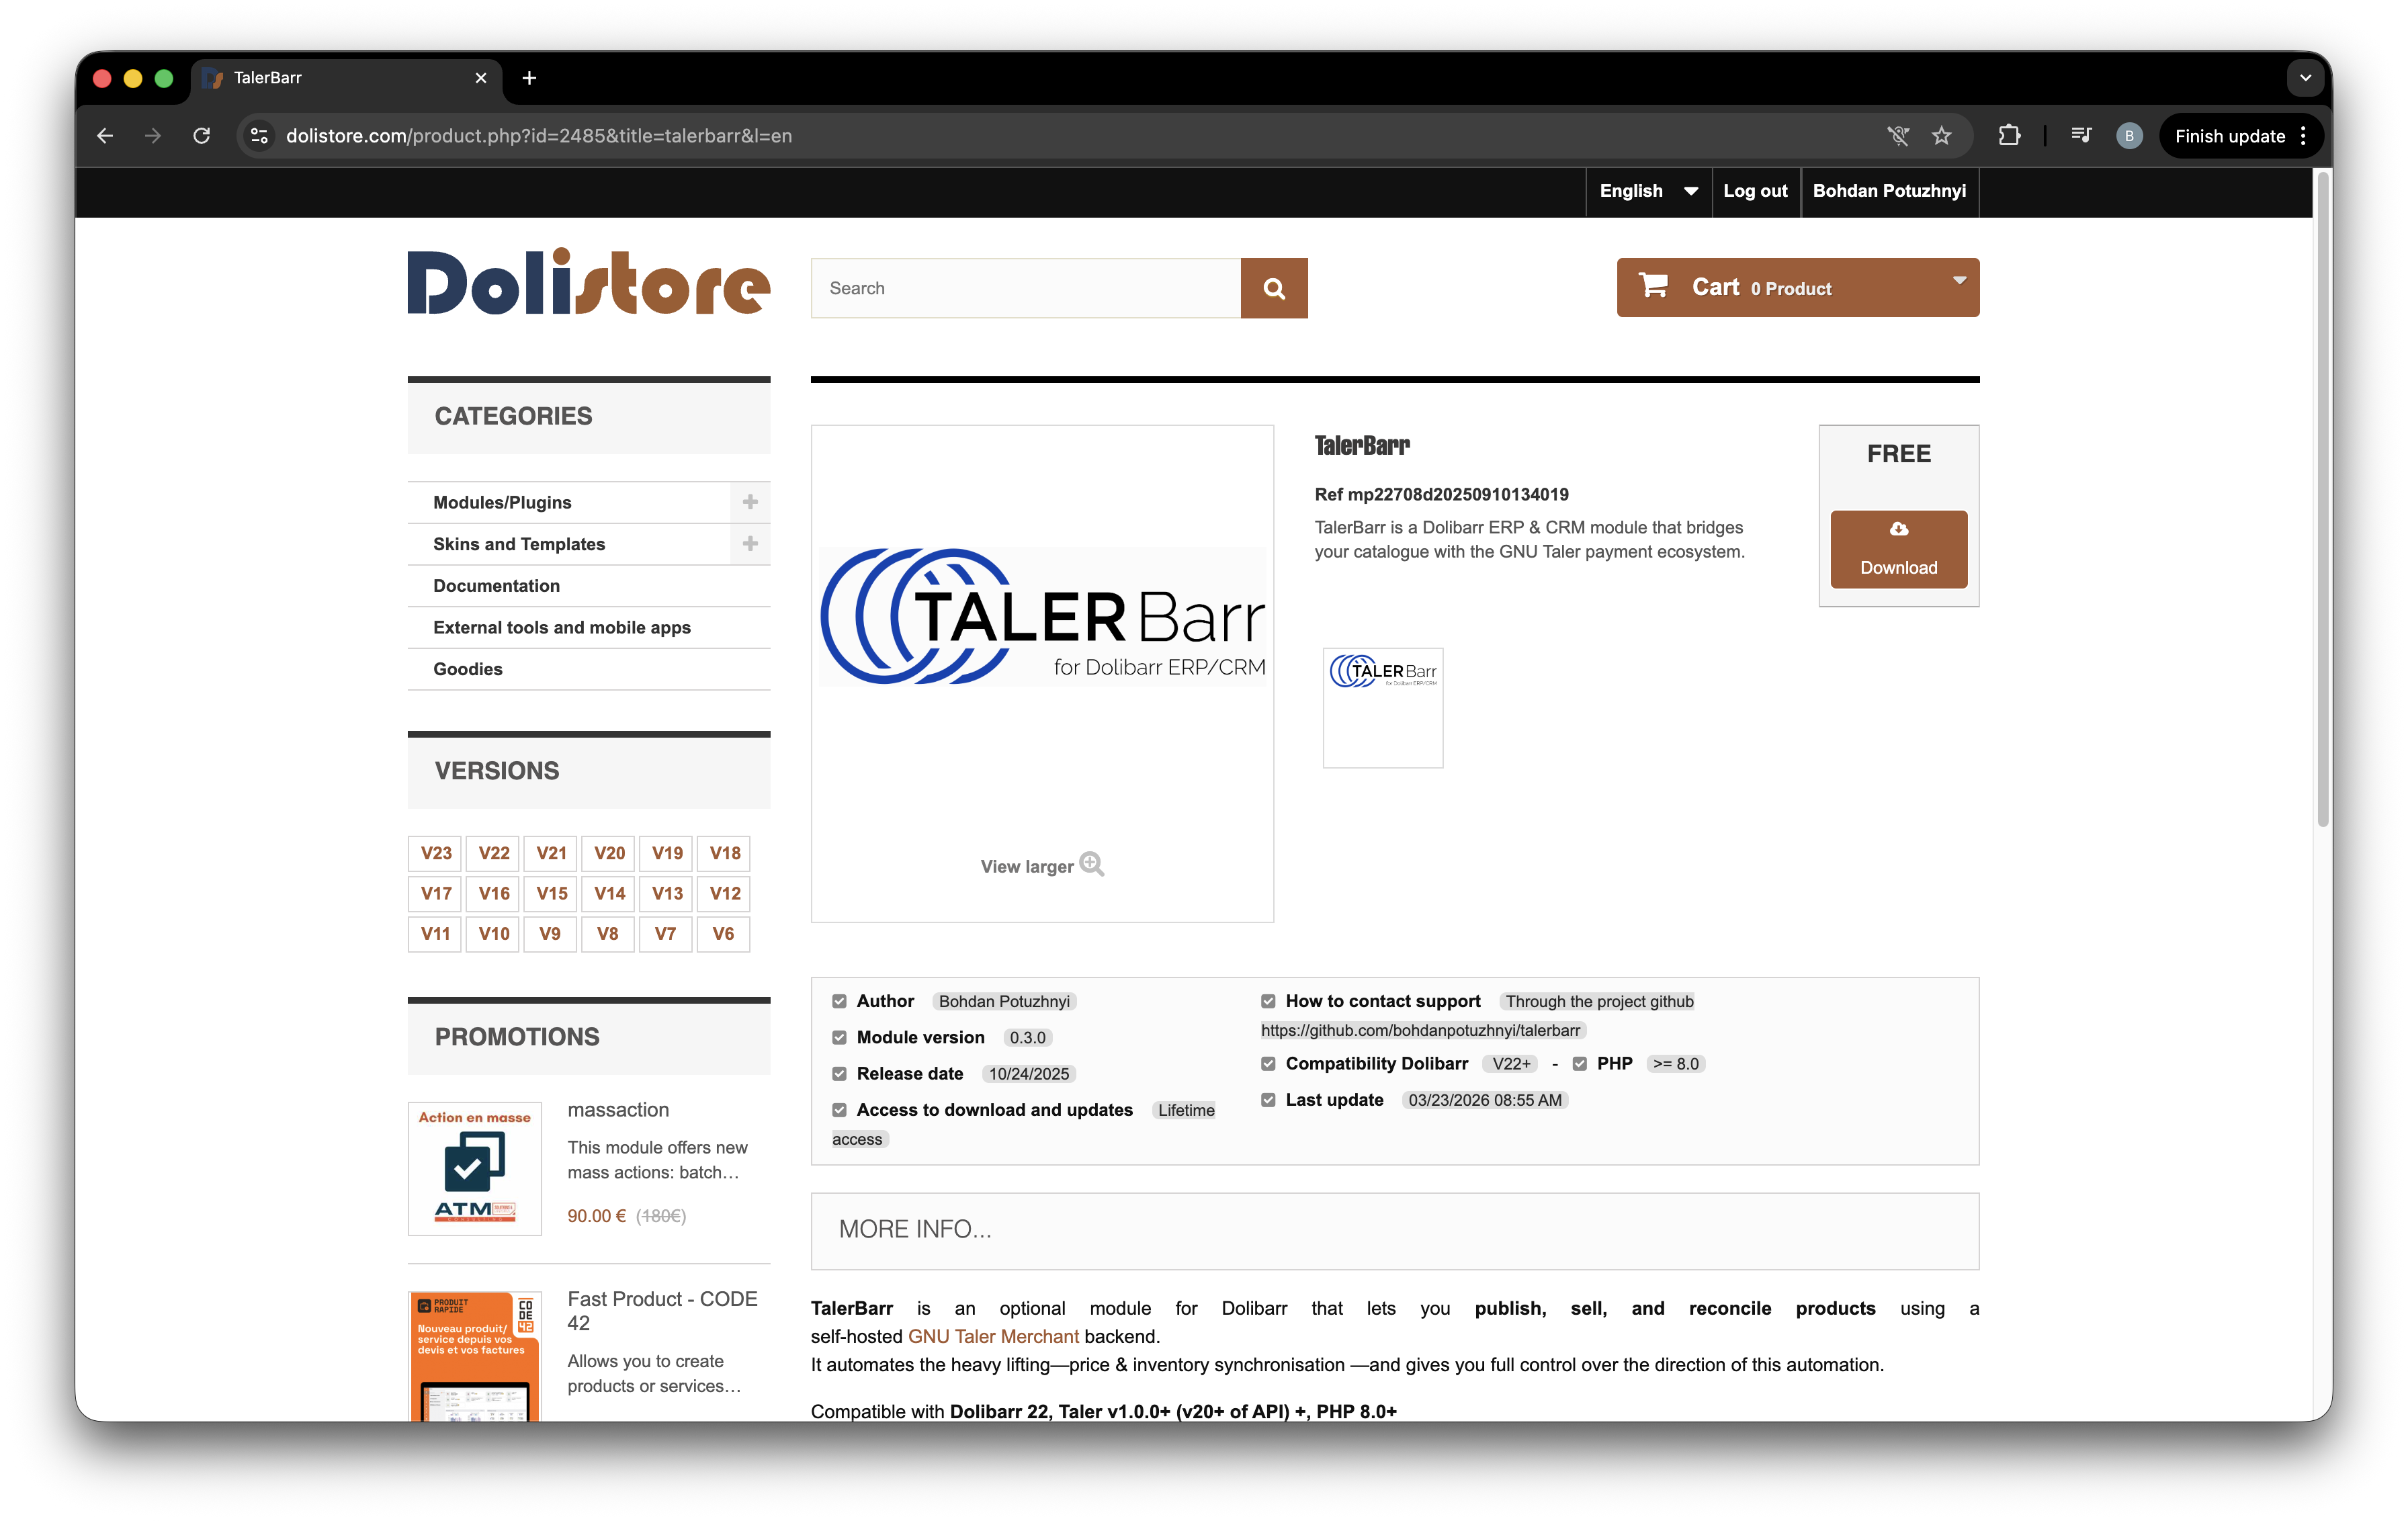
TalerBarr-pakketpagina in DoliStore.#
-
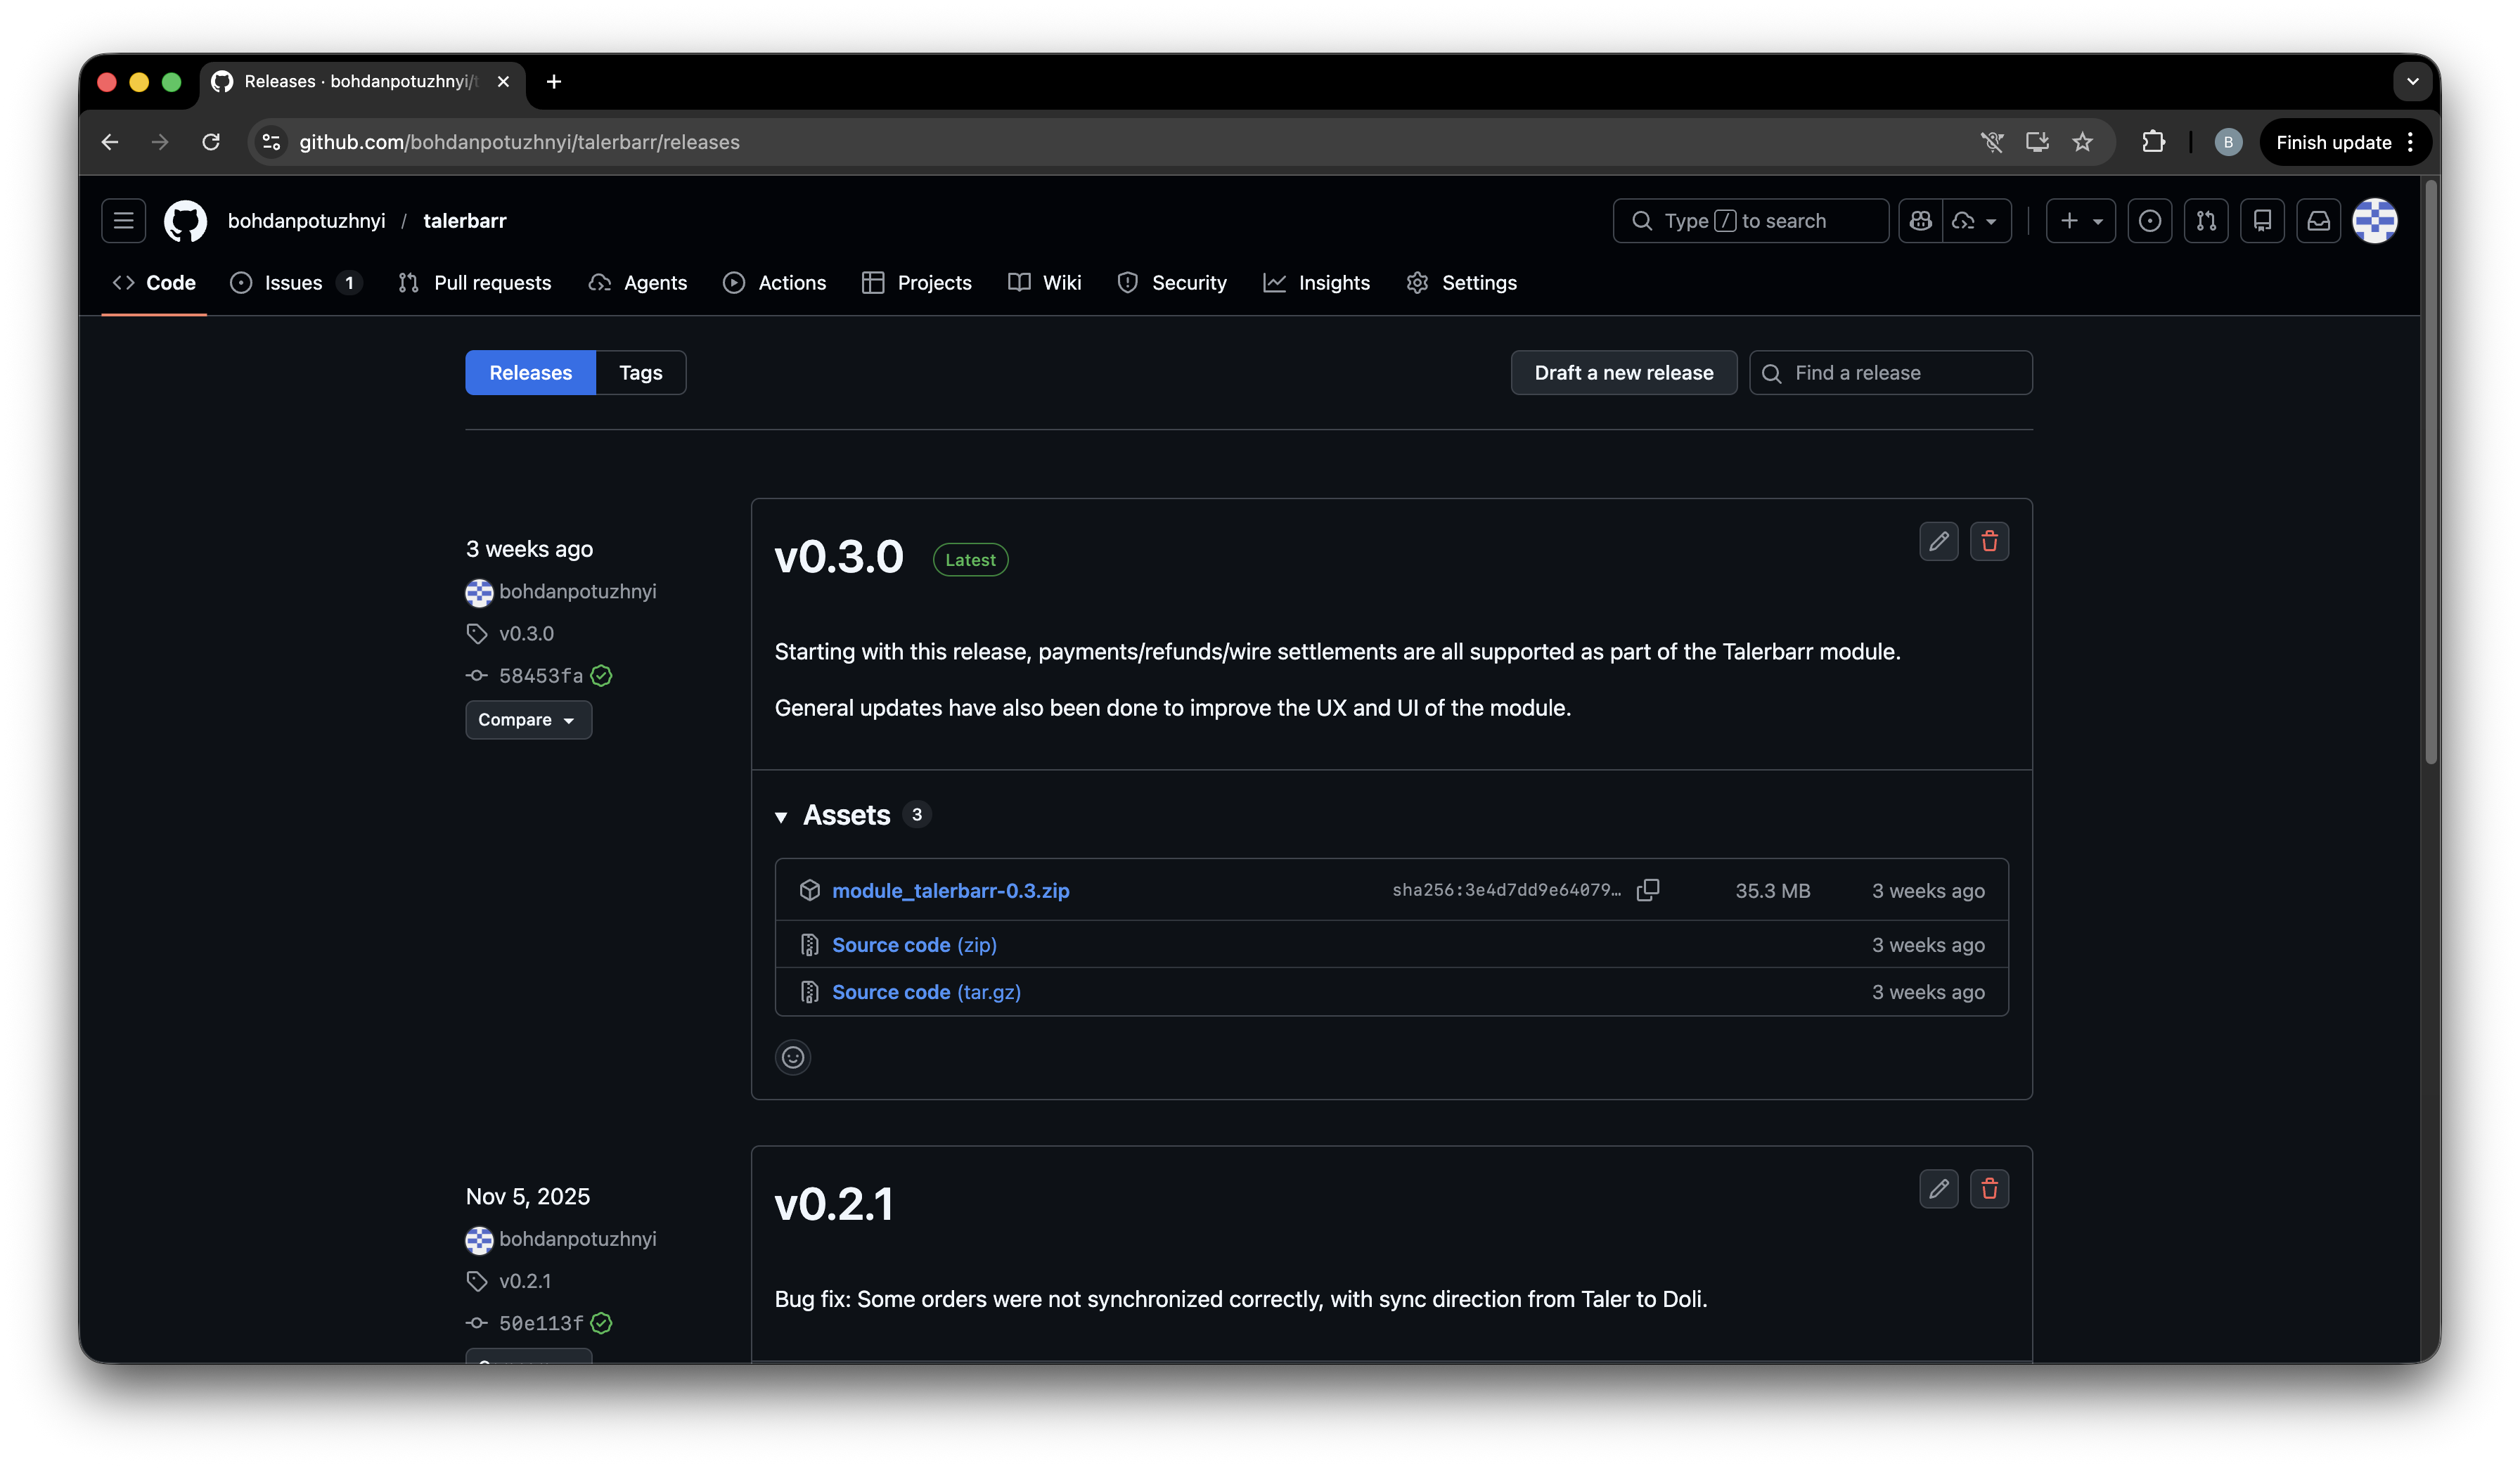
TalerBarr-releasepagina op GitHub.#
TalerBarr on Taler git repository

TalerBarr-pagina in Taler Git.#
2.3.2.3.2. Het installeren in Dolibarr#
Open hiervoor uw Dolibarr-instantie, meld u aan als beheerder en zorg ervoor dat de vereiste modules zijn ingeschakeld. Klik vanaf de startpagina op Setup in de linkerzijbalk en open vervolgens Setup -> Modules/Applications, zoals weergegeven in de onderstaande afbeelding.
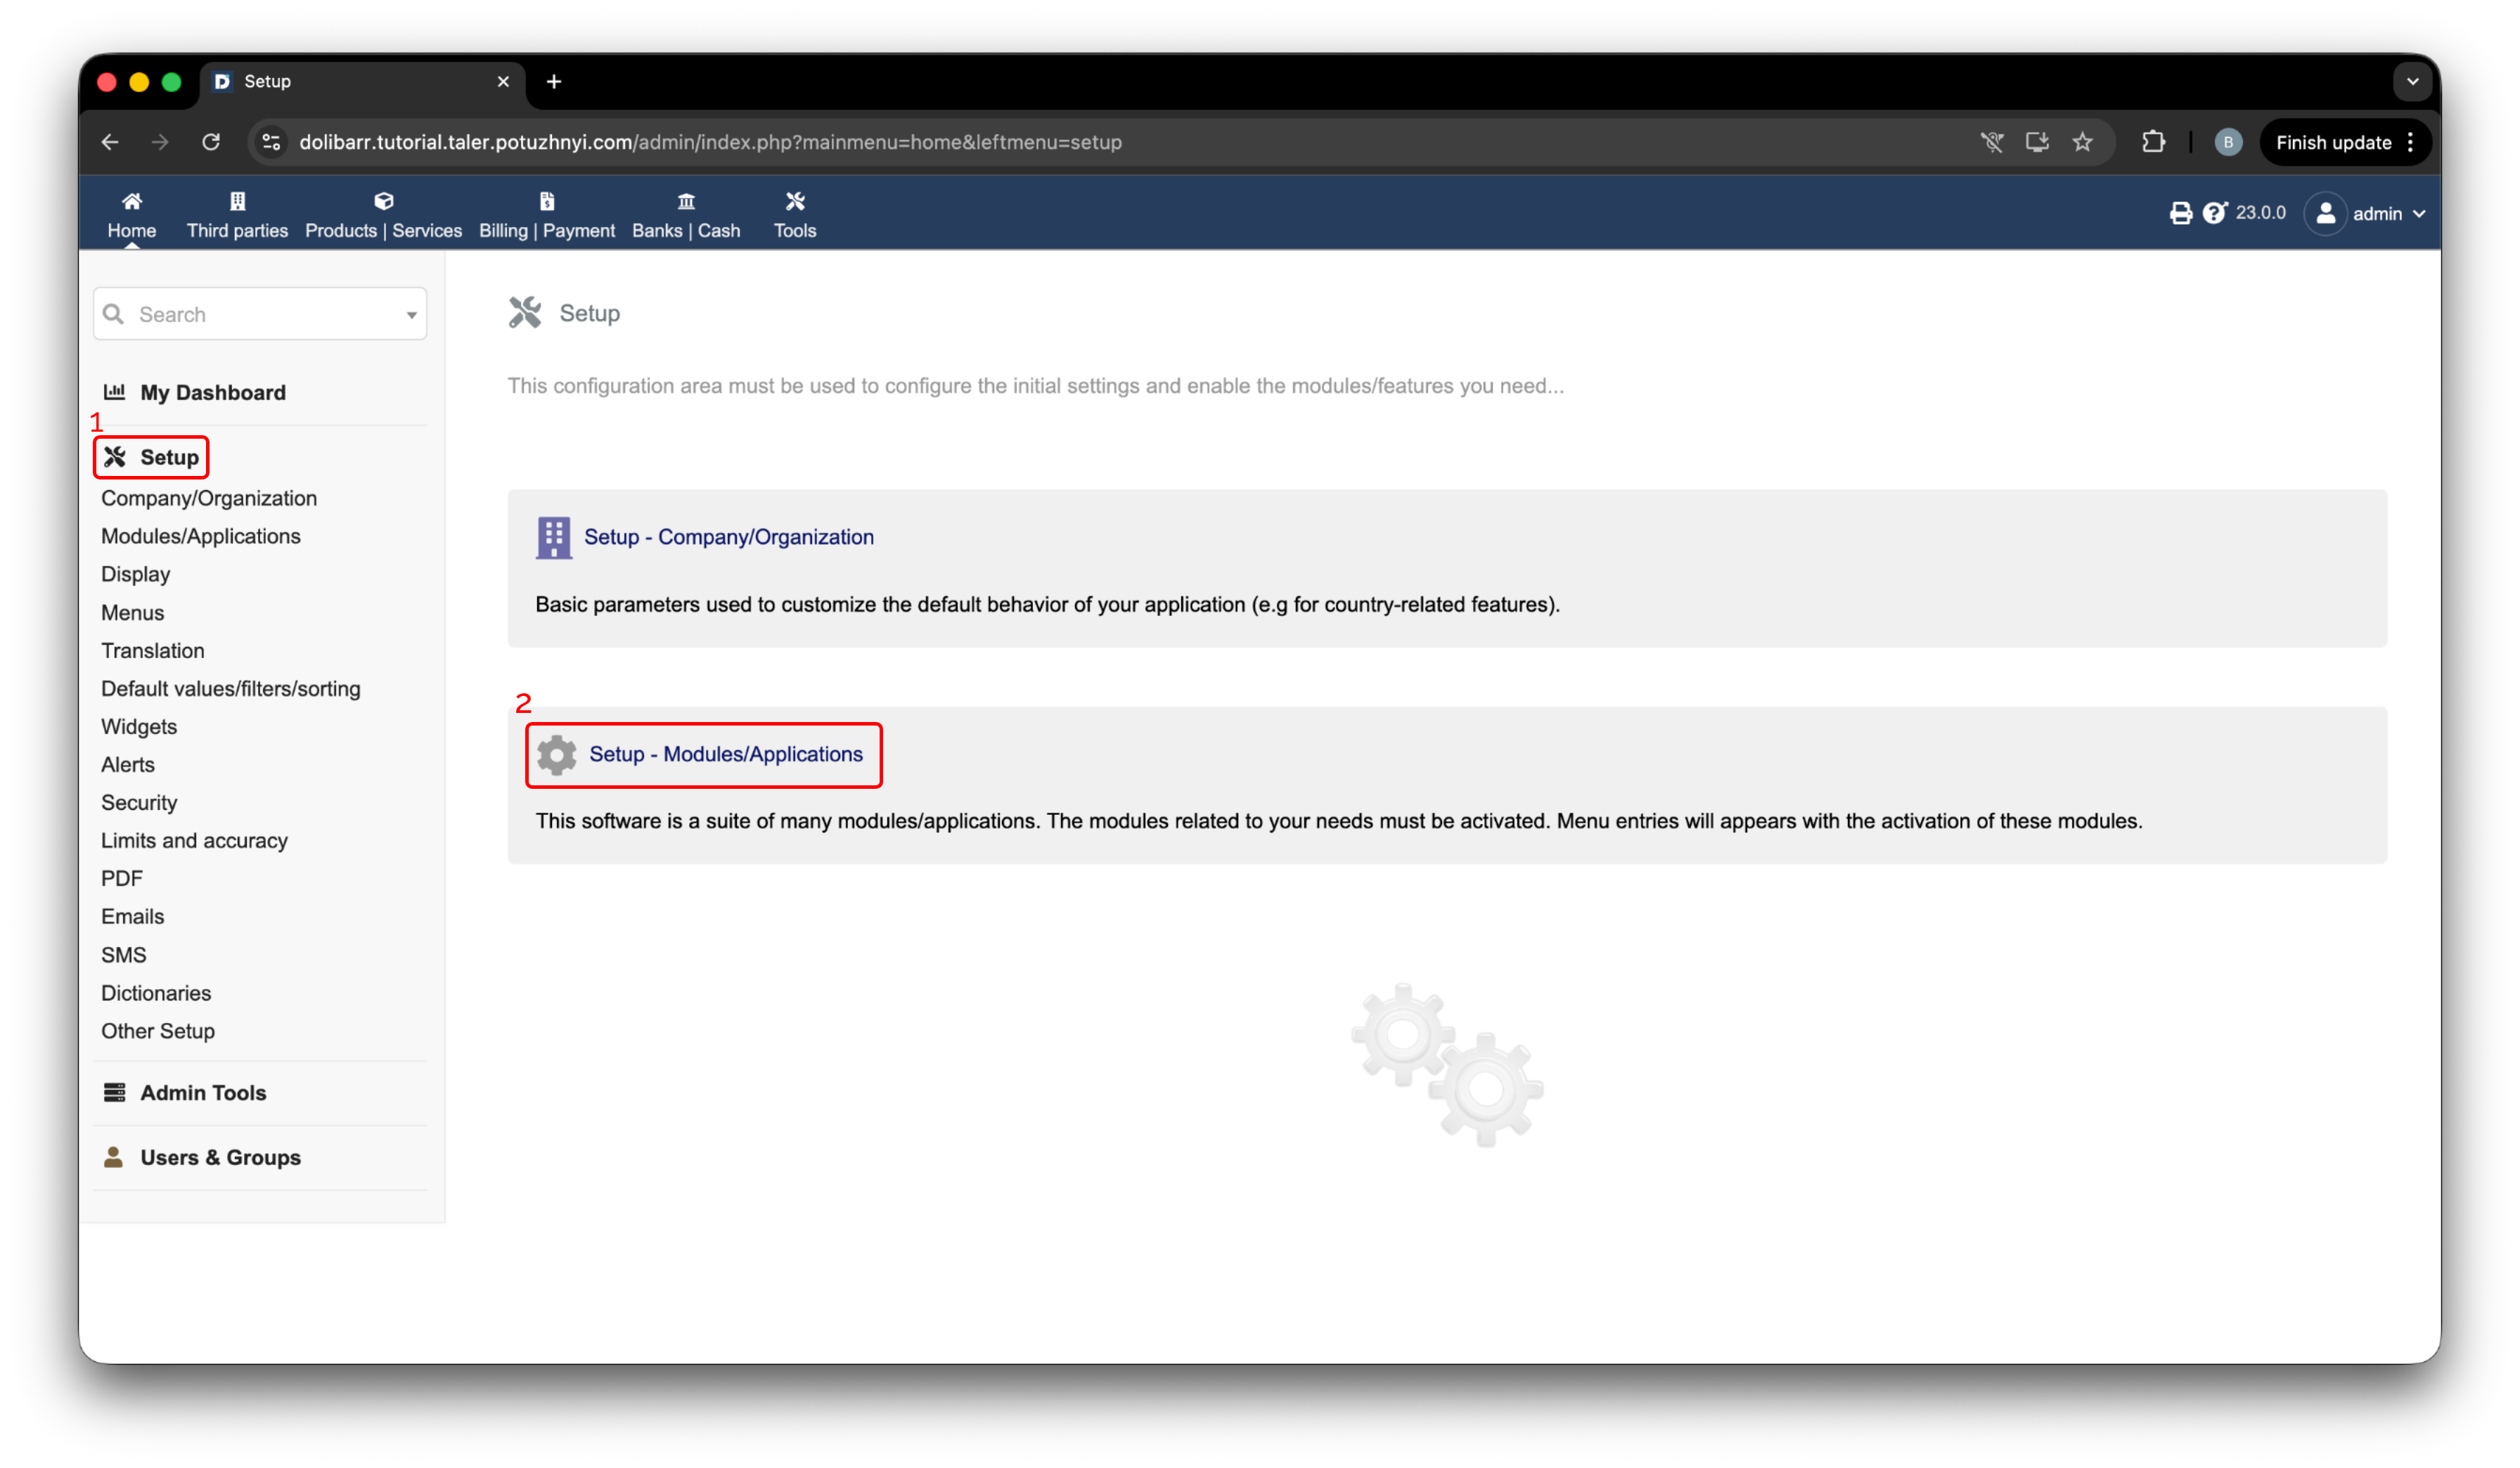
Dolibarr-installatienavigatie.#
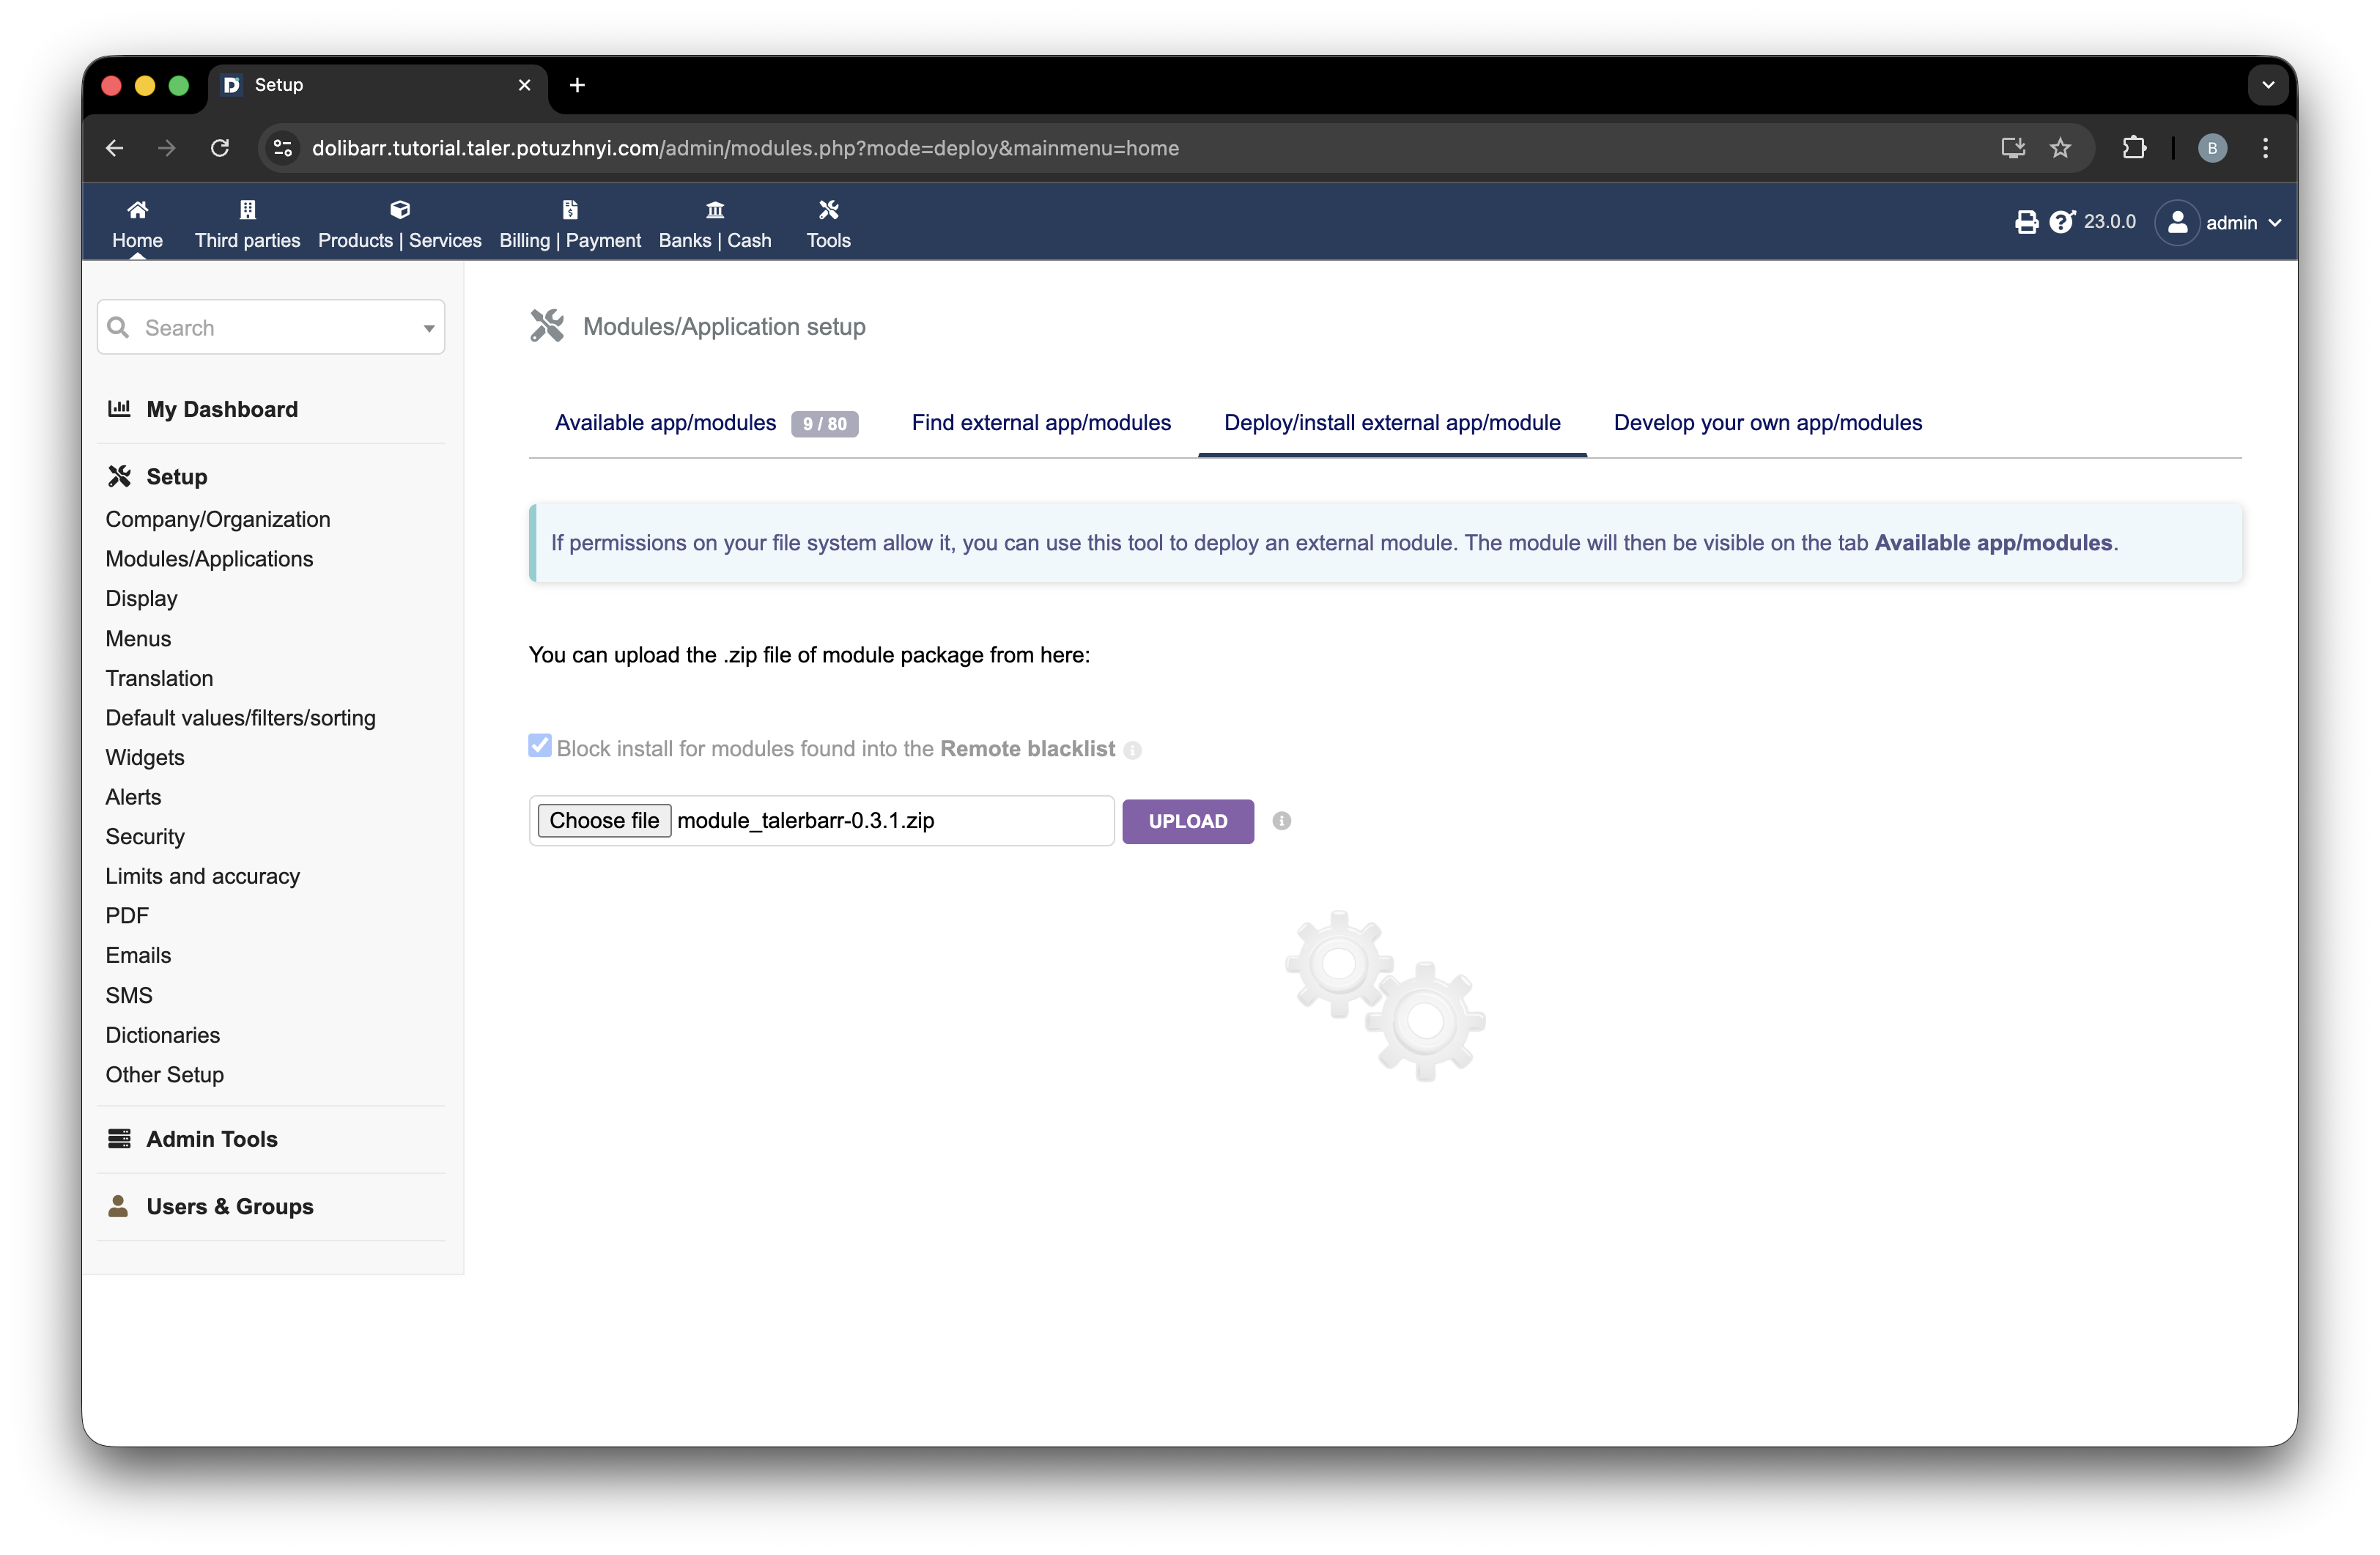
Klik vervolgens op Deploy/install external app/module. Klik daarna op Choose file en selecteer het zojuist gedownloade .zip-archief, zoals weergegeven in de onderstaande afbeelding.
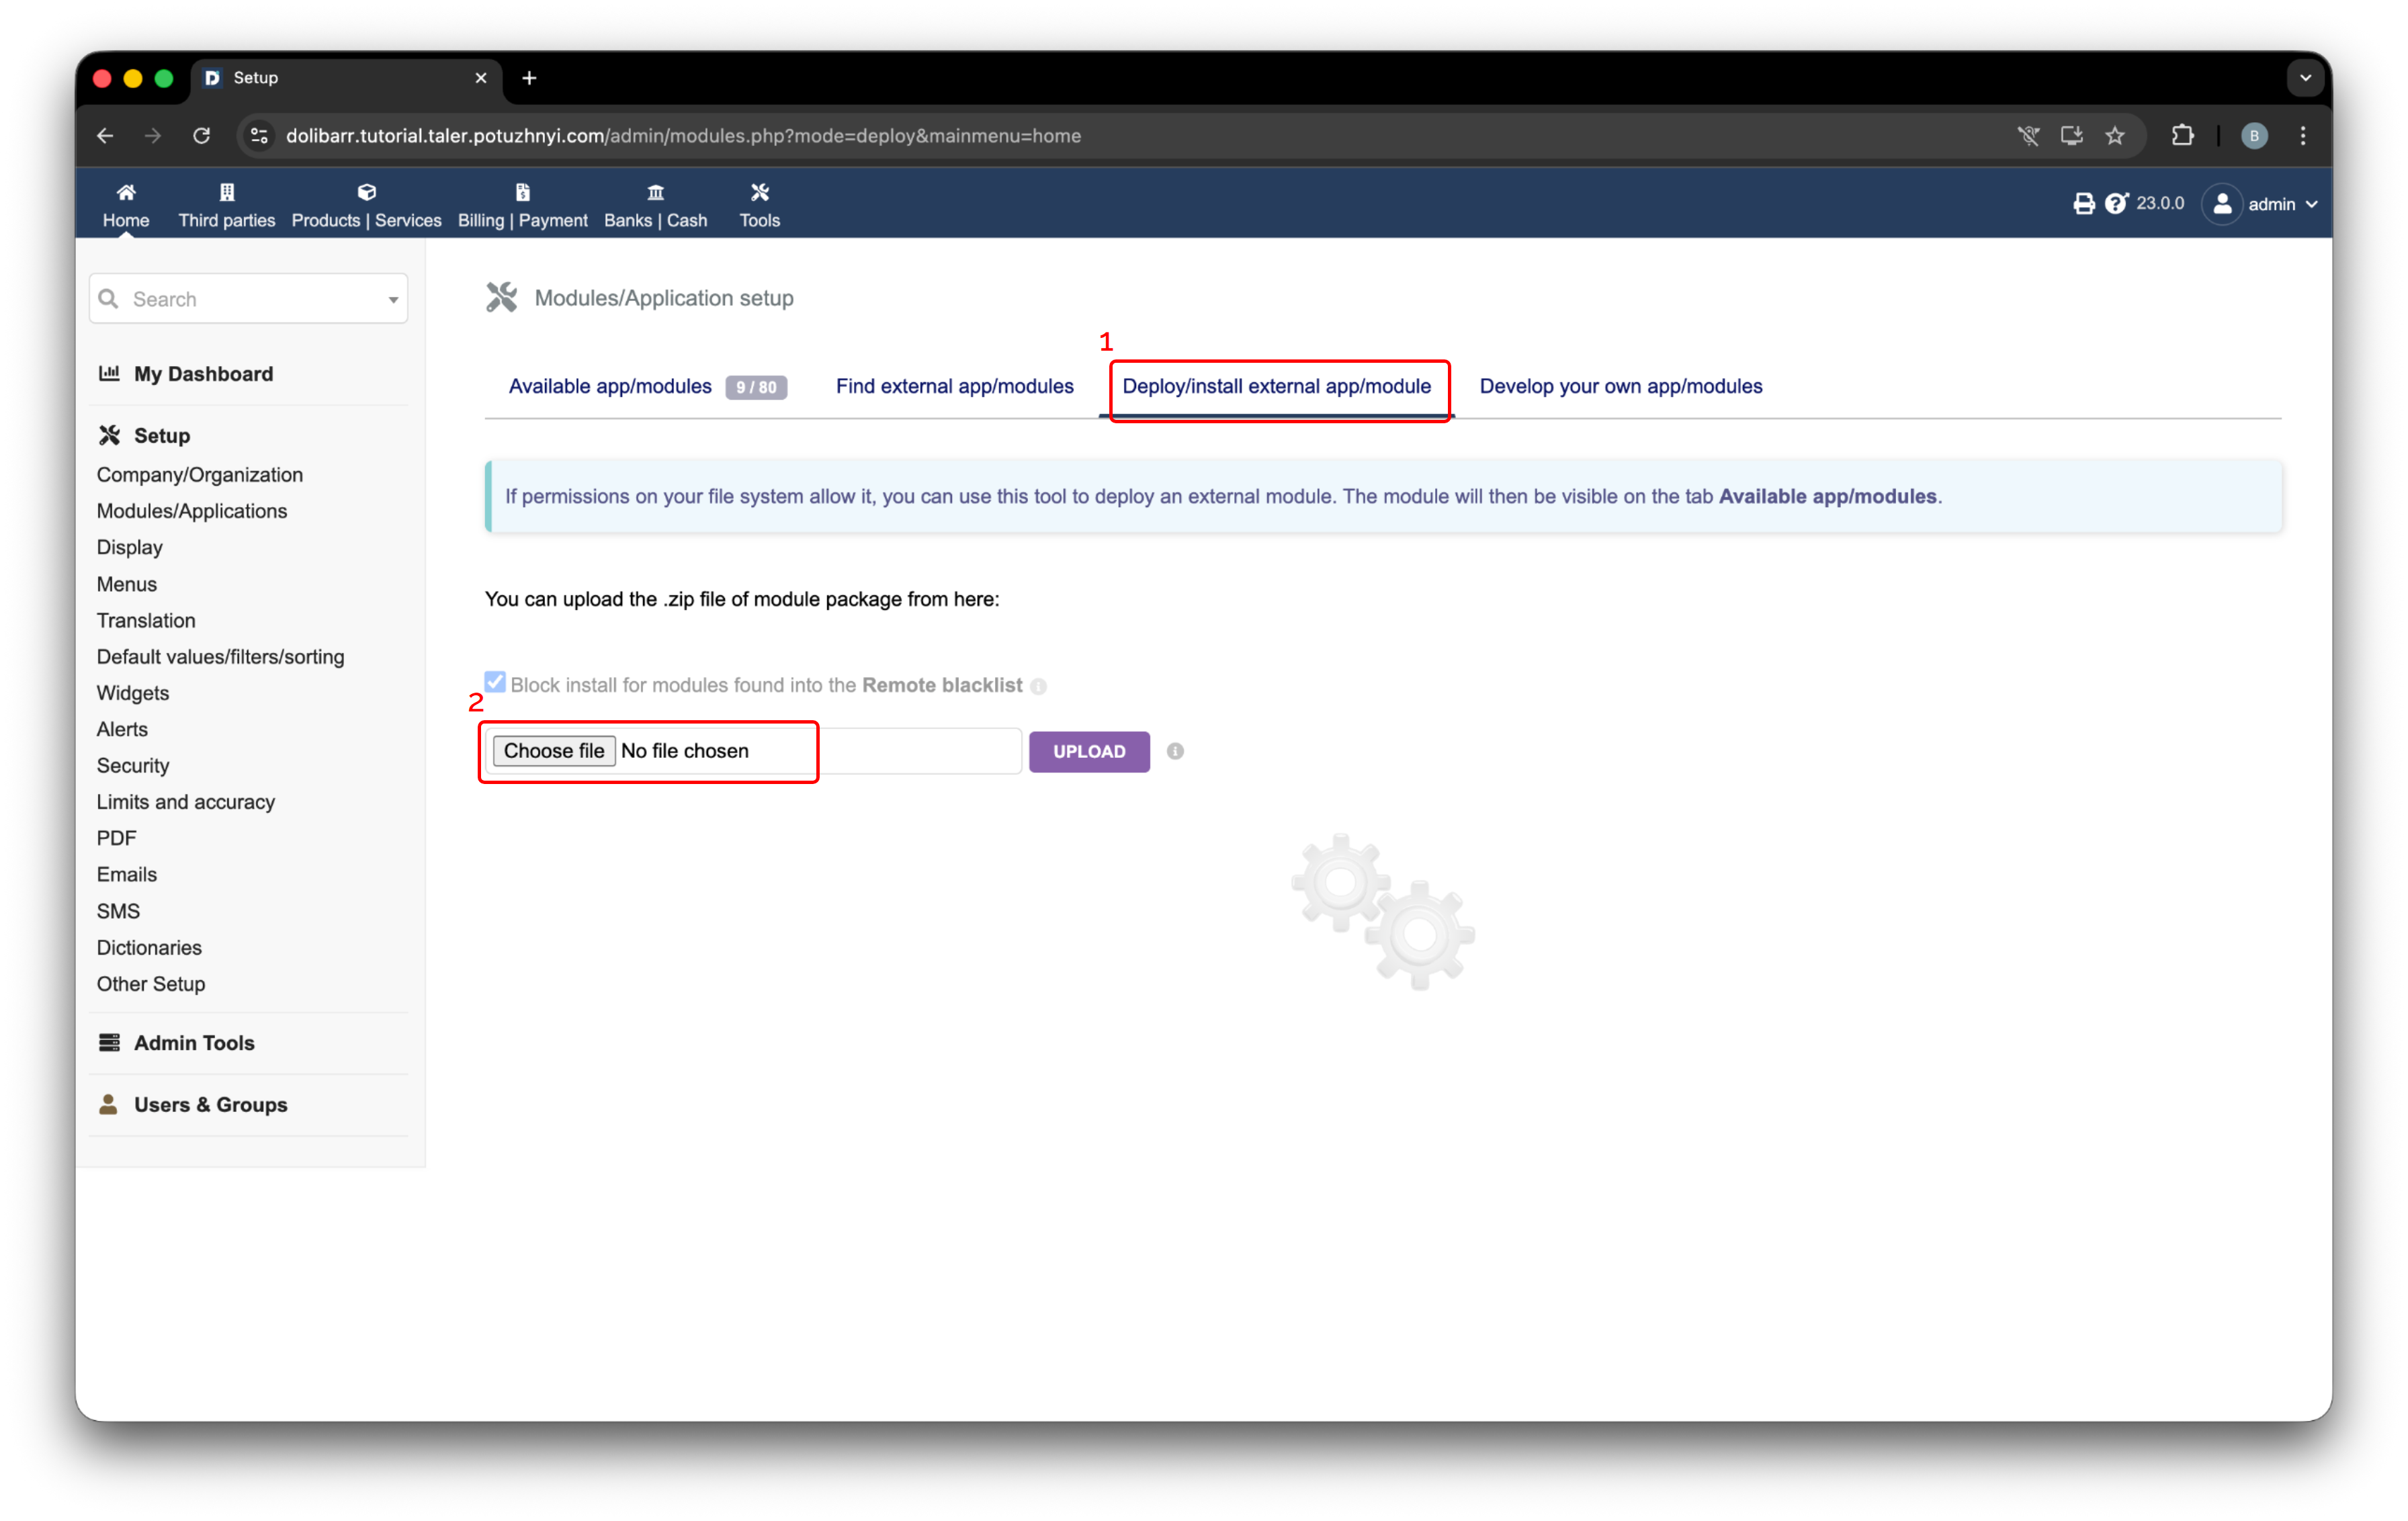
Dolibarr-installatiepagina voor externe modules.#
Zodra het bestand is geselecteerd, wordt het getoond in het uploadformulier. Druk op Upload om de module te installeren. Na een succesvolle upload verschijnt er een bevestigingsbericht in de rechterbovenhoek.
Geselecteerd TalerBarr-archief klaar om te uploaden in Dolibarr.#
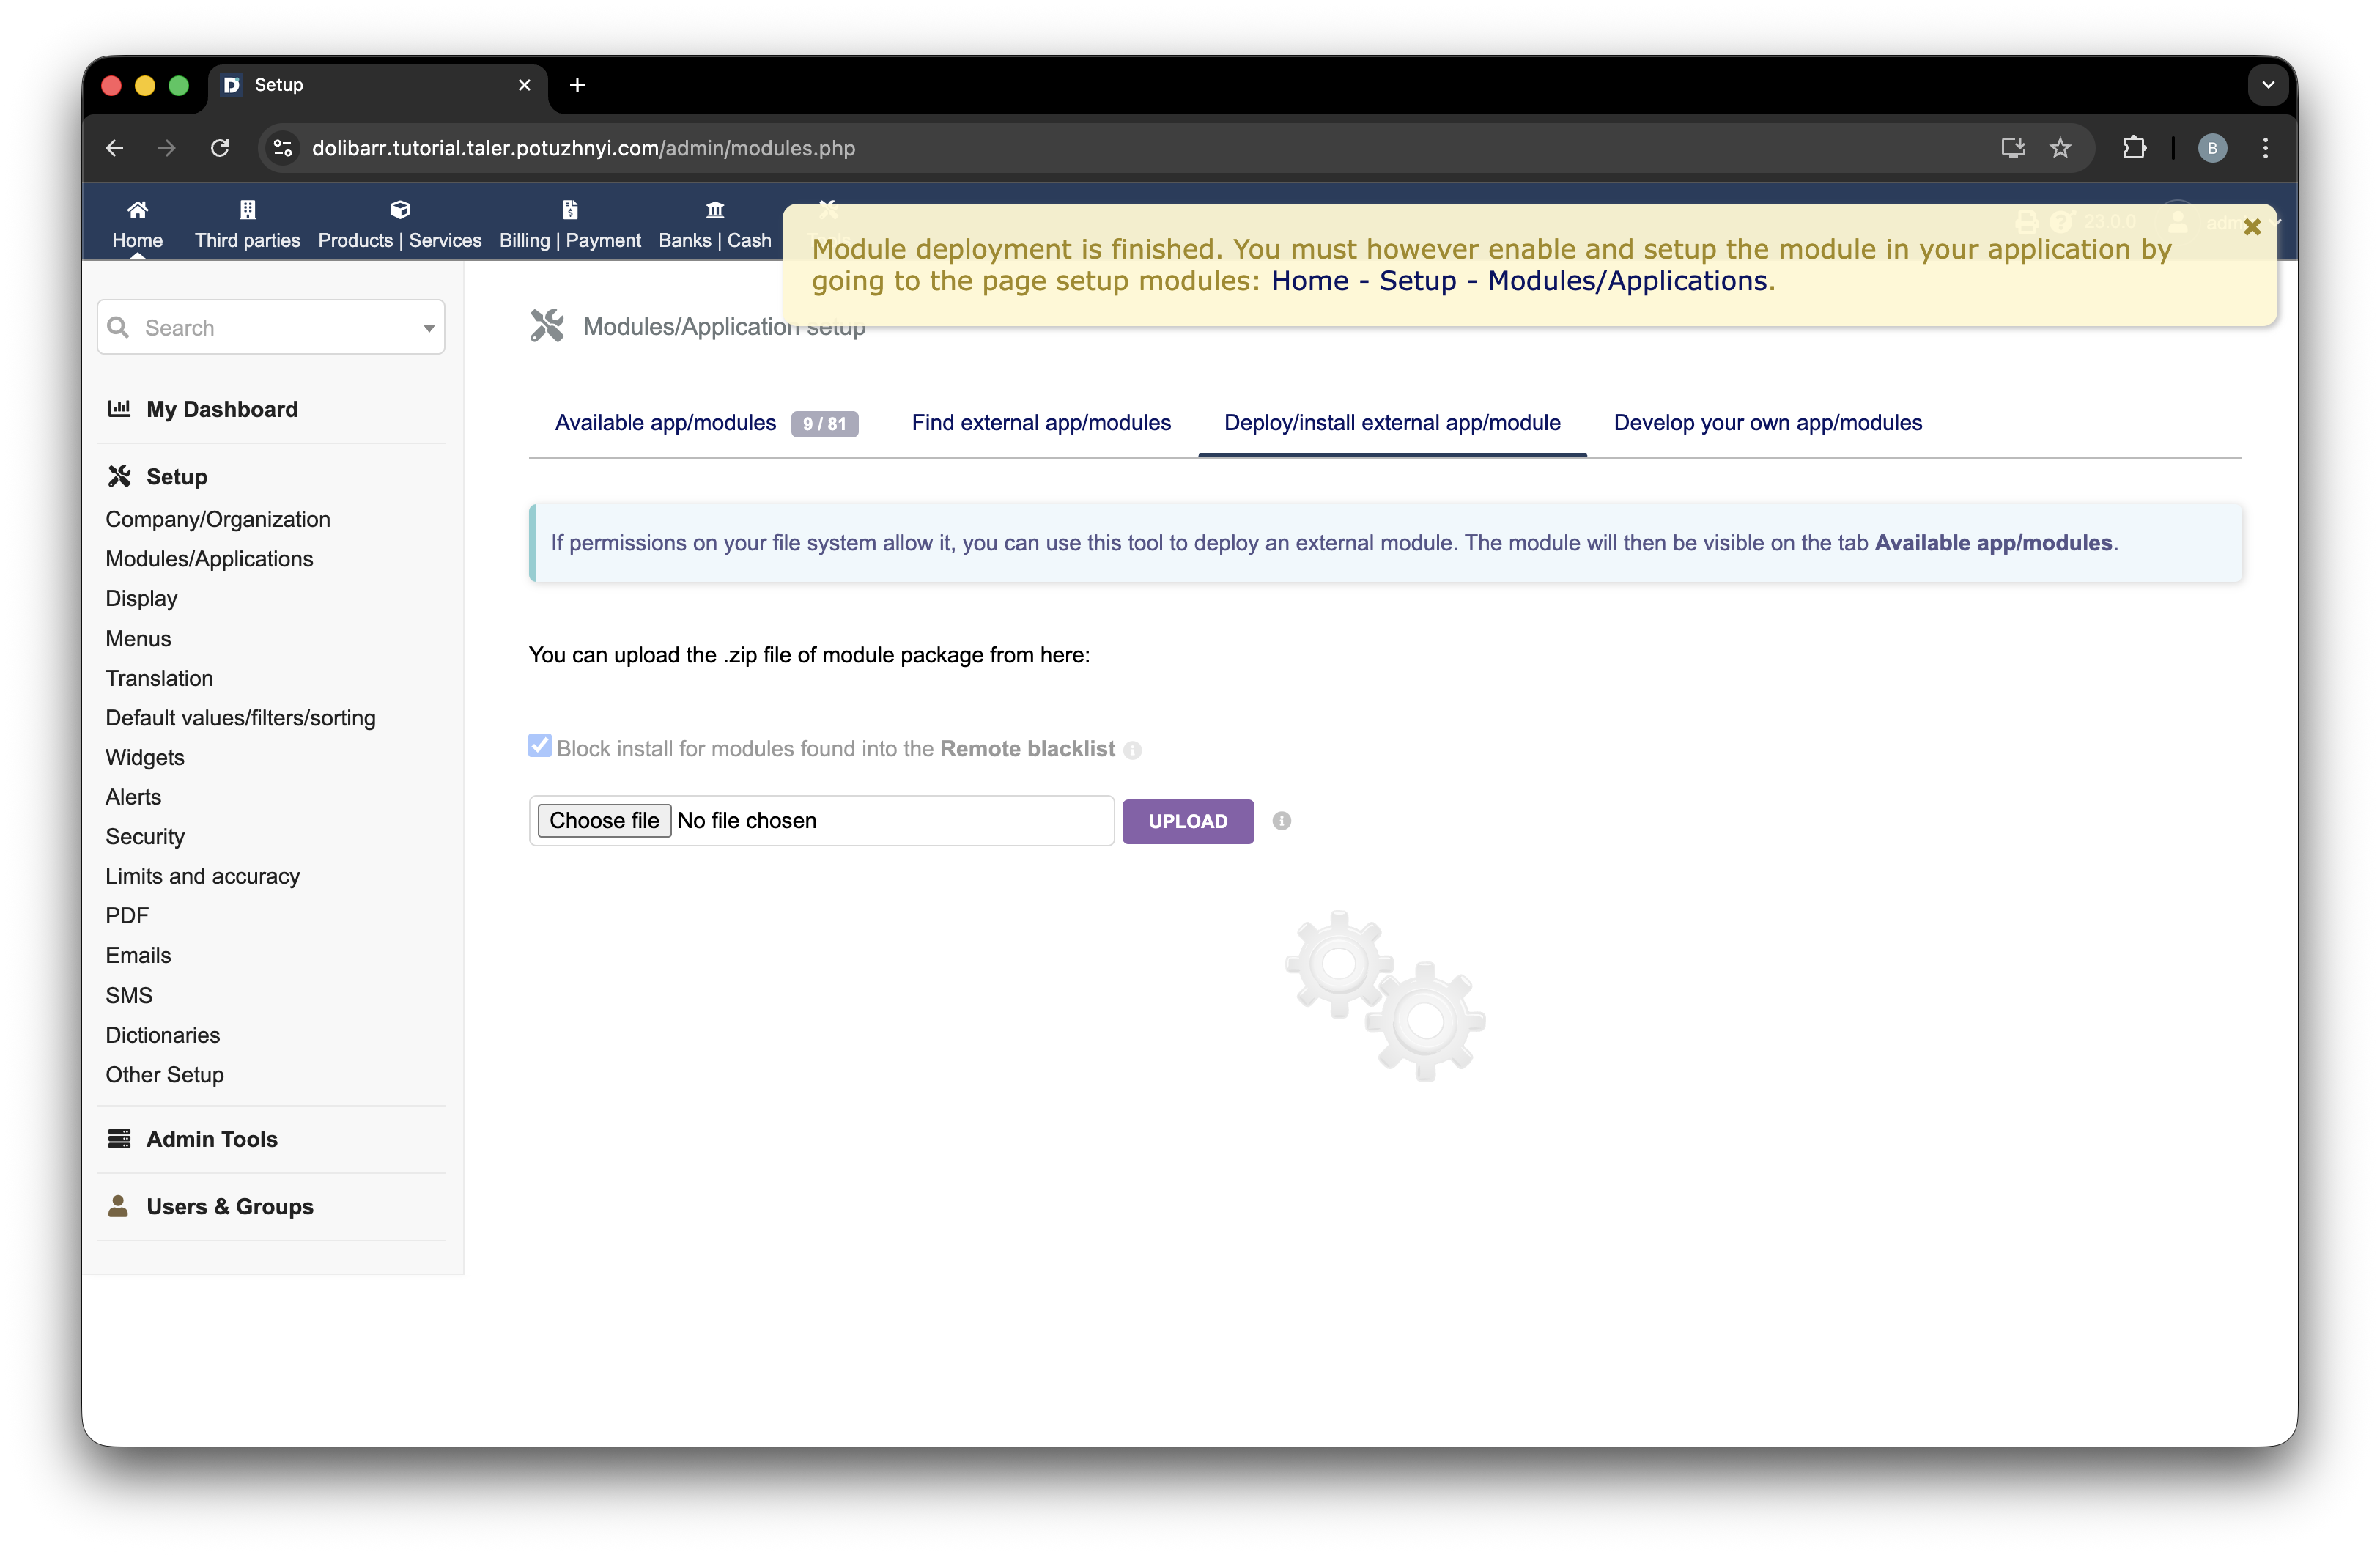
TalerBarr-module succesvol geïmplementeerd in Dolibarr.#
2.3.2.4. Installeren vanuit de broncoderepository#
U kunt de module op twee gebruikelijke manieren vanuit de broncode installeren.
Als u de eerdere, op ontwikkelaars gerichte Dolibarr-installatie uit Dolibarr en Talerbarr installeren via de opdrachtregel volgt, plaatst u de module in ~/dolibarr/custom:
cd ~/dolibarr/custom
git clone https://github.com/bohdanpotuzhnyi/talerbarr.git
Voor een meer standaard Dolibarr-installatie plaatst u de module in $DOLIBARR_HOME/htdocs/custom, tenzij uw Dolibarr-provider of de officiële Dolibarr-installatiehandleiding voor uw installatietype anders aangeeft:
cd $DOLIBARR_HOME/htdocs/custom
git clone https://github.com/bohdanpotuzhnyi/talerbarr.git
Als alternatief kunt u dezelfde module gebruiken vanuit Taler Git:
git clone git://git.gnunet.org/talerbarr.git
Nadat de bestanden aanwezig zijn, vernieuwt u de Dolibarr-modulepagina. Dolibarr zou de nieuwe module automatisch moeten detecteren.
2.3.2.5. De module inschakelen#
Om de module in te schakelen, opent u Setup -> Modules/Applications.
Zoek TalerBarr in de modulelijst en schakel deze in met de schakelaar die in de onderstaande afbeelding wordt getoond. Label 1 geeft de activeringsbediening aan. Na activering wordt de schakelaar groen, zoals getoond bij label 2.
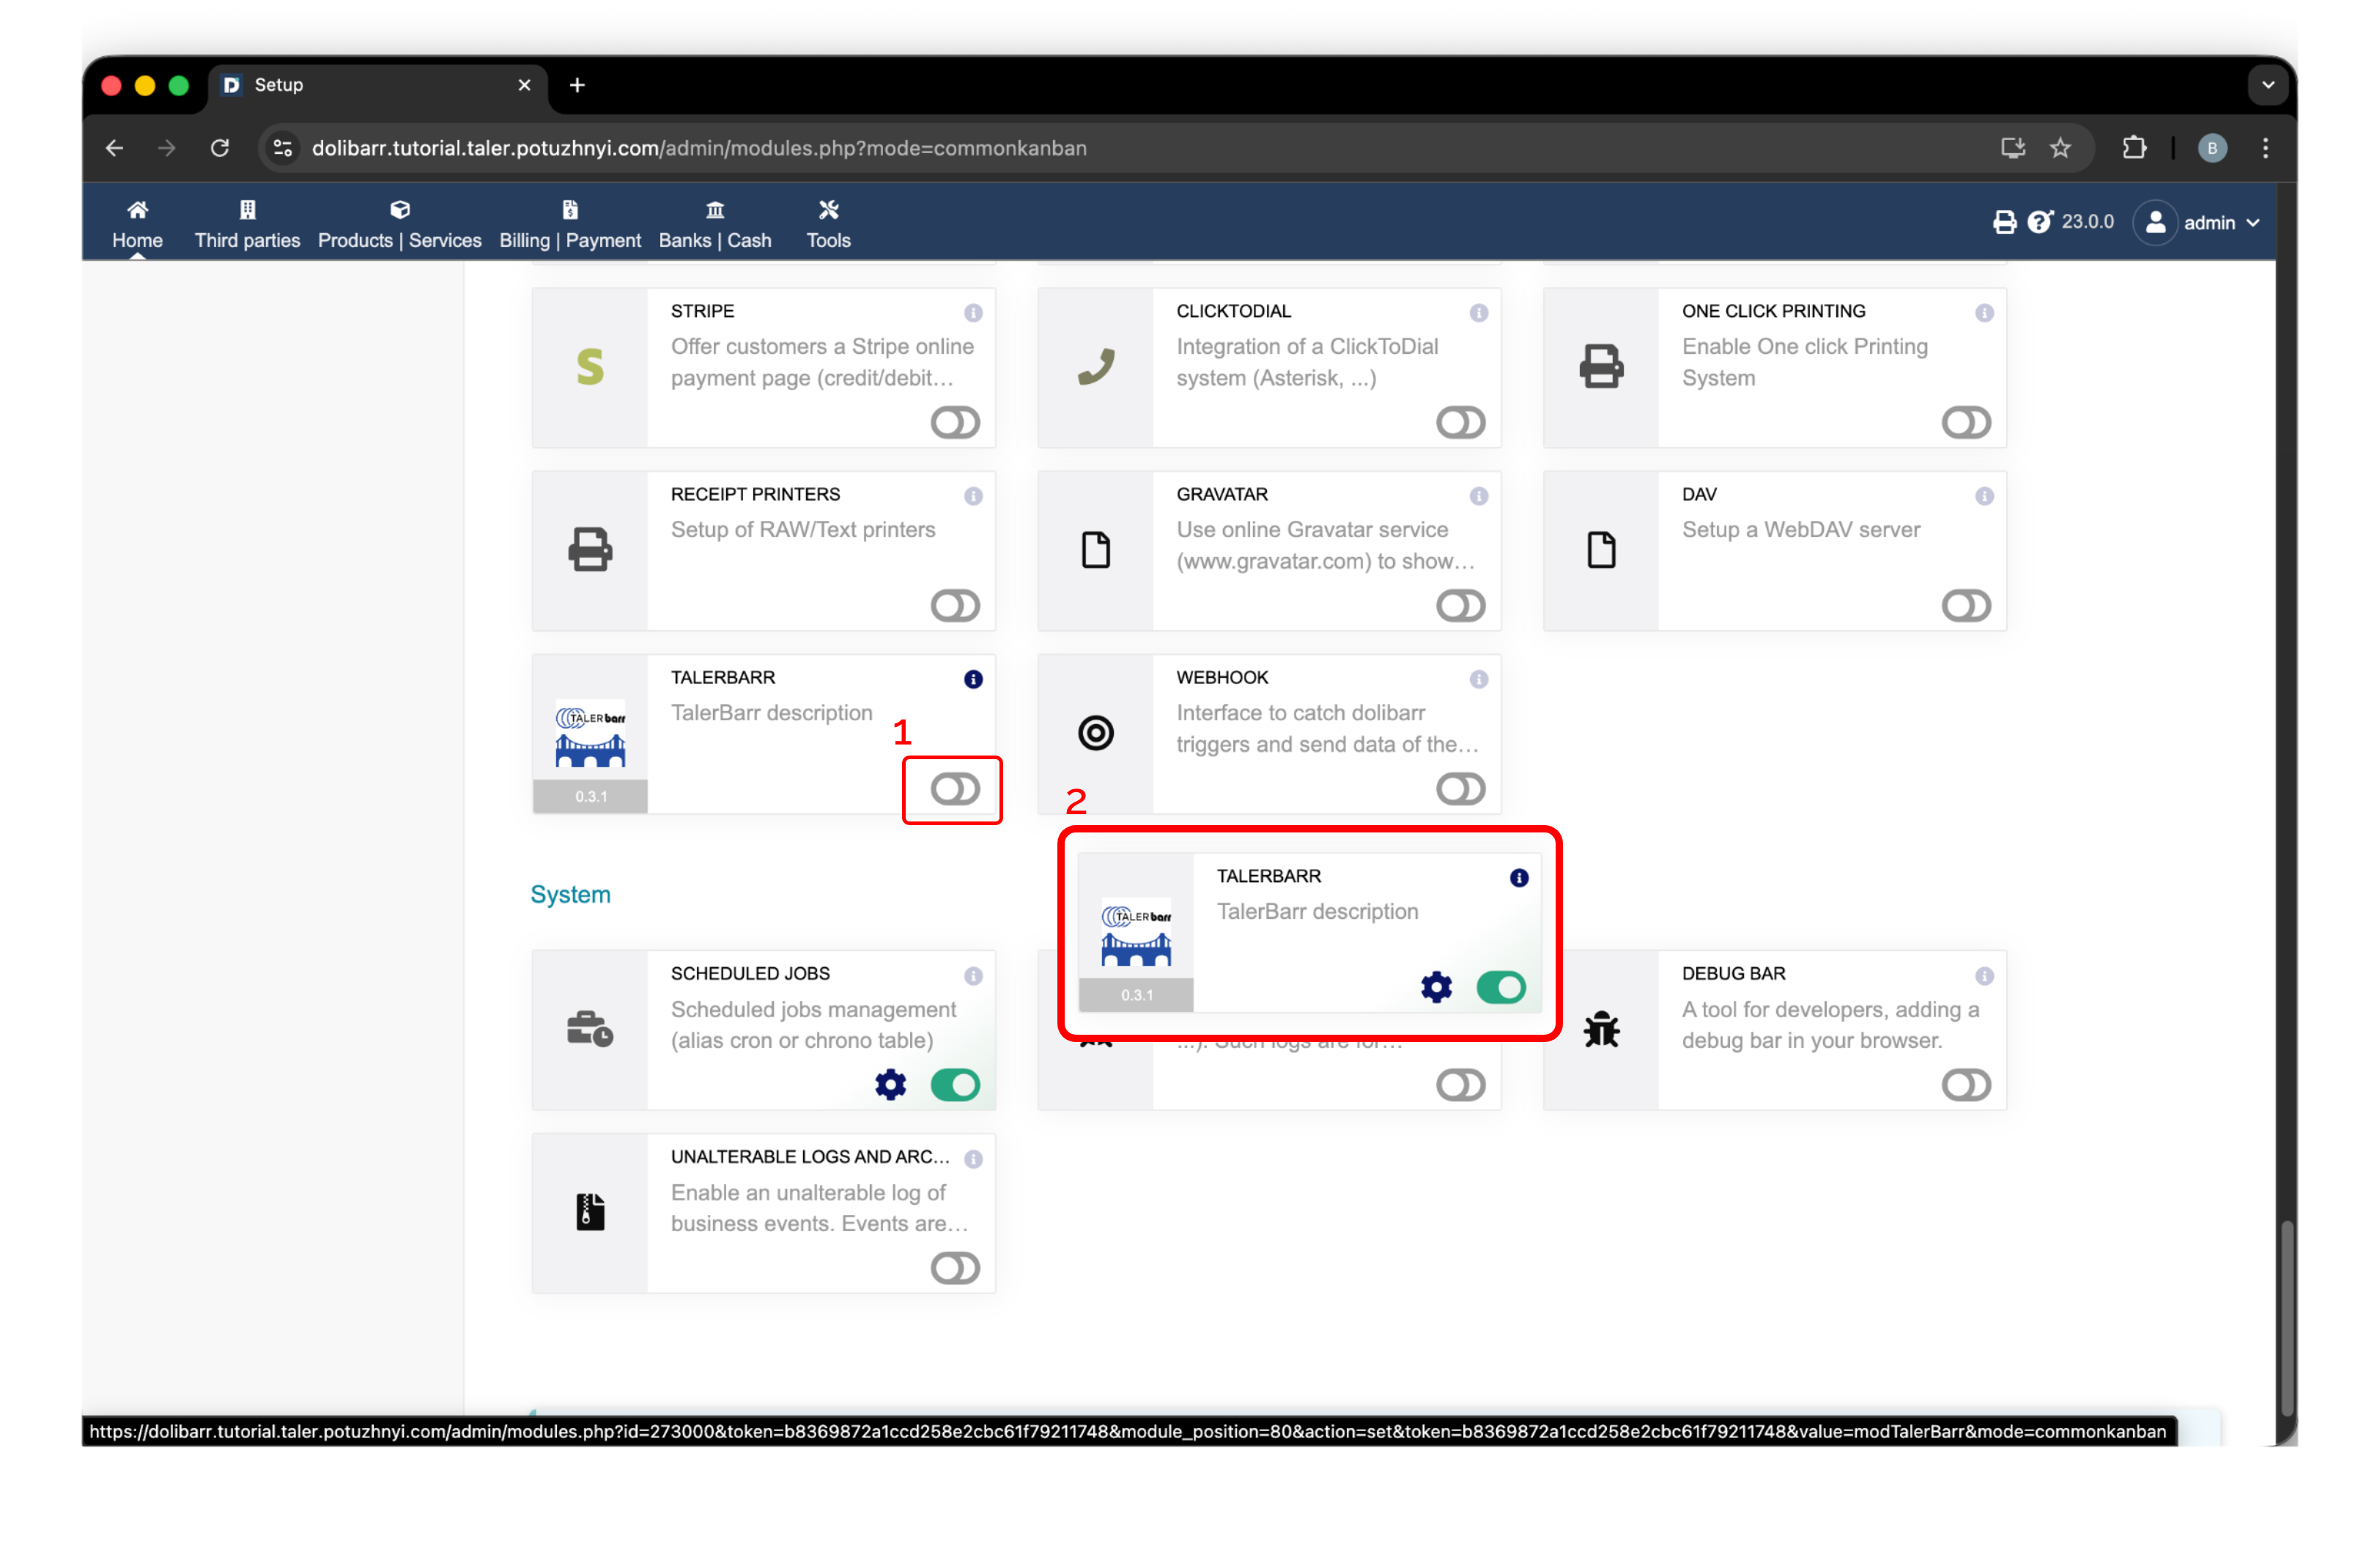
Activering van TalerBarr in Dolibarr. Label 1 geeft de inschakelschakelaar aan en label 2 toont de actieve status.#
Nadat de module is ingeschakeld, verschijnt TalerBarr in de bovenste navigatiebalk. Open deze om de module voor het eerst te openen. Omdat er nog geen configuratie bestaat, toont TalerBarr het initiële configuratiescherm en vraagt het u er een aan te maken, zoals hieronder weergegeven.
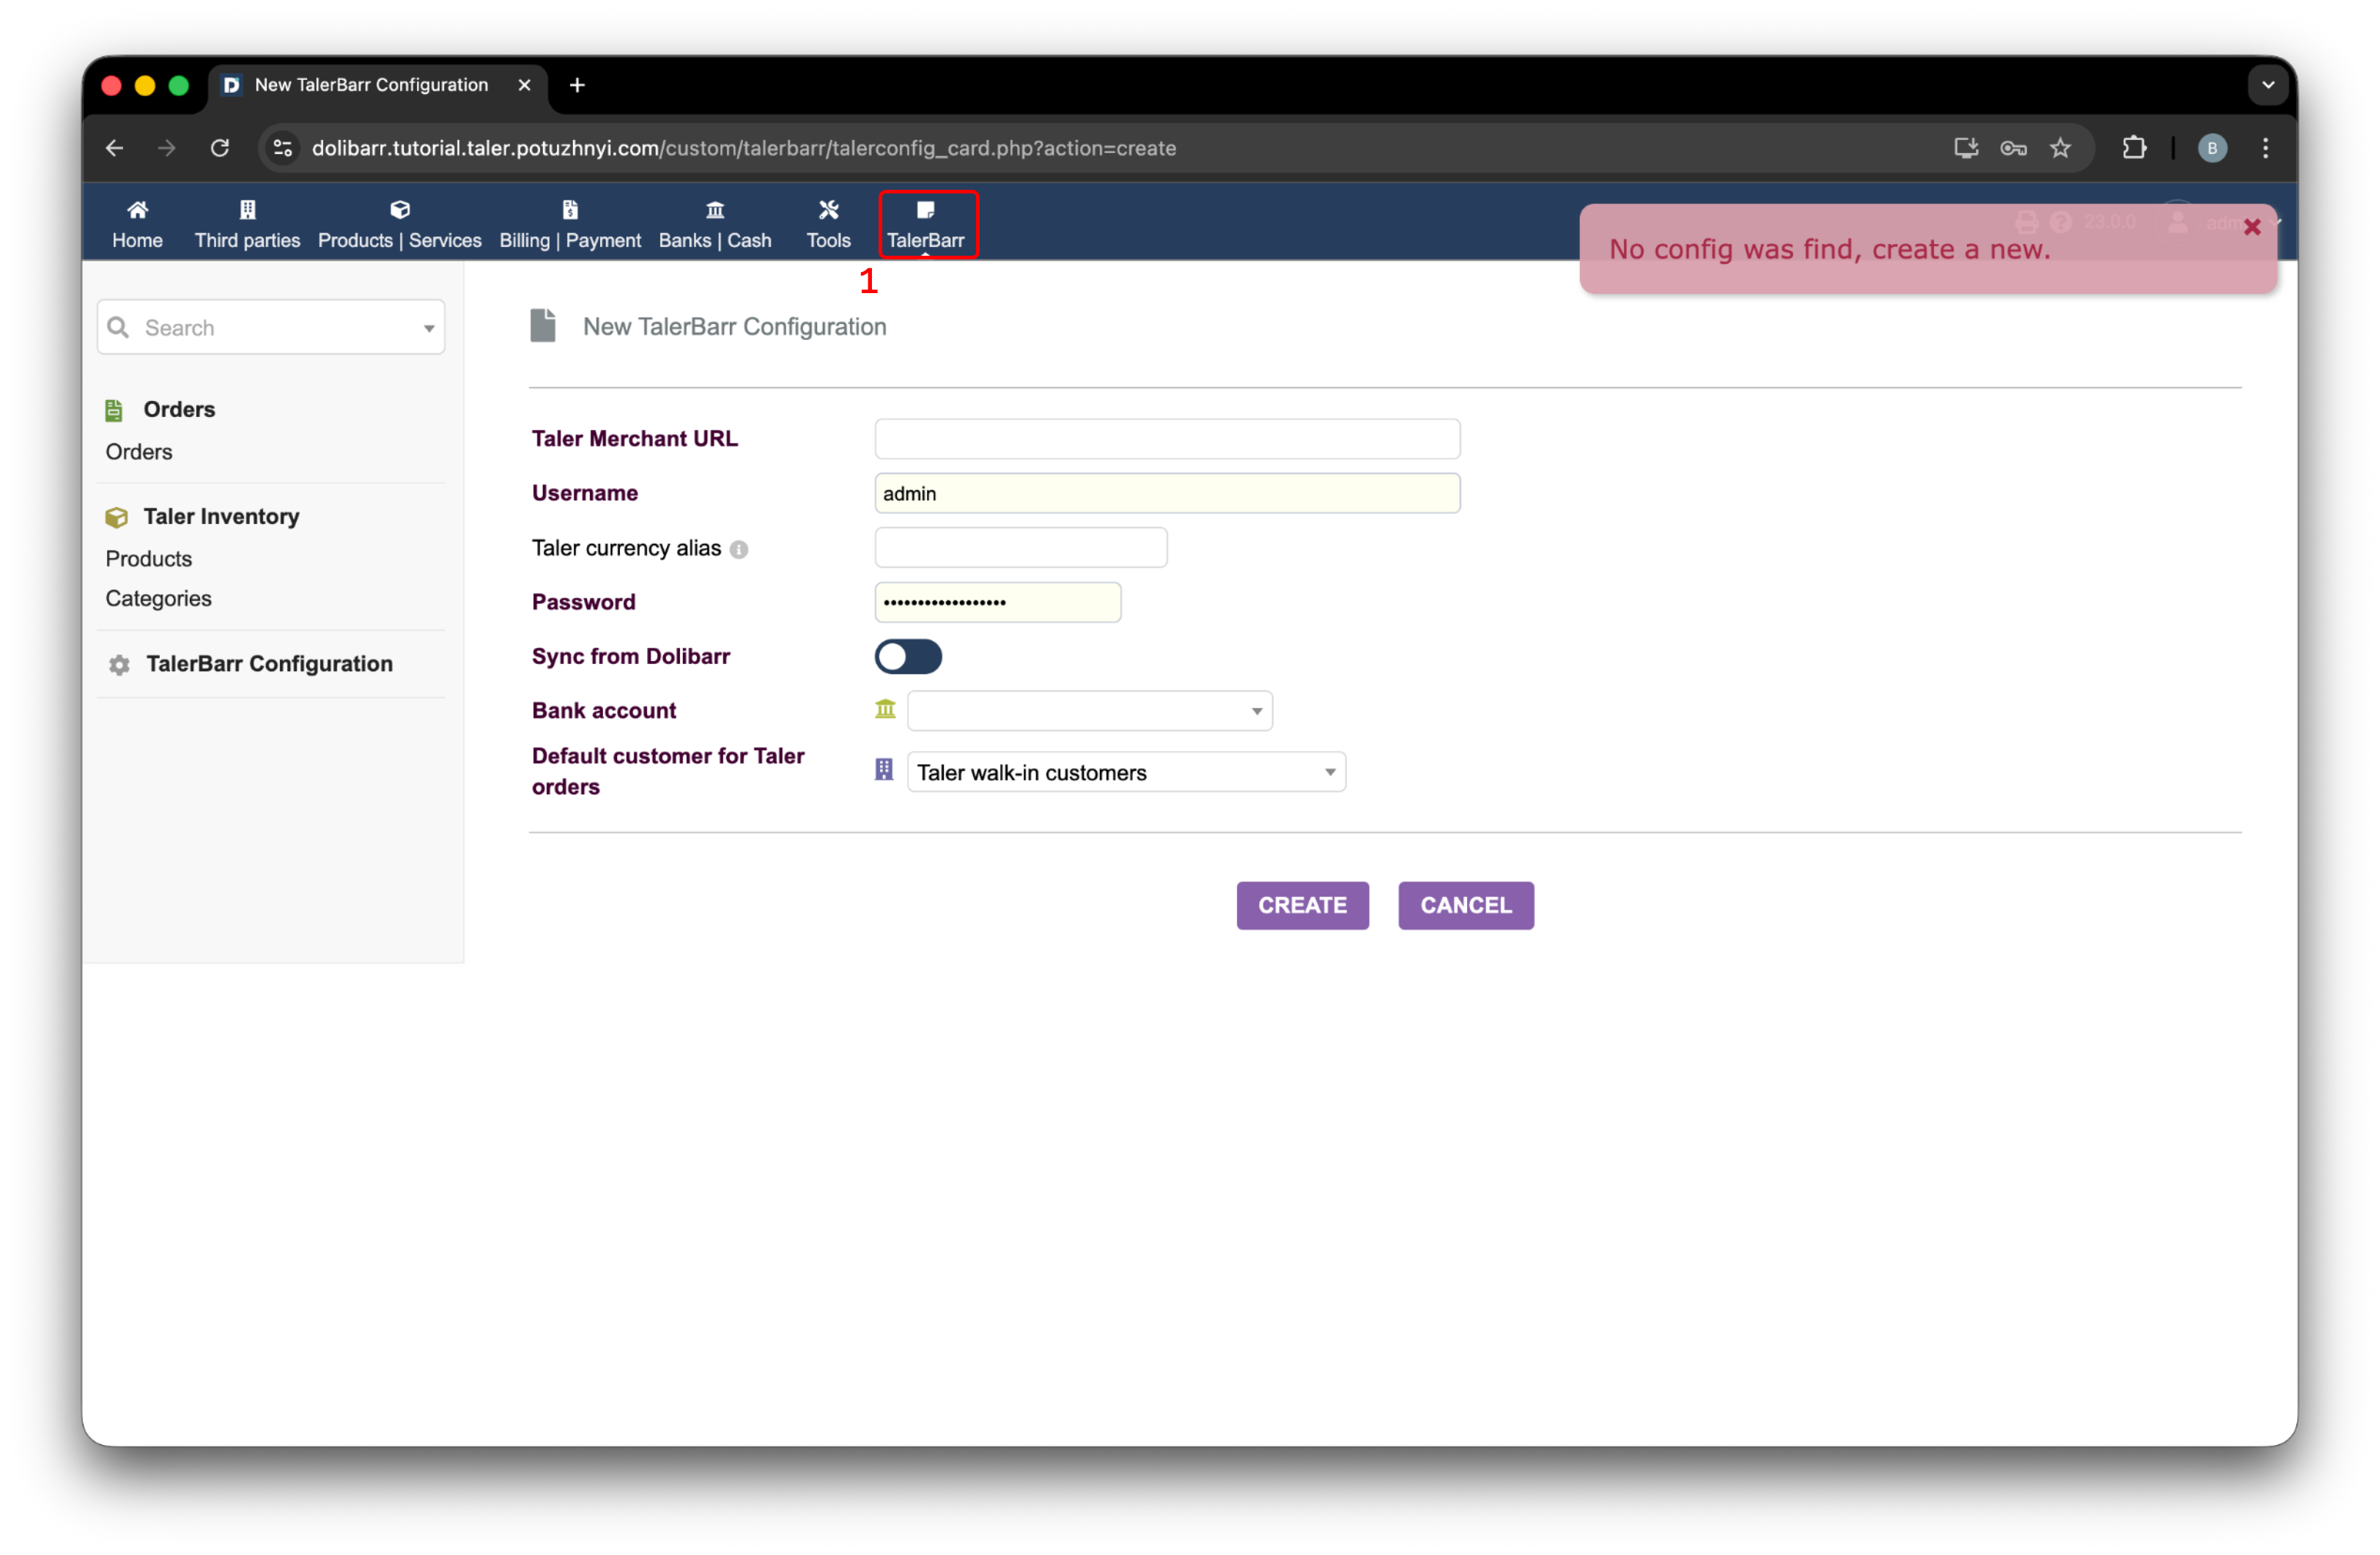
Initiële TalerBarr-configuratiepagina, weergegeven na het openen van de module zonder bestaande configuratie.#
Voor details over de configuratieflow gaat u verder met TalerBarr configureren.
2.3.2.6. Wat er gebeurt na activering#
Wanneer de module wordt geïnitialiseerd, bereidt TalerBarr de Dolibarr-kant voor op de Taler-betalingsflow. Op basis van het moduleontwerp omvat dit hulpobjecten zoals:
Een standaardklant voor orders afkomstig van Taler
Een Taler-betaalmethode
Een op een verrekeningsrekening gebaseerde boekhoudflow die wordt gebruikt voor reconciliatie
Dit betekent dat de module is bedoeld om het volledige traject van productsynchronisatie tot orderafwikkeling af te handelen.
2.3.2.7. Volgende stap#
Nadat de module is geïnstalleerd en ingeschakeld, gaat u verder met TalerBarr configureren om Dolibarr te verbinden met uw Taler-verkoperbackend en de synchronisatiemodus te kiezen.