2.3.2. Installation de TalerBarr#
Avant d’installer TalerBarr, assurez-vous de disposer déjà d’une instance Dolibarr fonctionnelle. TalerBarr est un module Dolibarr et ne remplace pas l’ERP lui-même.
Vous avez également besoin d’un accès à un backend commerçant GNU Taler. Le module peut se connecter soit à votre propre backend commerçant, soit à un déploiement multi-locataire hébergé. Si vous devez encore préparer le côté backend, consultez Installation sur Debian et Obtenir une instance. Pour les instructions générales d’installation de Dolibarr, consultez la documentation d’installation de Dolibarr. Autrement, si vous avez une expérience de développeur, consultez Installer Dolibarr et Talerbarr en ligne de commande. Ce tutoriel montre uniquement comment nous, en tant que développeurs de TalerBarr, installons Dolibarr pour cette démonstration.
2.3.2.1. Conditions préalables#
En termes simples, vous avez besoin de :
Dolibarr v22+
Une instance de backend marchand Taler
Dans la plupart des cas, cela suffit.
Plus précisément, vous devez d’abord préparer les composants suivants :
PHP 8.0 ou plus récent
Accès administrateur dans Dolibarr pour installer et activer des modules externes
Il est également recommandé d’activer les modules standards de Dolibarr avec lesquels TalerBarr fonctionne :
Produits
Stocks
Catégories ou étiquettes
Banques et caisses
Factures
Tâches planifiées
2.3.2.2. Méthodes d’installation#
TalerBarr peut être installé de deux manières courantes :
À partir d’une version empaquetée, par exemple via DoliStore ou une archive zip de version
À partir du dépôt source, utile pour le développement ou les tests
2.3.2.3. Installer à partir d’un paquet de version#
2.3.2.3.1. Obtenir le fichier .zip du projet#
C’est l’option la plus simple pour un déploiement Dolibarr classique. Dans ce cas, la version est simplement un fichier .zip. Elle est disponible à 3 endroits :
-
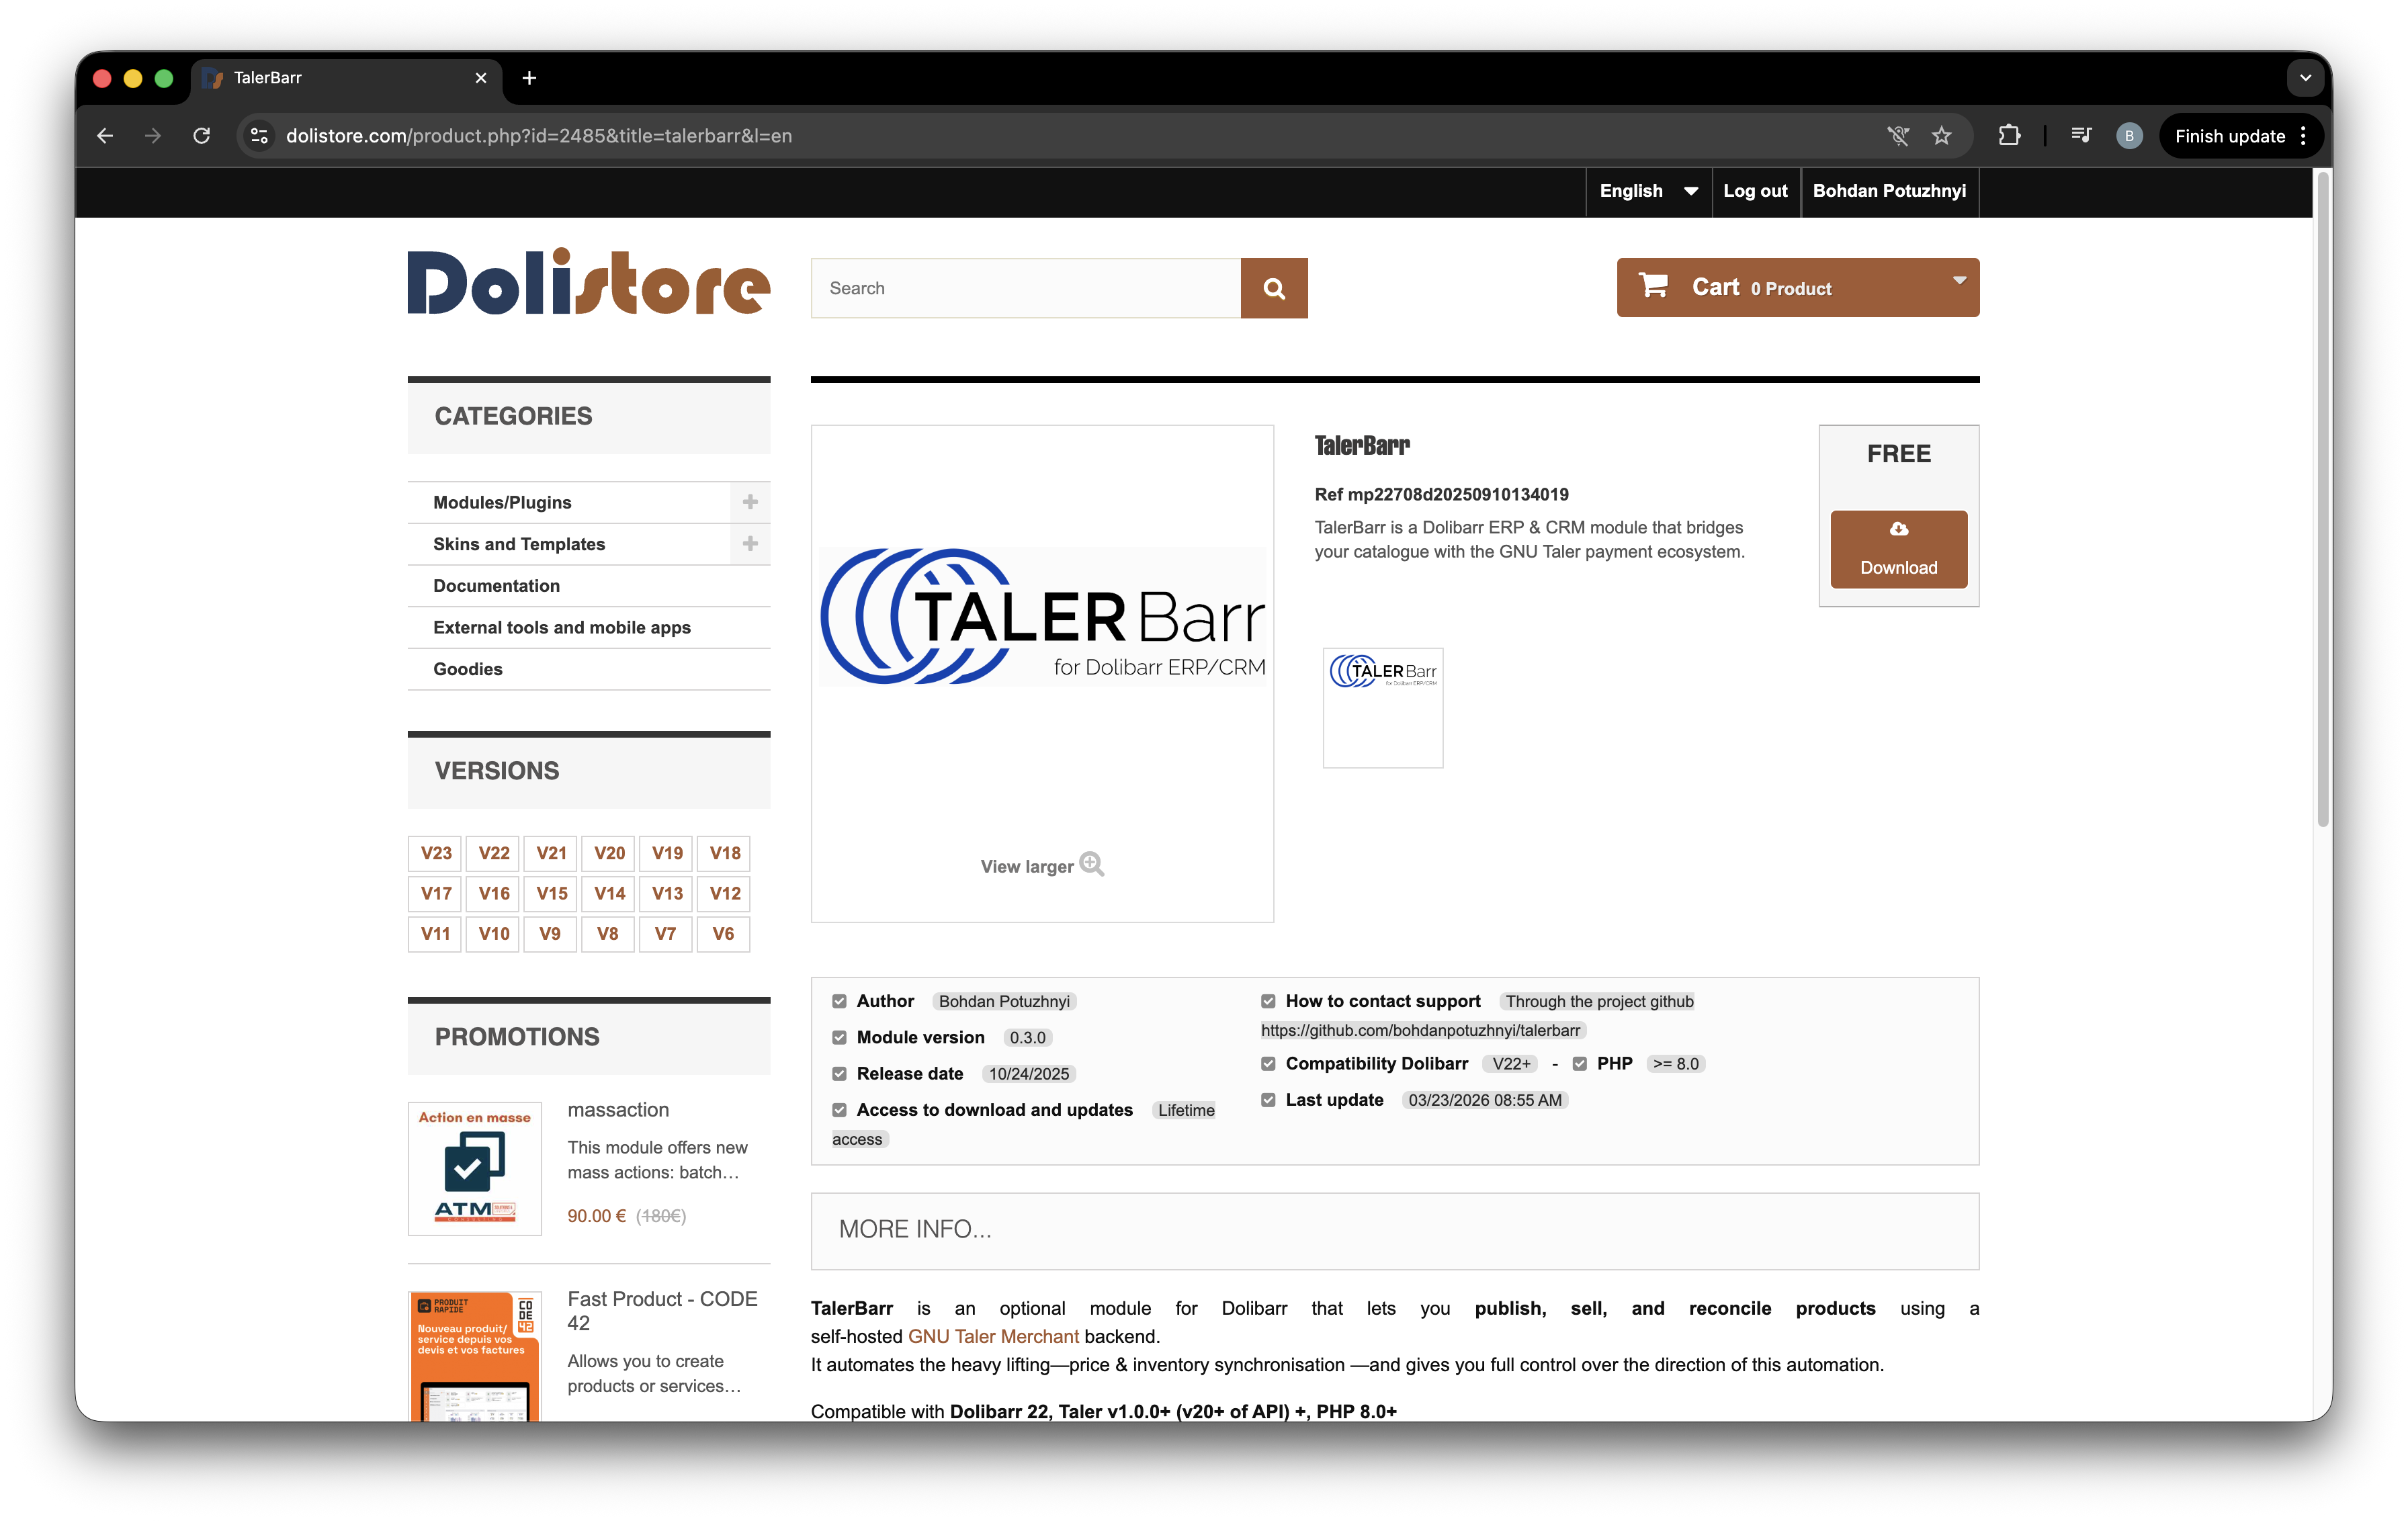
Page du paquet TalerBarr sur DoliStore.#
-
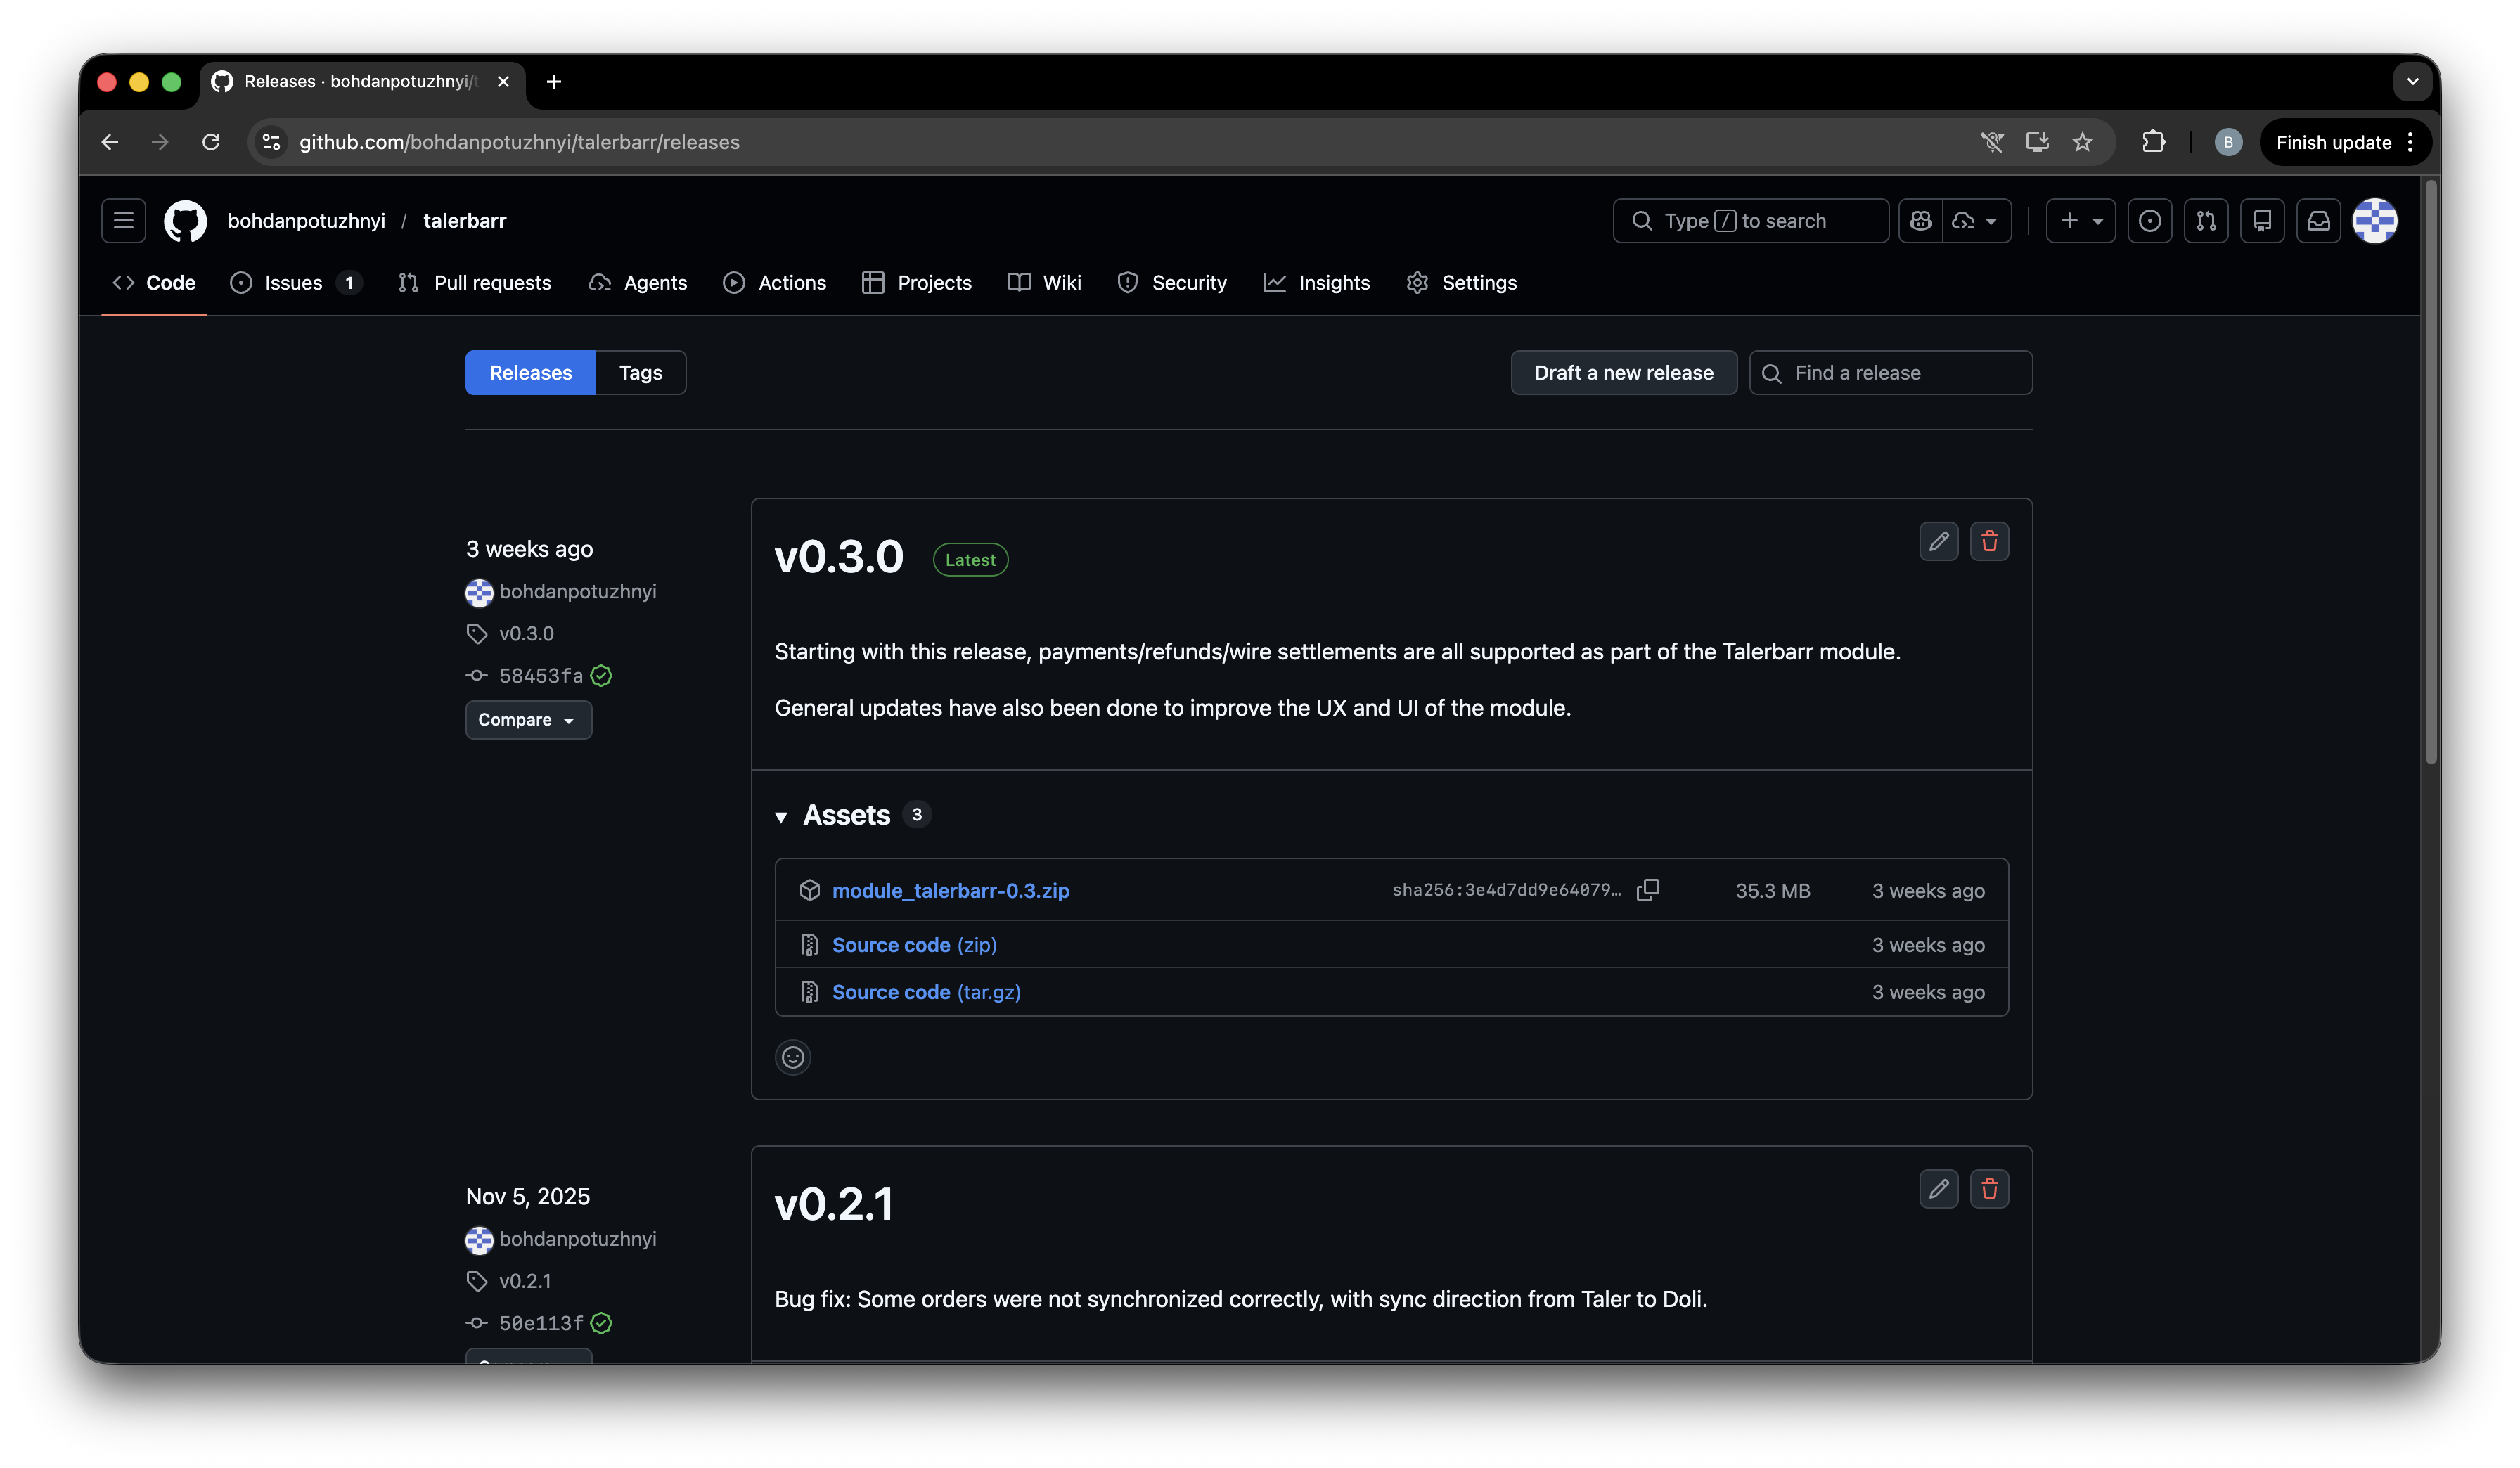
Page des versions de TalerBarr sur GitHub.#
TalerBarr on Taler git repository
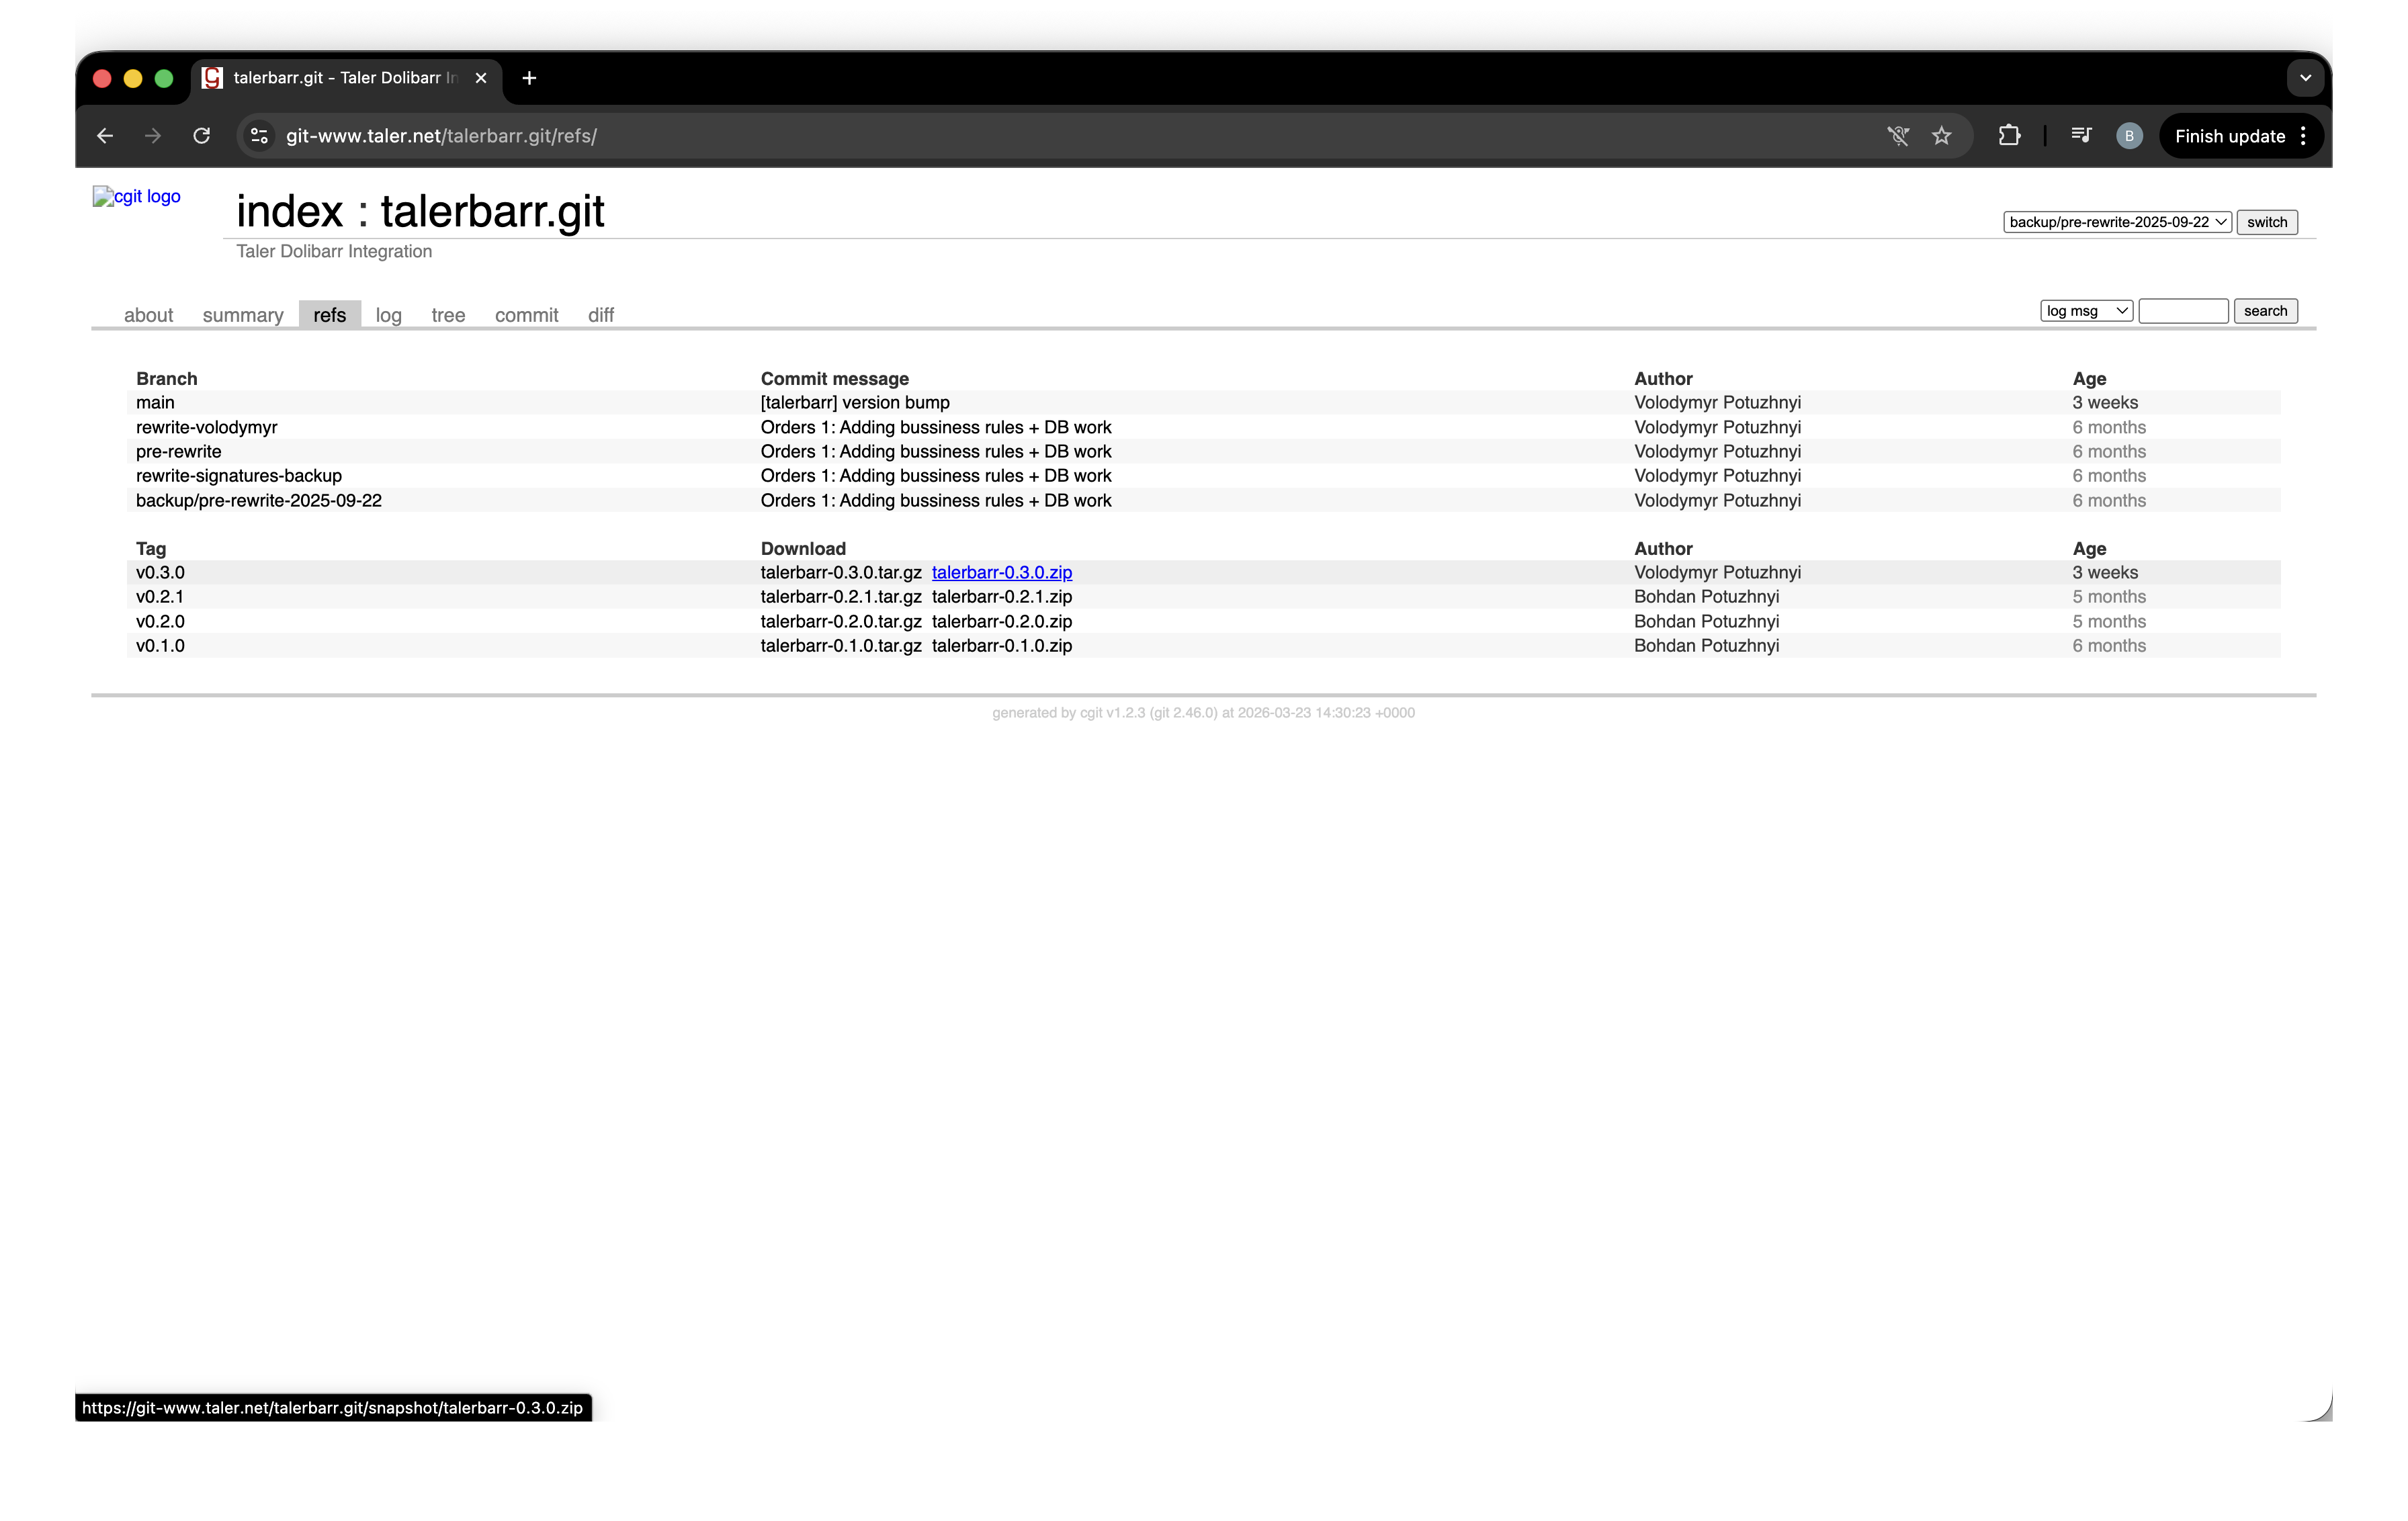
Page TalerBarr dans le dépôt Git Taler.#
2.3.2.3.2. Installation dans Dolibarr#
Pour cela, ouvrez votre instance Dolibarr, connectez-vous en tant qu’administrateur, et assurez-vous que les modules requis sont activés. Depuis la page d’accueil, cliquez sur Setup dans la barre latérale gauche, puis ouvrez Setup -> Modules/Applications comme indiqué sur la figure ci-dessous.
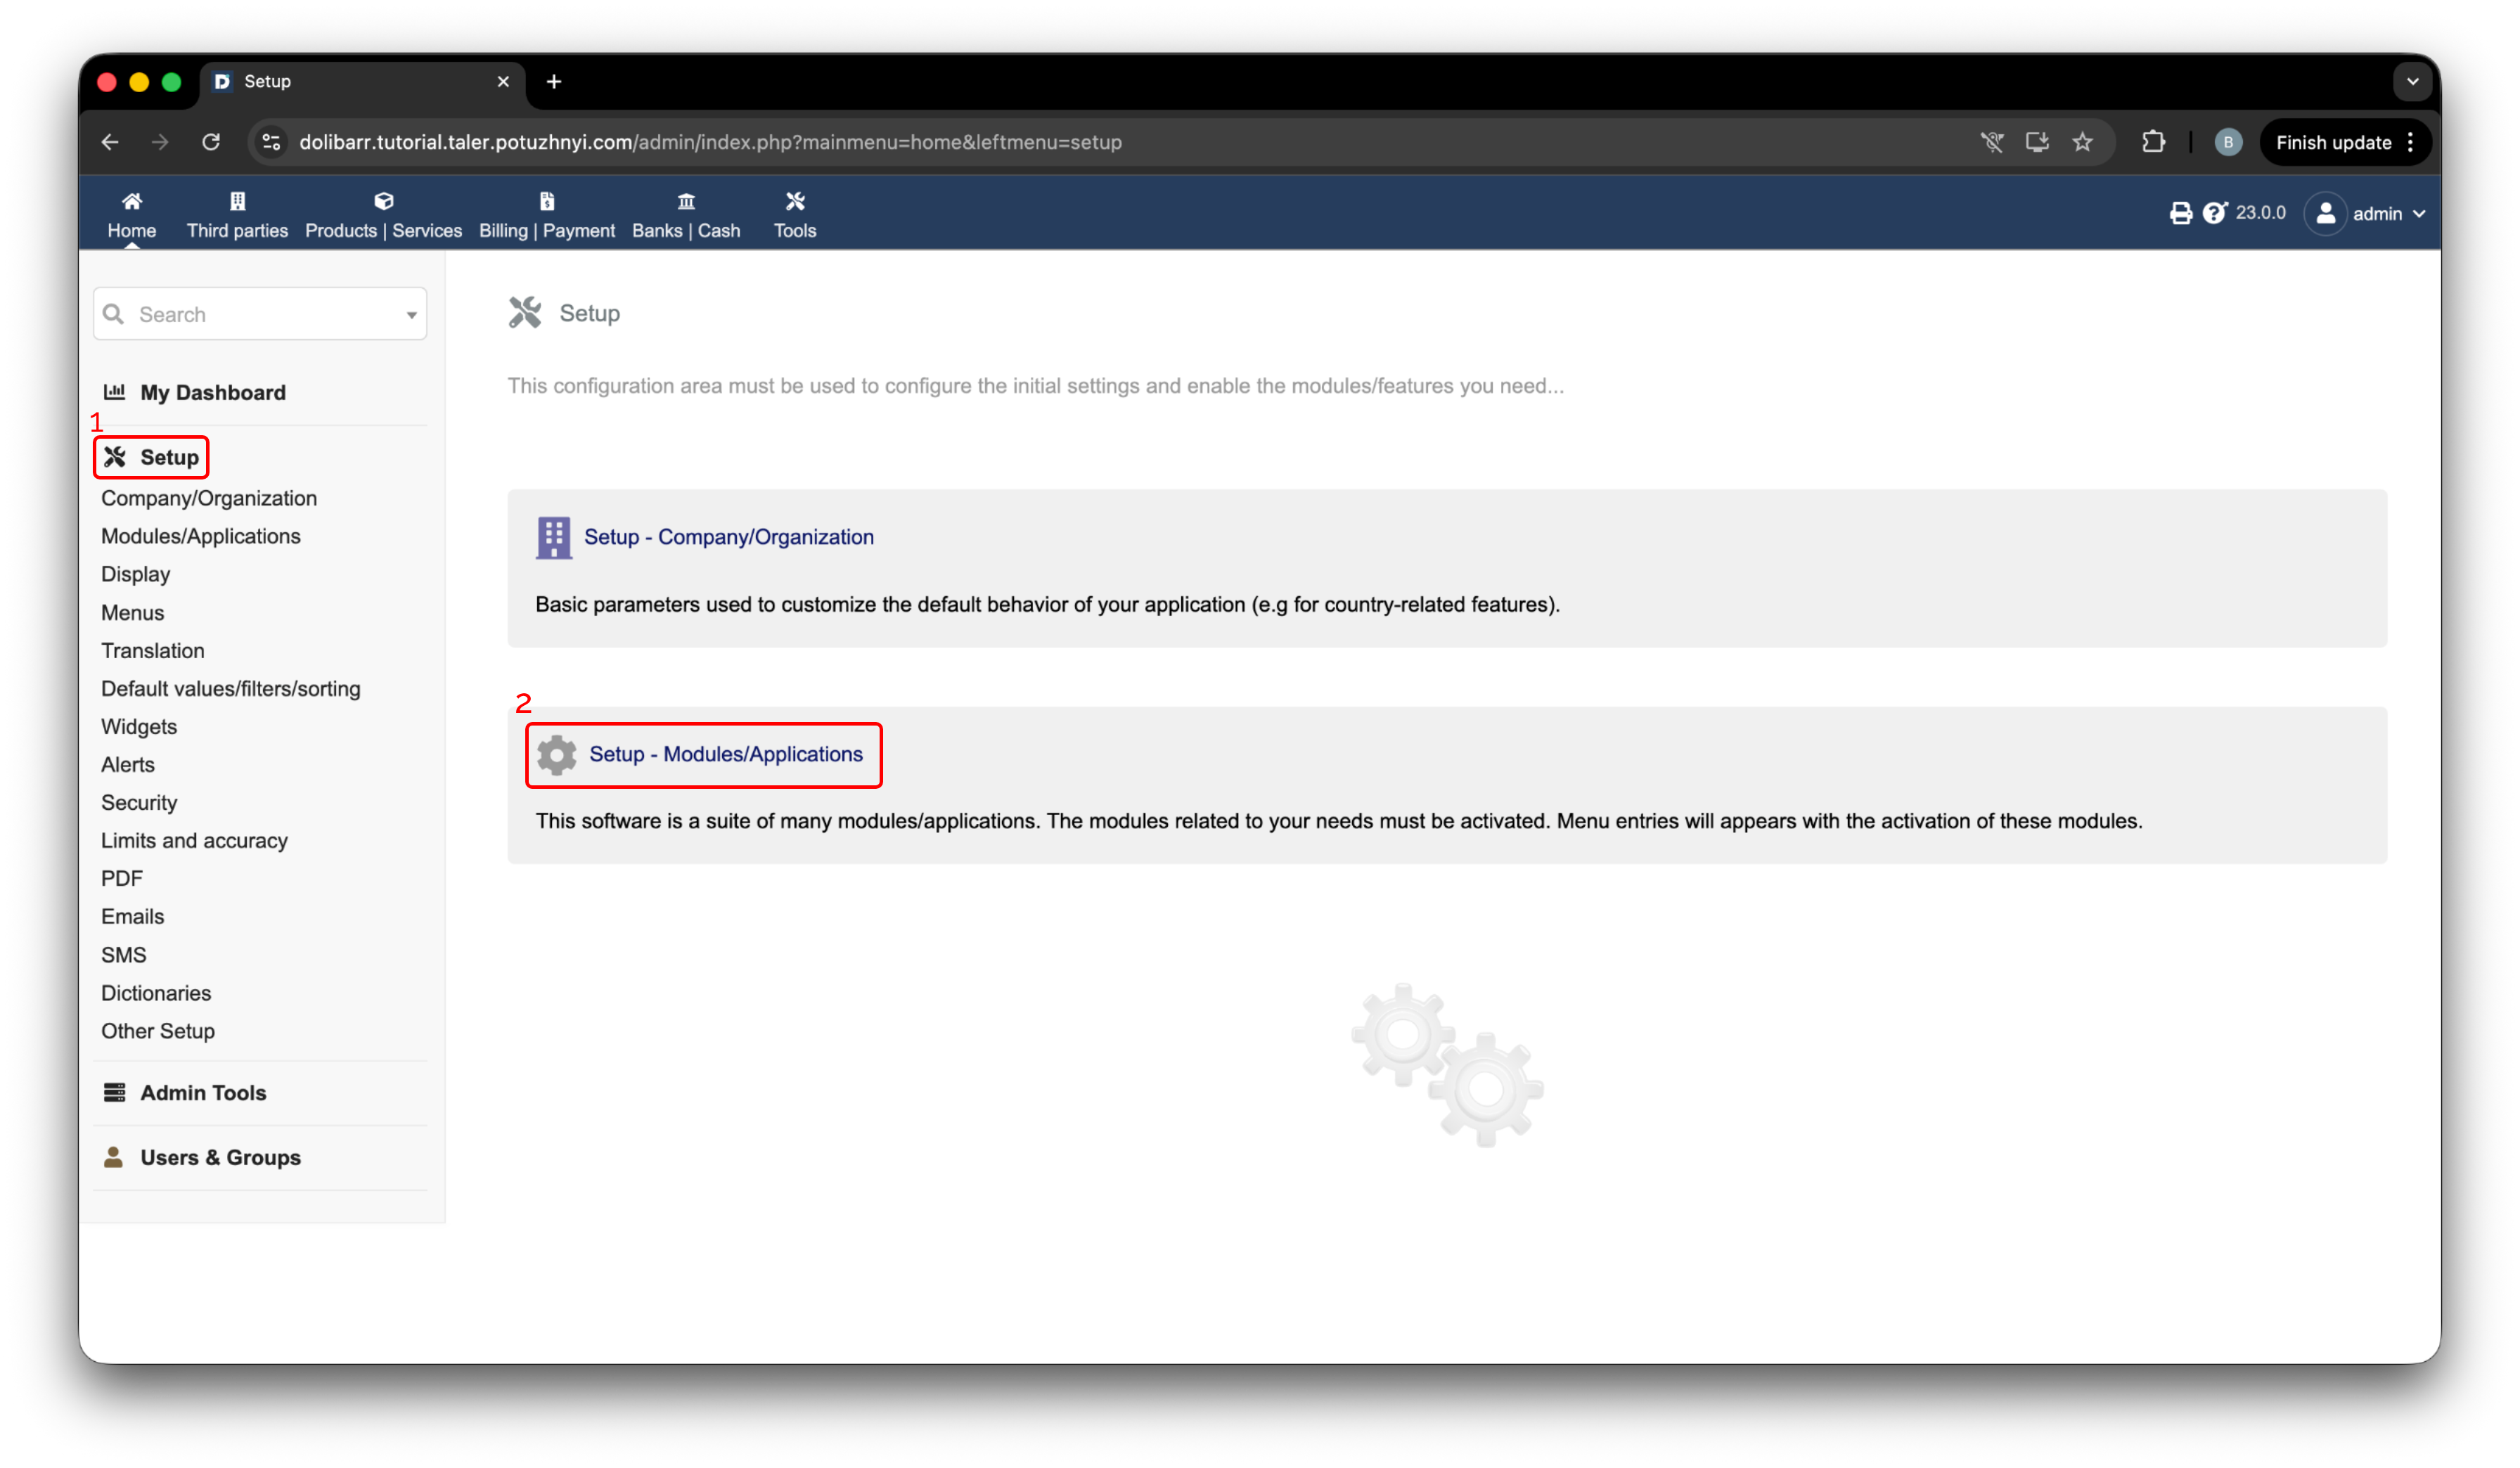
Navigation de configuration Dolibarr.#
Ensuite, cliquez sur Deploy/install external app/module. Puis cliquez sur Choose file et sélectionnez l’archive .zip fraîchement téléchargée, comme indiqué sur la figure ci-dessous.
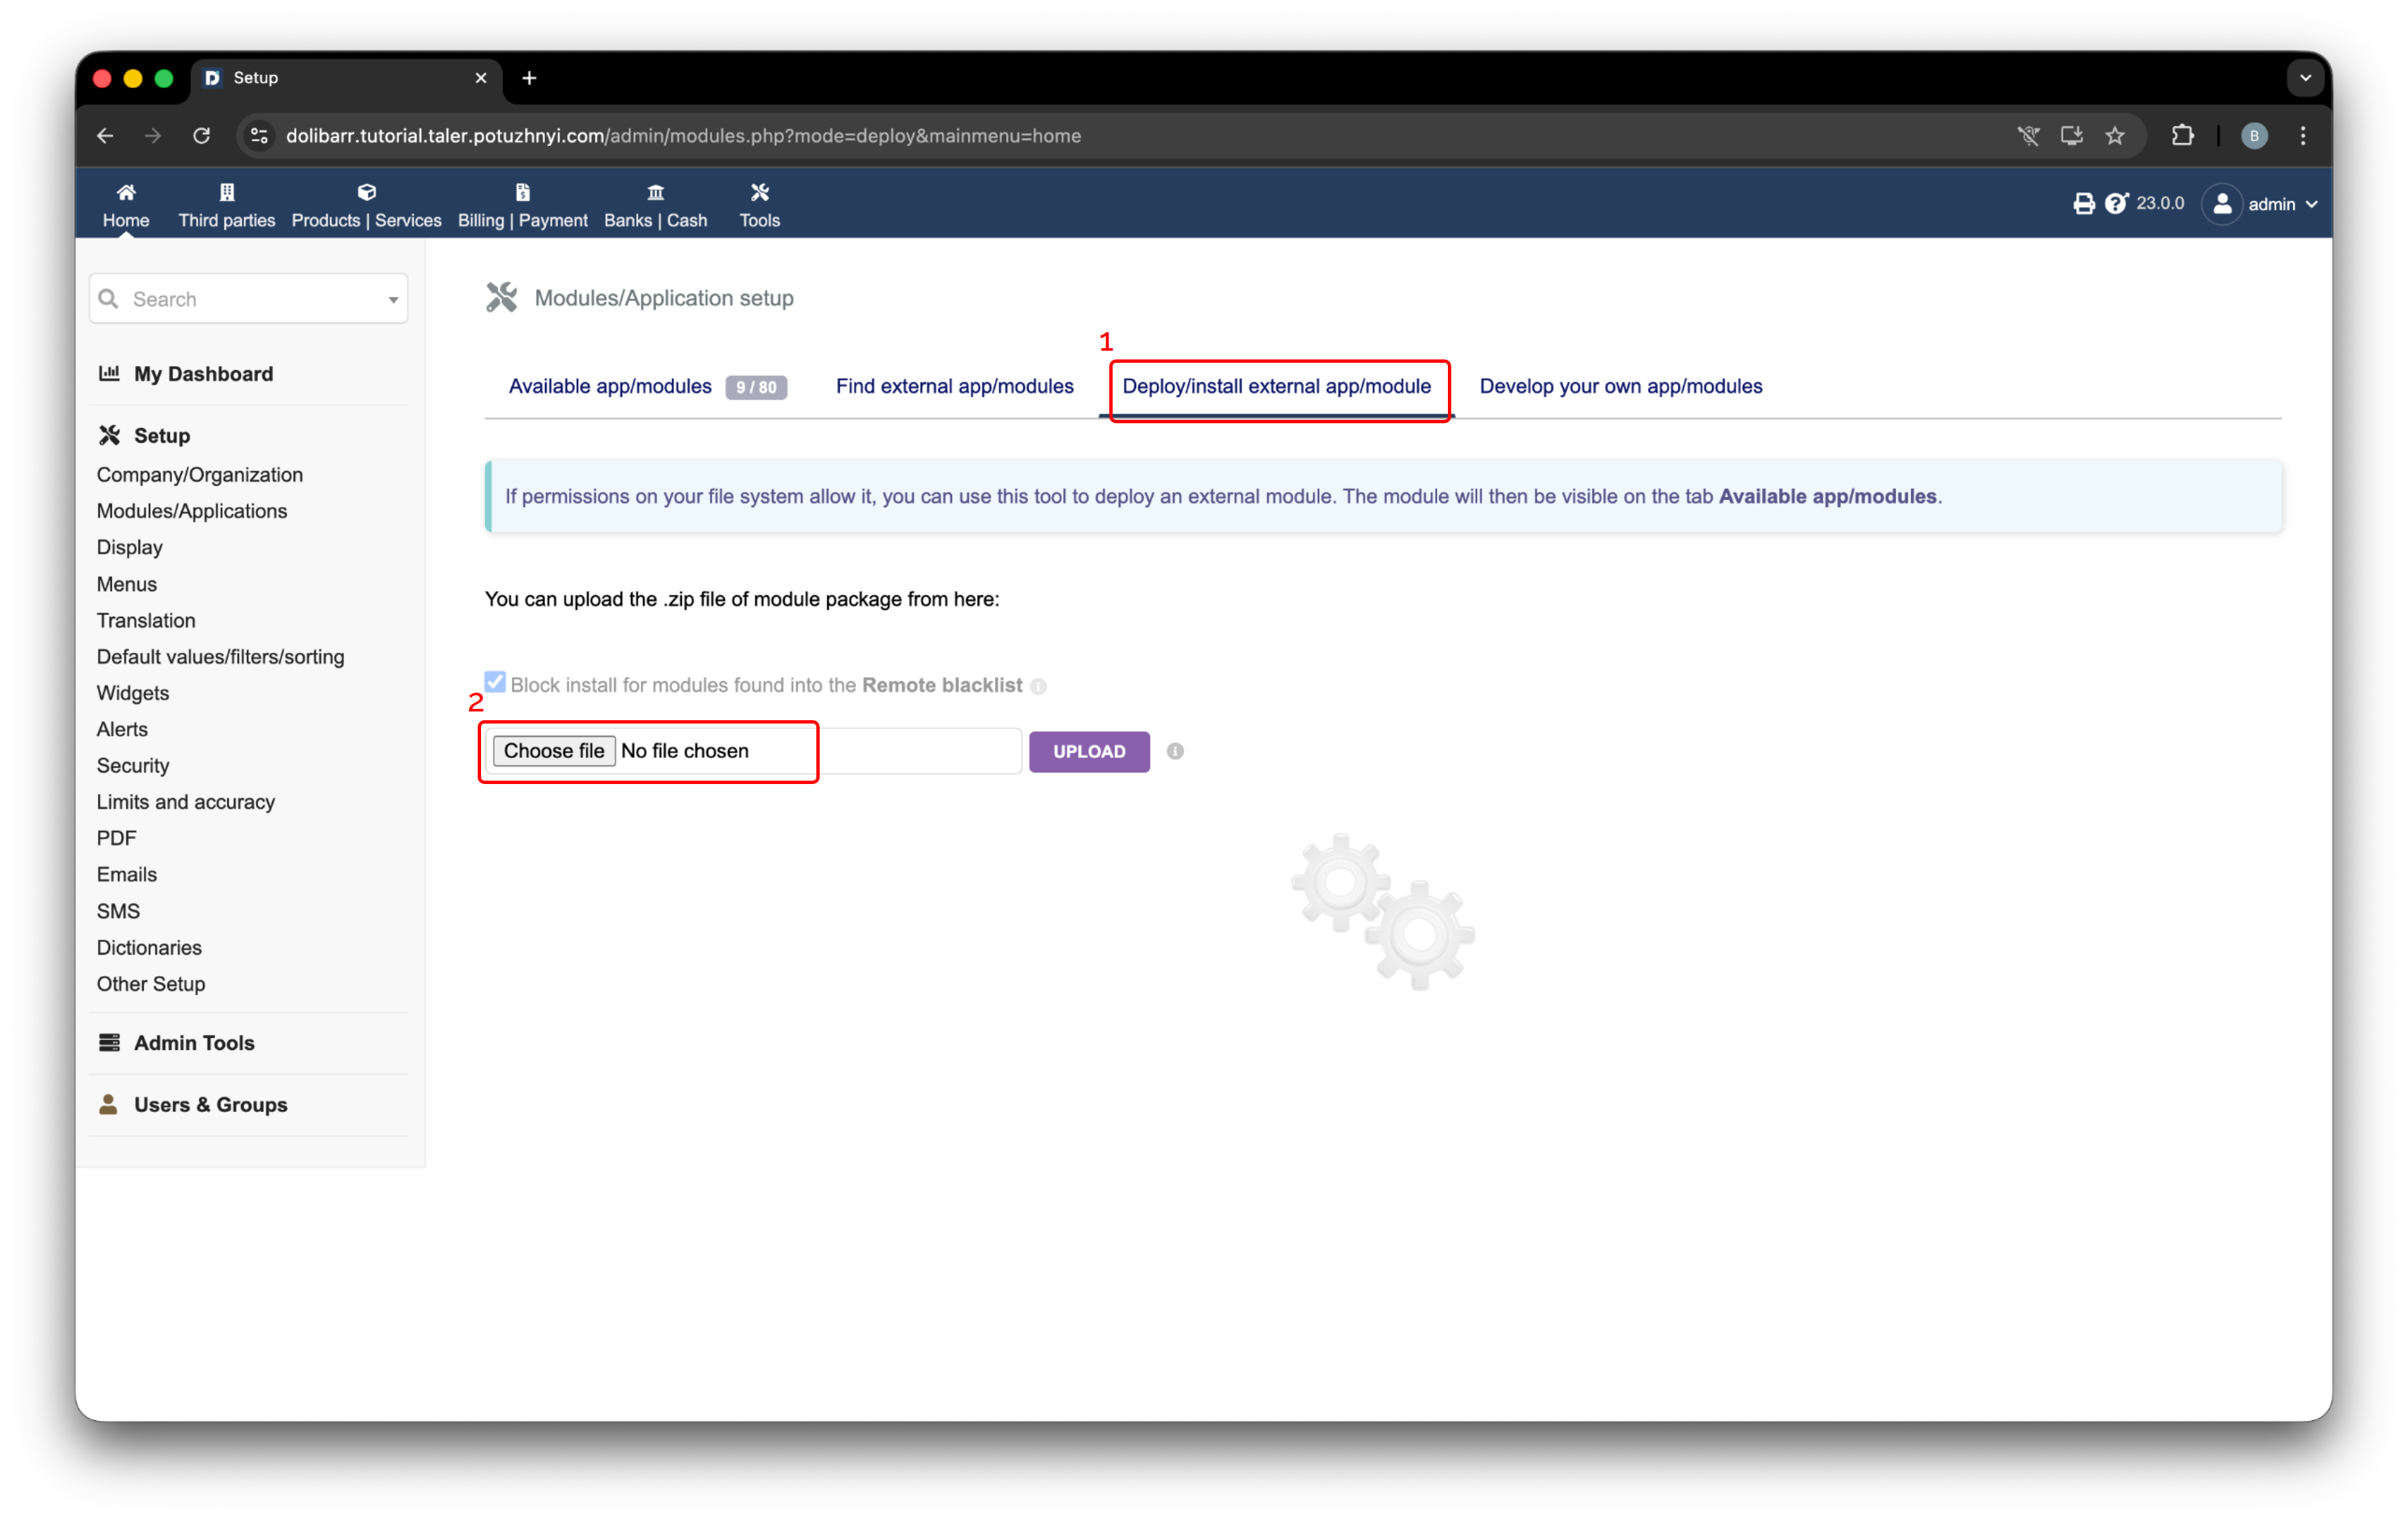
Page d’installation de module externe de Dolibarr.#
Une fois le fichier sélectionné, il s’affiche dans le formulaire de téléversement. Appuyez sur Upload pour installer le module. Après un téléversement réussi, un message de confirmation apparaît dans le coin supérieur droit.
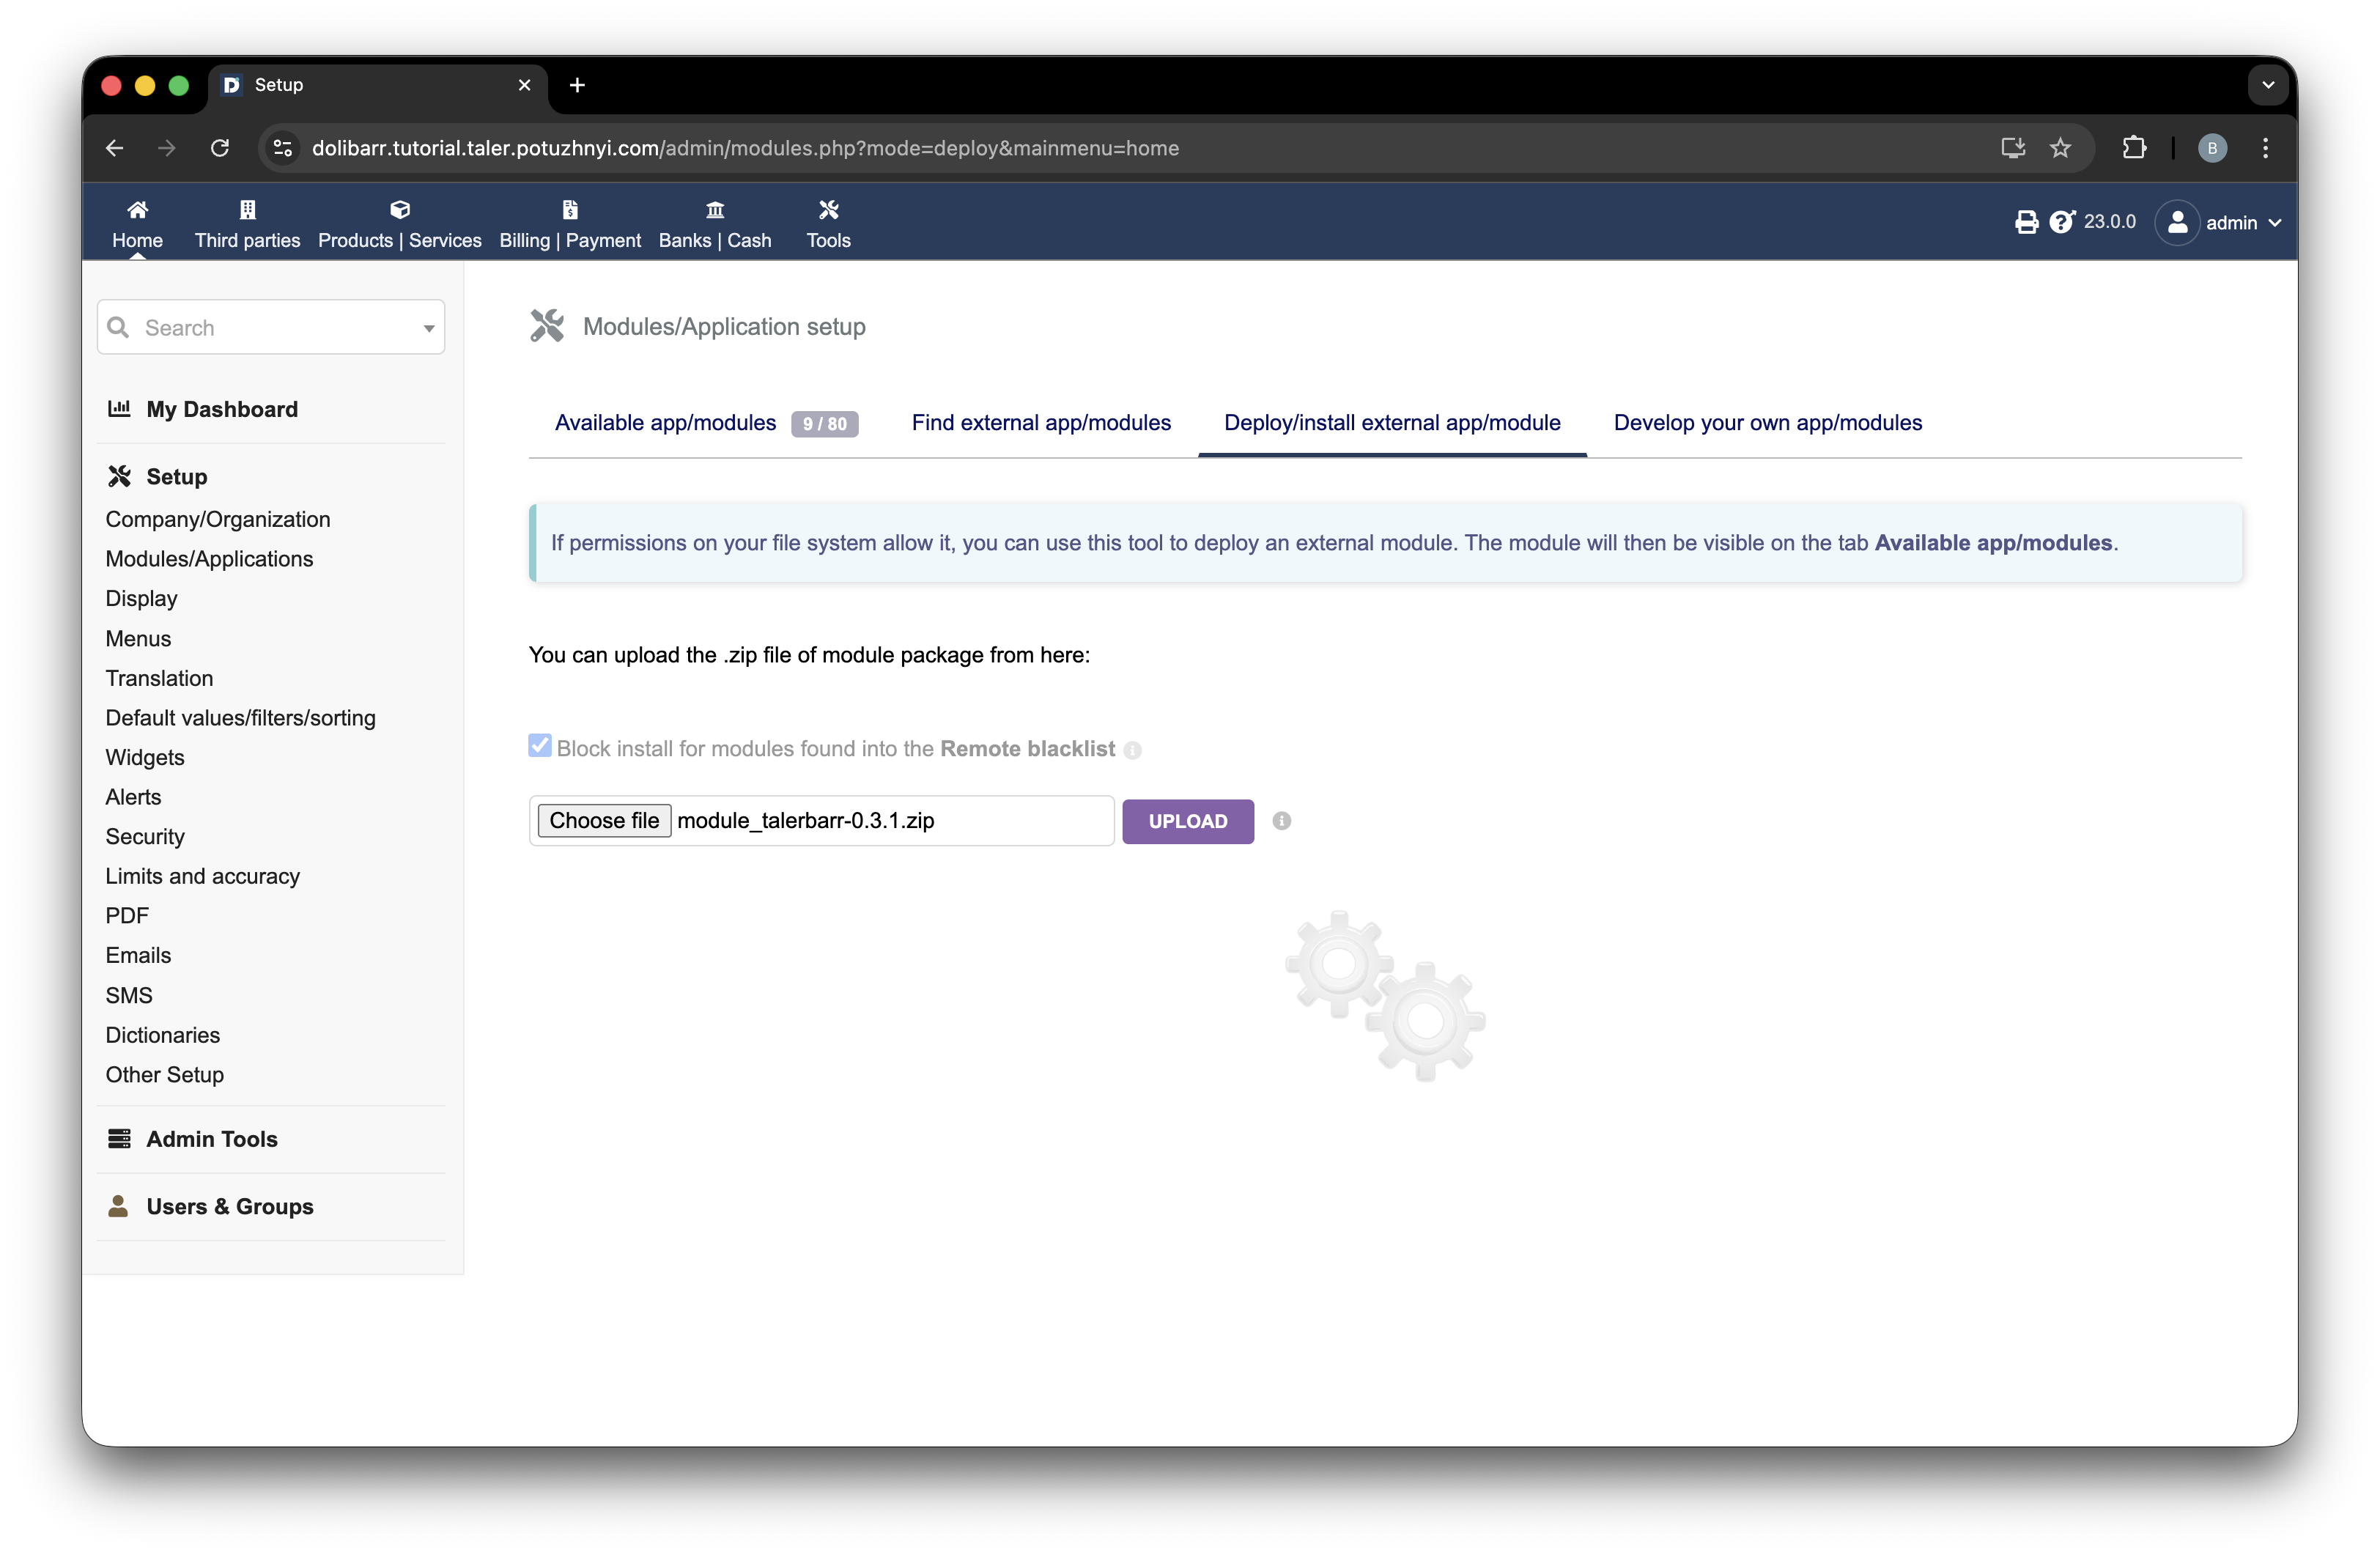
Archive TalerBarr sélectionnée prête à être téléversée dans Dolibarr.#

Module TalerBarr déployé avec succès dans Dolibarr.#
2.3.2.4. Installer à partir du dépôt source#
Vous pouvez installer le module à partir des sources de deux manières courantes.
Si vous suivez la configuration Dolibarr orientée développeur présentée précédemment dans Installer Dolibarr et Talerbarr en ligne de commande, placez le module dans ~/dolibarr/custom :
cd ~/dolibarr/custom
git clone https://github.com/bohdanpotuzhnyi/talerbarr.git
Pour une installation Dolibarr plus standard, placez le module dans $DOLIBARR_HOME/htdocs/custom, sauf indication contraire de votre fournisseur Dolibarr ou du guide d’installation officiel de Dolibarr correspondant à votre type d’installation :
cd $DOLIBARR_HOME/htdocs/custom
git clone https://github.com/bohdanpotuzhnyi/talerbarr.git
Autrement, vous pouvez utiliser le même module depuis le dépôt Git Taler :
git clone git://git.gnunet.org/talerbarr.git
Une fois les fichiers présents, actualisez la page des modules de Dolibarr. Dolibarr devrait détecter automatiquement le nouveau module.
2.3.2.5. Activer le module#
Pour activer le module, ouvrez Setup -> Modules/Applications.
Recherchez TalerBarr dans la liste des modules et activez-le à l’aide du commutateur indiqué sur la figure ci-dessous. Le repère 1 indique le contrôle d’activation. Après l’activation, le commutateur devient vert, comme indiqué au repère 2.
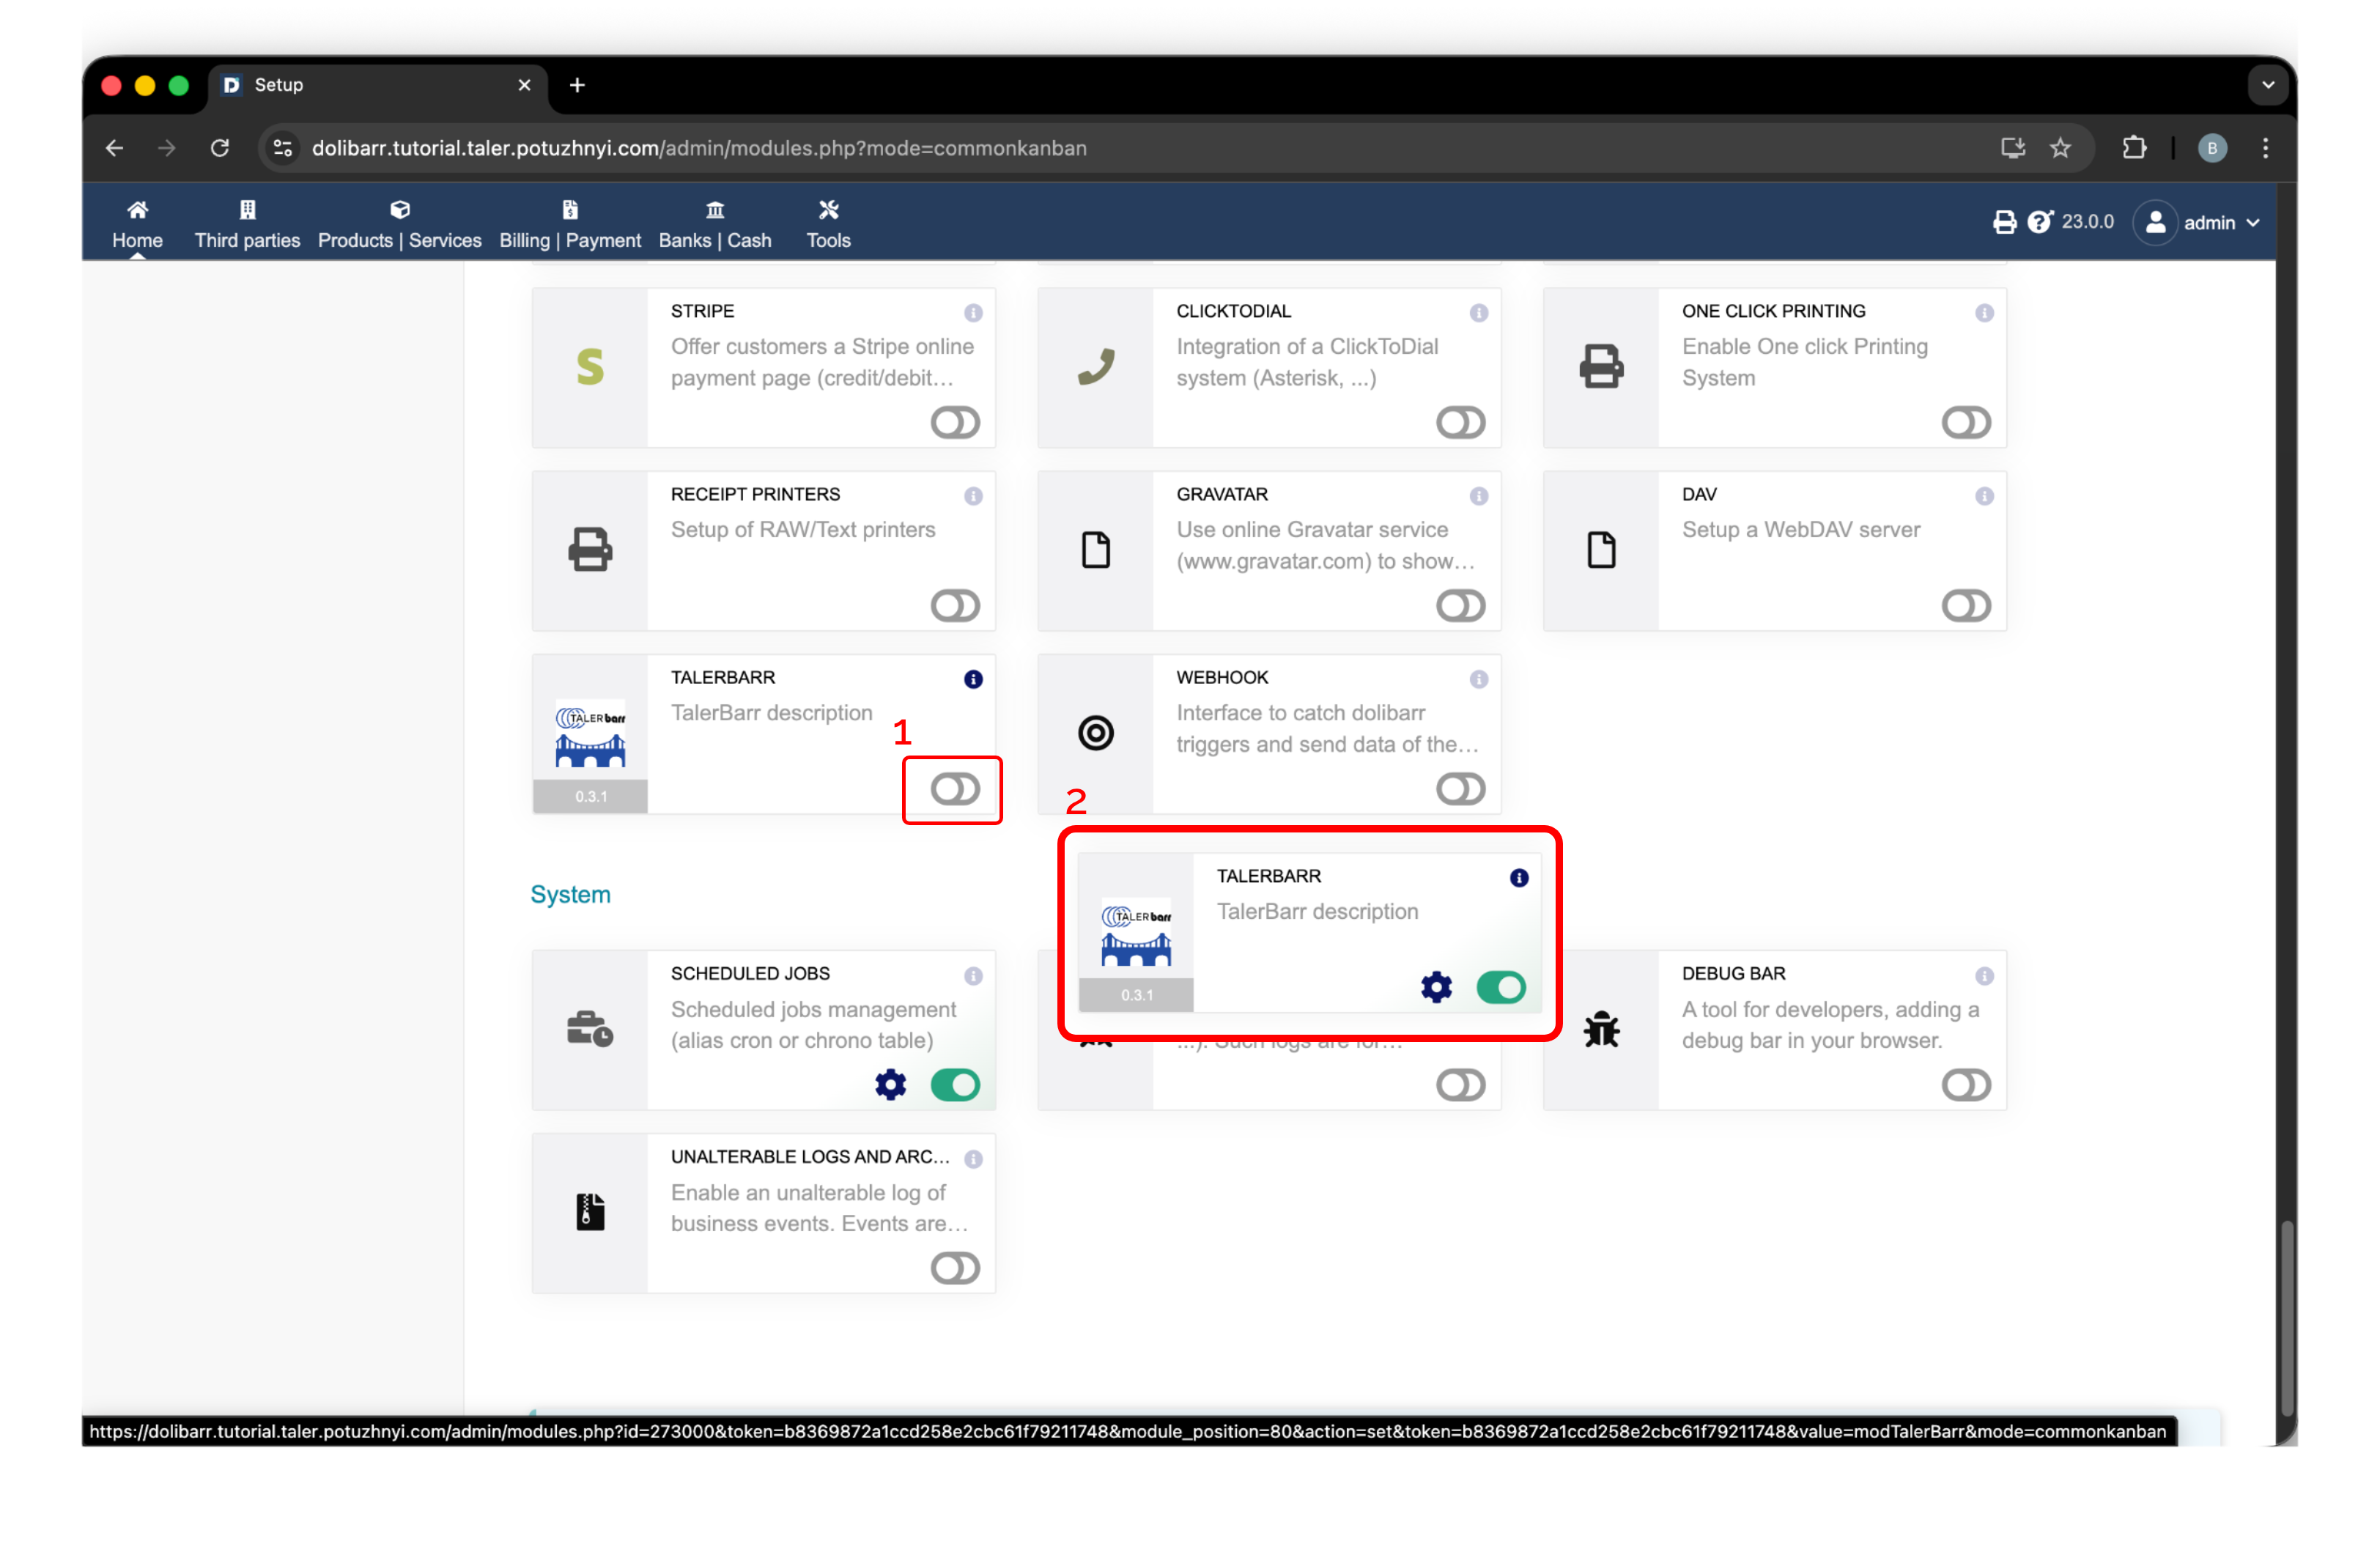
Activation de TalerBarr dans Dolibarr. Le repère 1 indique le commutateur d’activation et le repère 2 montre l’état actif.#
Une fois le module activé, TalerBarr apparaît dans la barre de navigation supérieure. Ouvrez-le pour accéder au module pour la première fois. Comme aucune configuration n’existe encore, TalerBarr affiche l’écran de configuration initial et vous demande d’en créer une, comme indiqué ci-dessous.

Page de configuration initiale de TalerBarr affichée après l’ouverture du module sans configuration existante.#
Pour plus de détails sur le processus de configuration, poursuivez avec Configurer TalerBarr.
2.3.2.6. Ce qui se passe après l’activation#
Lorsque le module est initialisé, TalerBarr prépare le côté Dolibarr pour le flux de paiement Taler. Selon la conception du module, cela inclut des objets auxiliaires tels que :
Un client par défaut pour les commandes provenant de Taler
Une méthode de paiement Taler
Un flux comptable basé sur un compte de compensation utilisé pour le rapprochement
Cela signifie que le module est conçu pour gérer l’ensemble du parcours, de la synchronisation des produits jusqu’au règlement des commandes.
2.3.2.7. Étape suivante#
Une fois le module installé et activé, poursuivez avec Configurer TalerBarr pour connecter Dolibarr à votre backend commerçant Taler et choisir le mode de synchronisation.